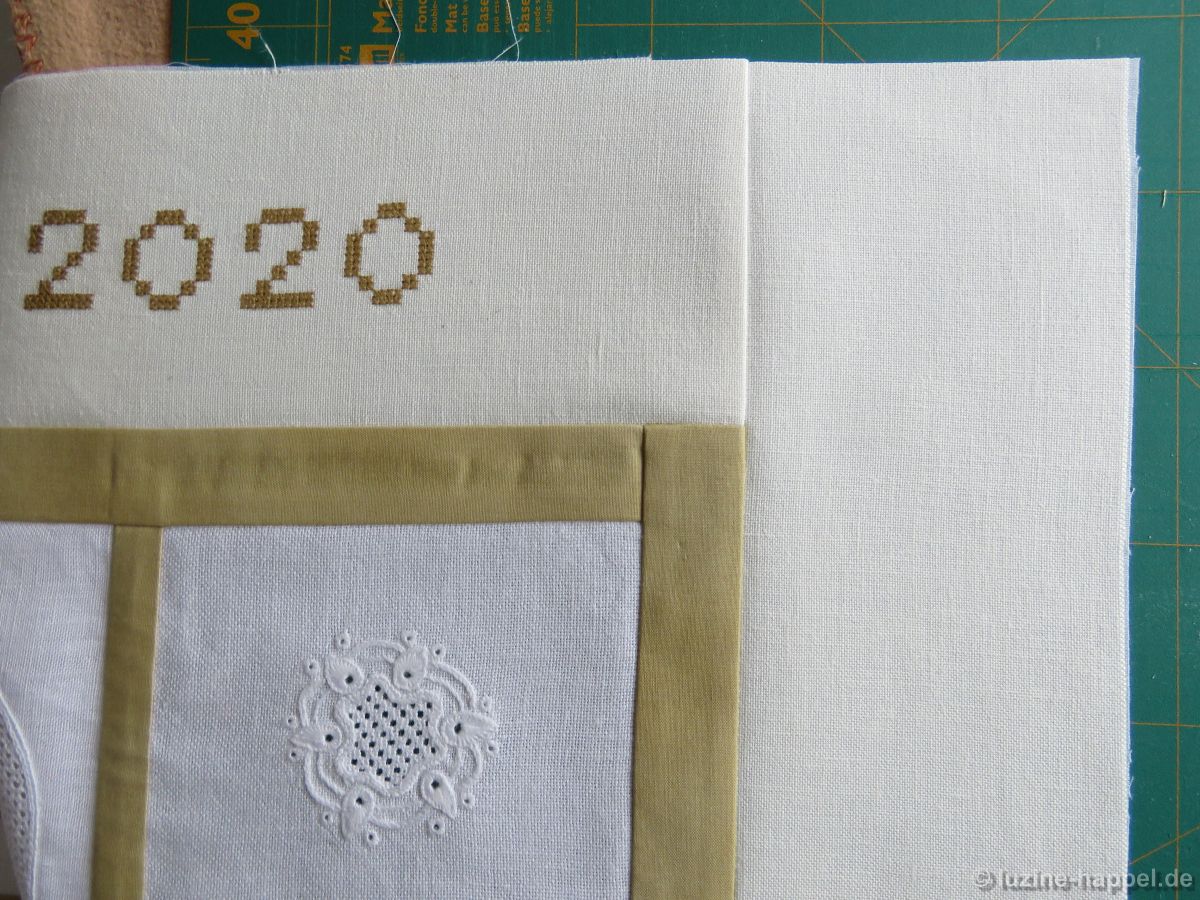
Global Schwalm Sampler – Update (39)
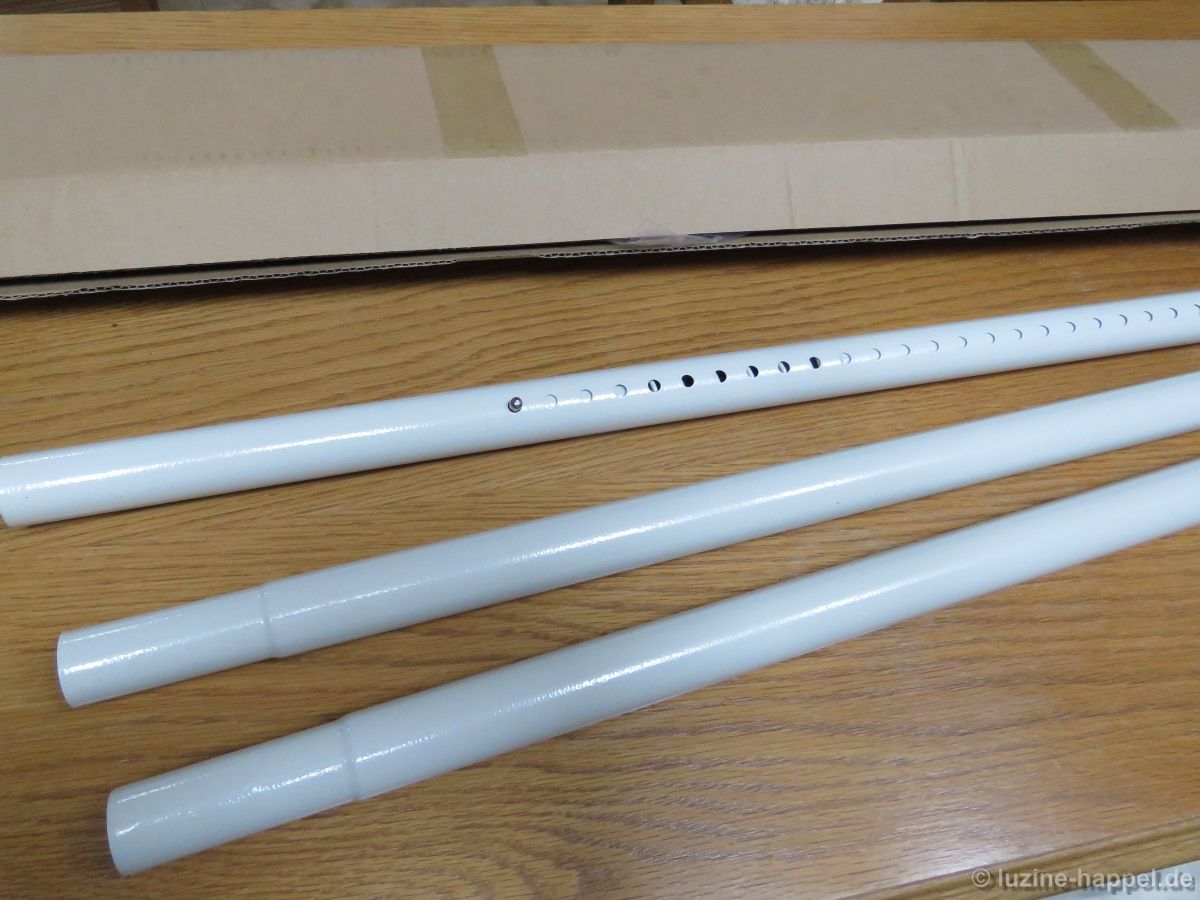
The hanging bar for the sampler was promptly delivered. Because of the plans to ship the sampler to other countries, I chose a stable telescopic bar, which consists of several parts.
This is inserted into the upper tunnel and pressed to the top edge. Stable nylon threads are pulled through all layers of the fabric just below the bar and knotted into loops. Then the first test suspension takes place – the loops are attached to hooks on the ceiling. Because I could only secure two loops while standing on the high ladder, three times the entire heavy piece fell down while trying to hang it. After securing the two loops, I had to go down and move the ladder to secure the others. In the end, the weight was just too much for two hanging points, an issue that was made worse by not having the right hooks and not having access to specialist shops due to the pandemic lock down.
After a few changes in the hanging technique came finally the big moment:

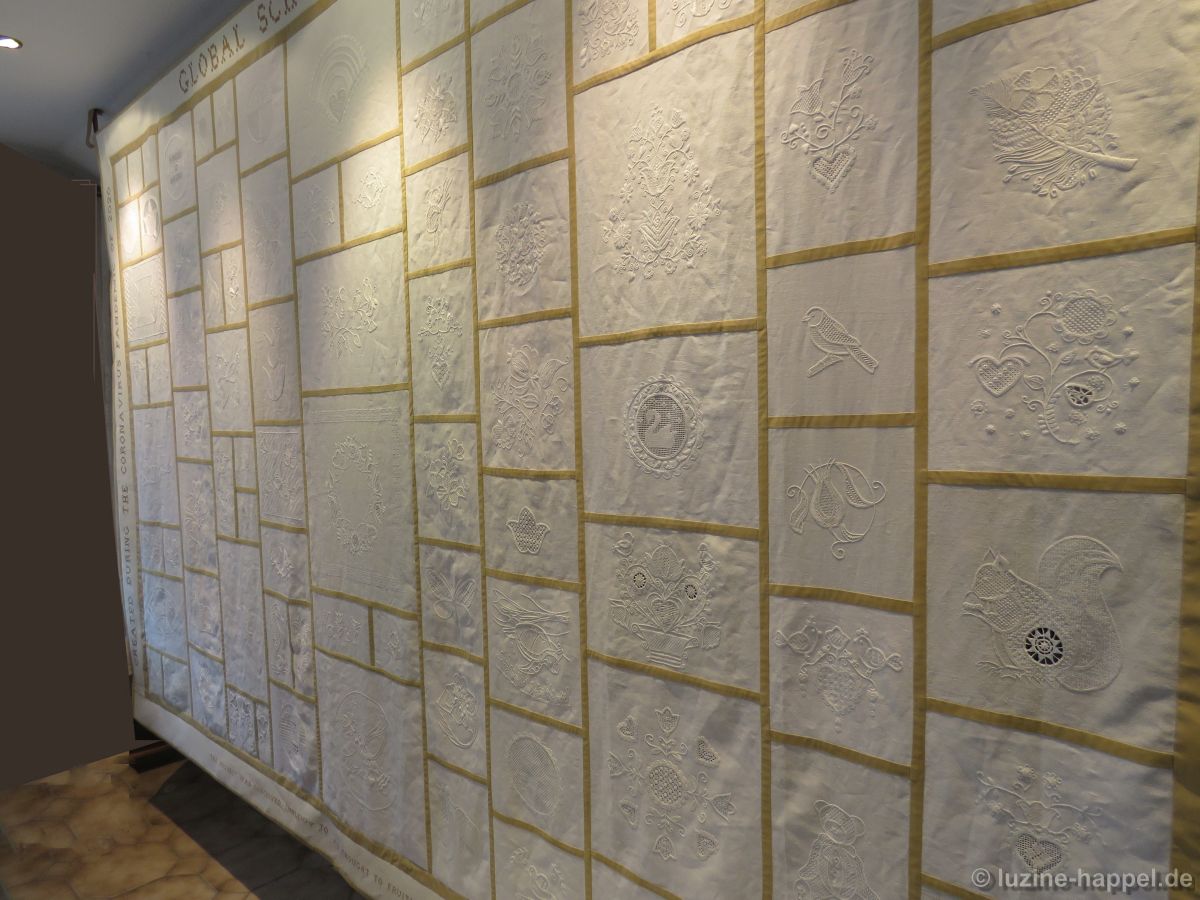
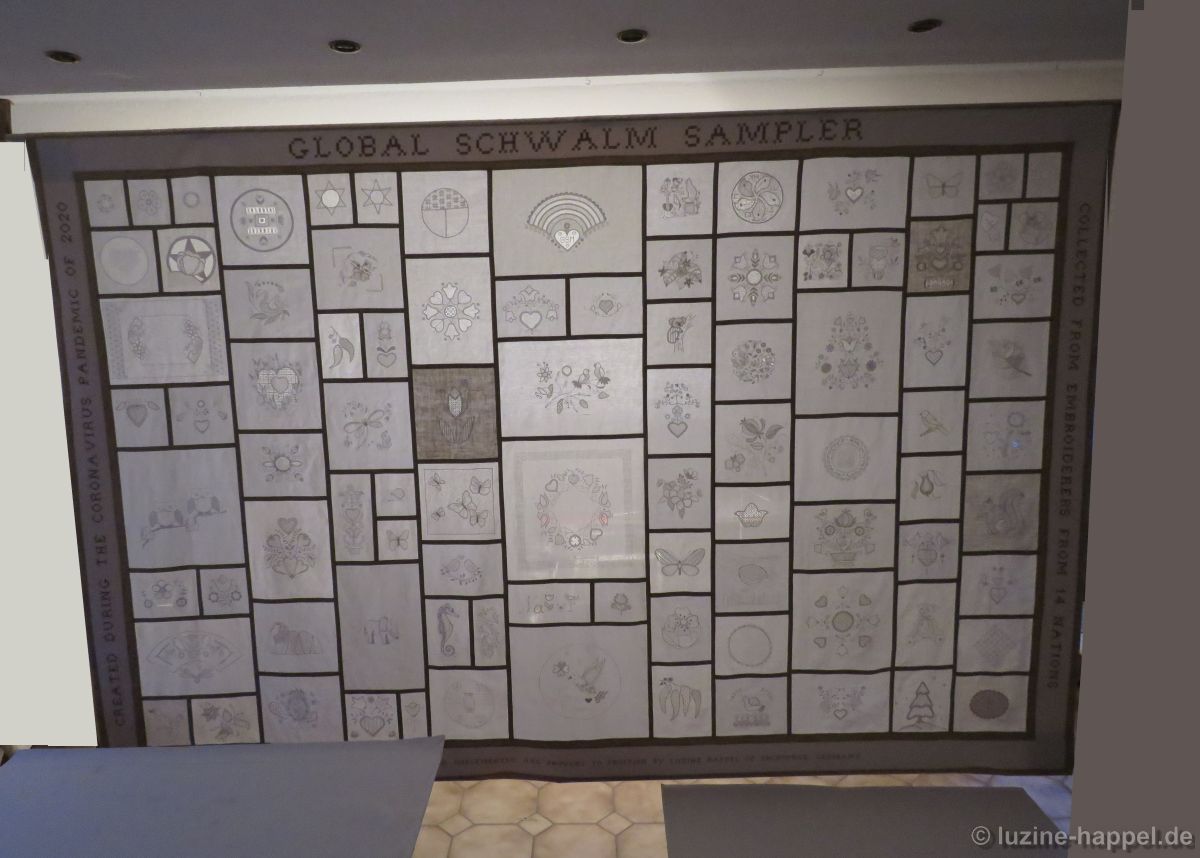
Although still completely wrinkled by the many crashes and not yet finally ironed, the sampler presented itself to my satisfaction. Of course, it should not stay in my private rooms, but move to my exhibition rooms – but that will take time. Because of the pandemic my studio has been closed for so long and will probably stay that way for some time. At home I have the opportunity to look at the work done in peace and enjoy the sight of the many collected embroideries.
The only free wall in my home was, in the end, too narrow for the pattern cloth. There was nothing left but to place it in the room at the transition between the ceiling and the sloping wall. This addition brought two advantages: first, there are spotlights on the ceiling, which put the embroidery in the right light,
and second, the cloth can be illuminated from behind in this way.
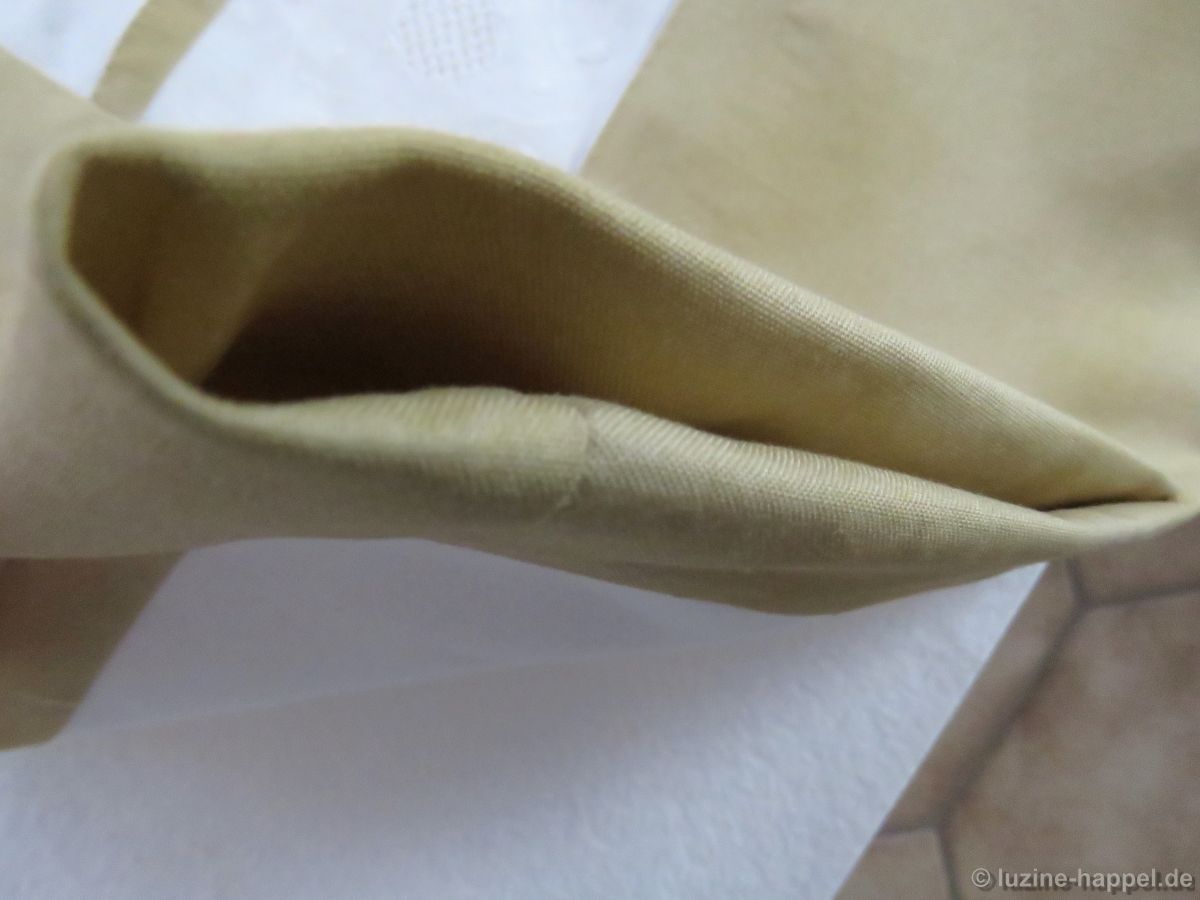
Due to the changed suspension and the now necessary overhang on both sides of the sampler, the bar was too short for a really safe hold. A new, longer bar was ordered.
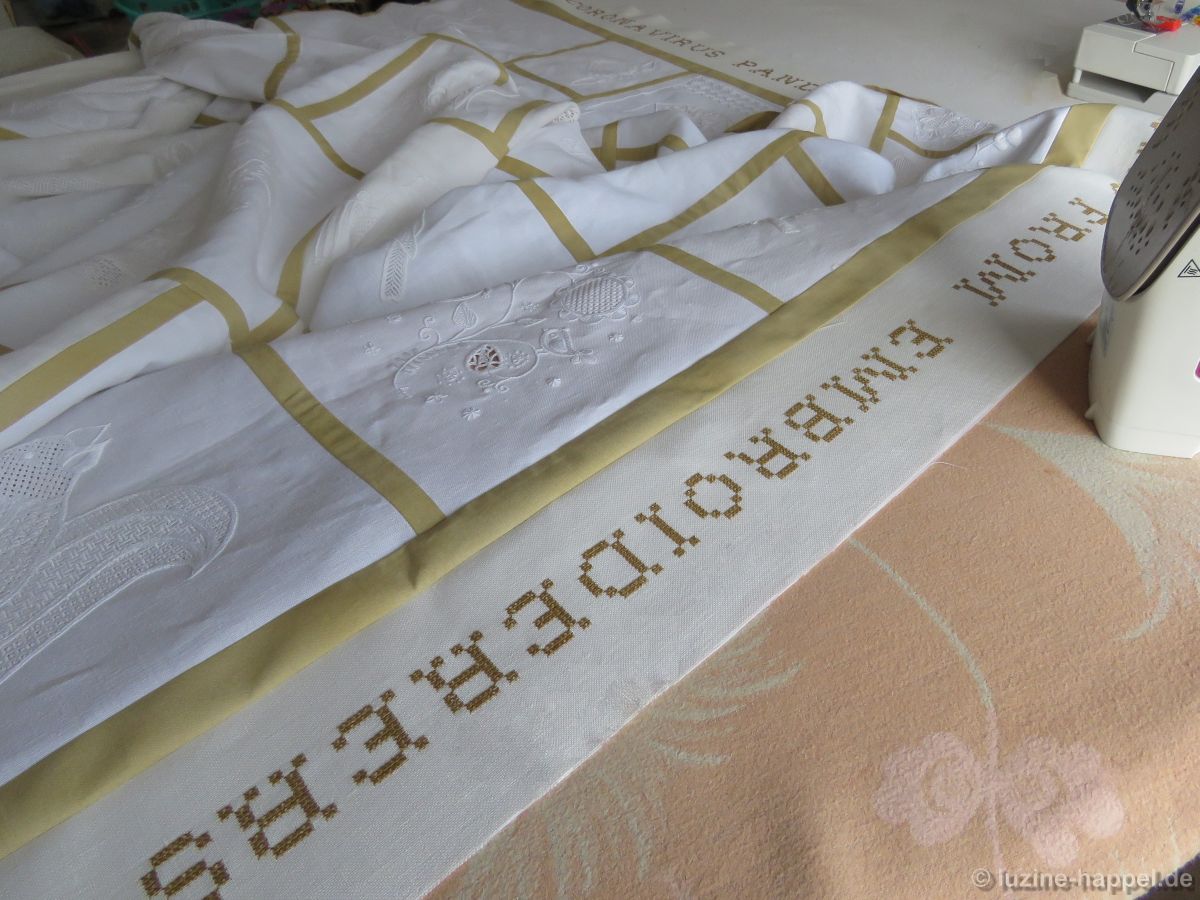
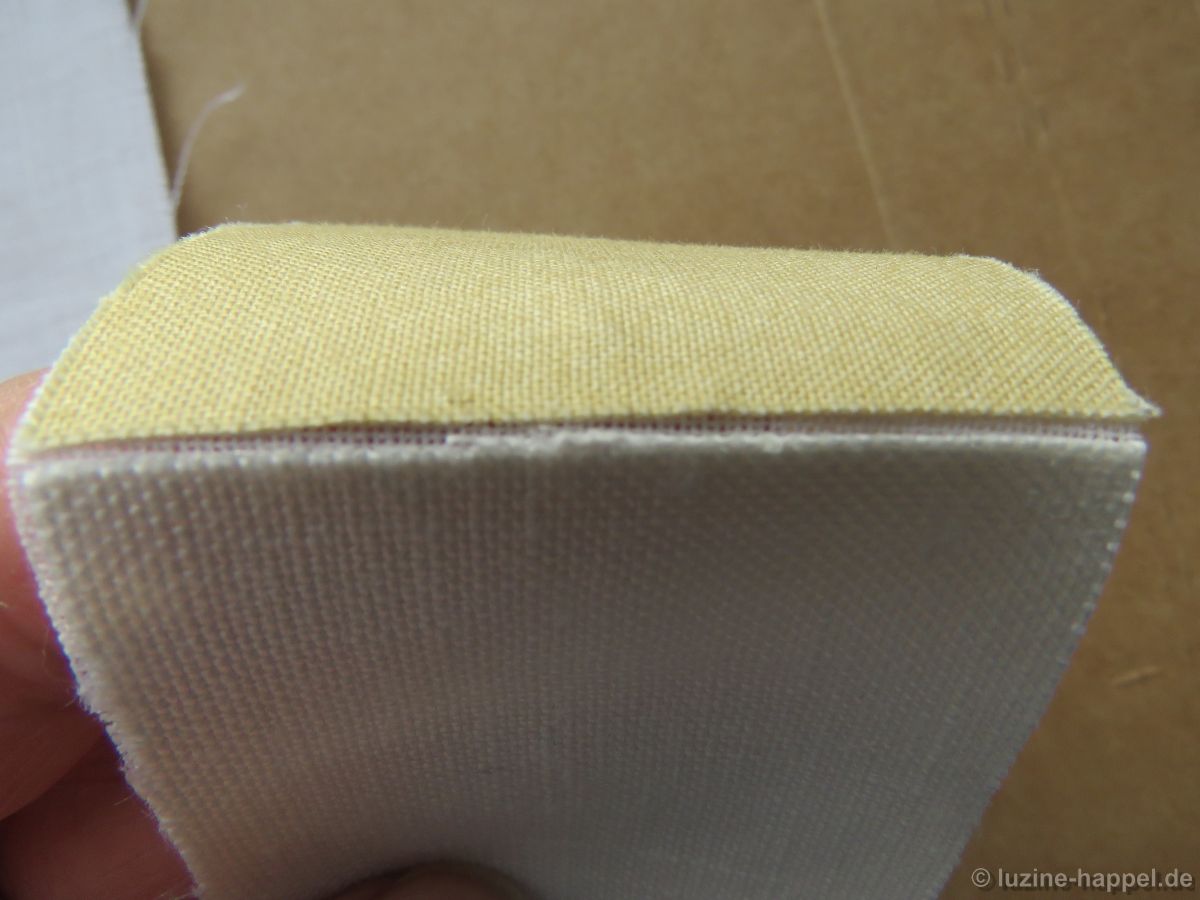
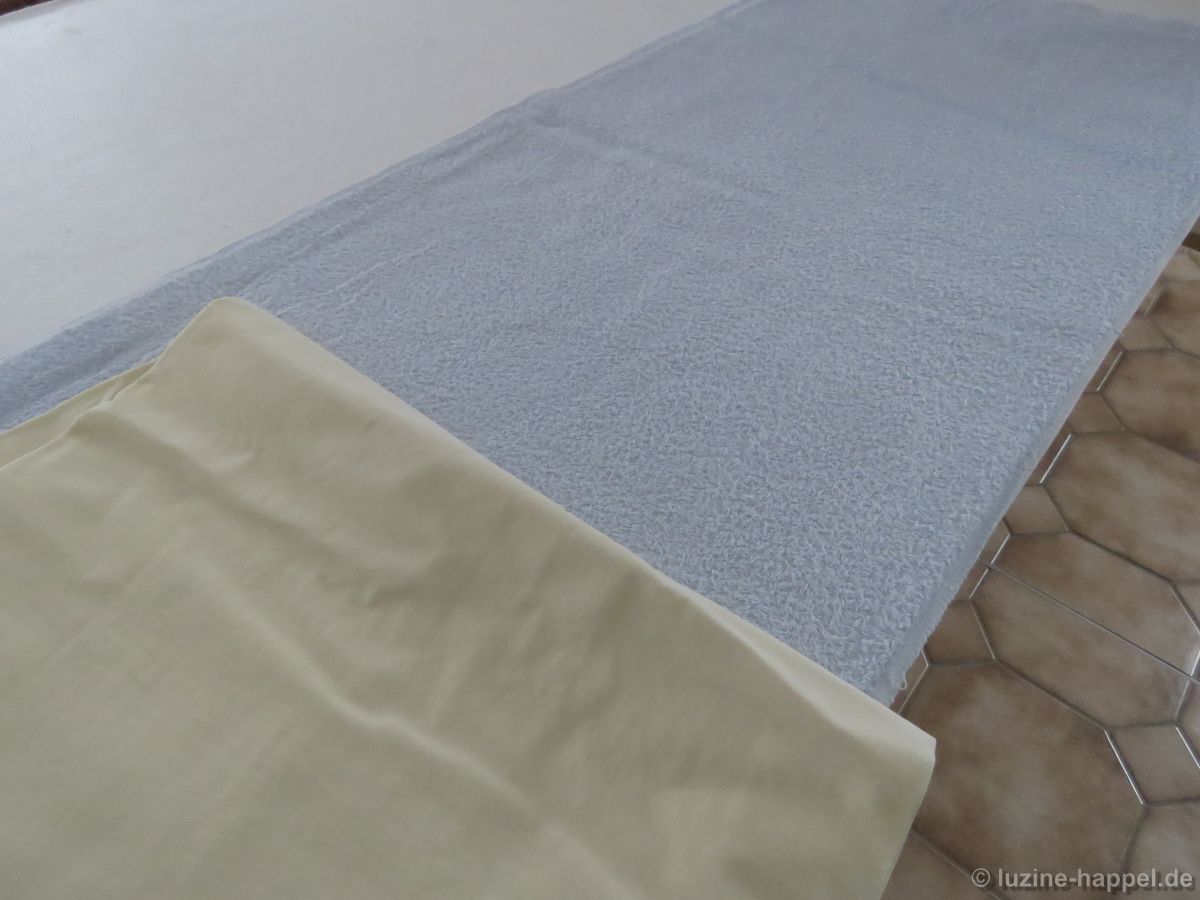
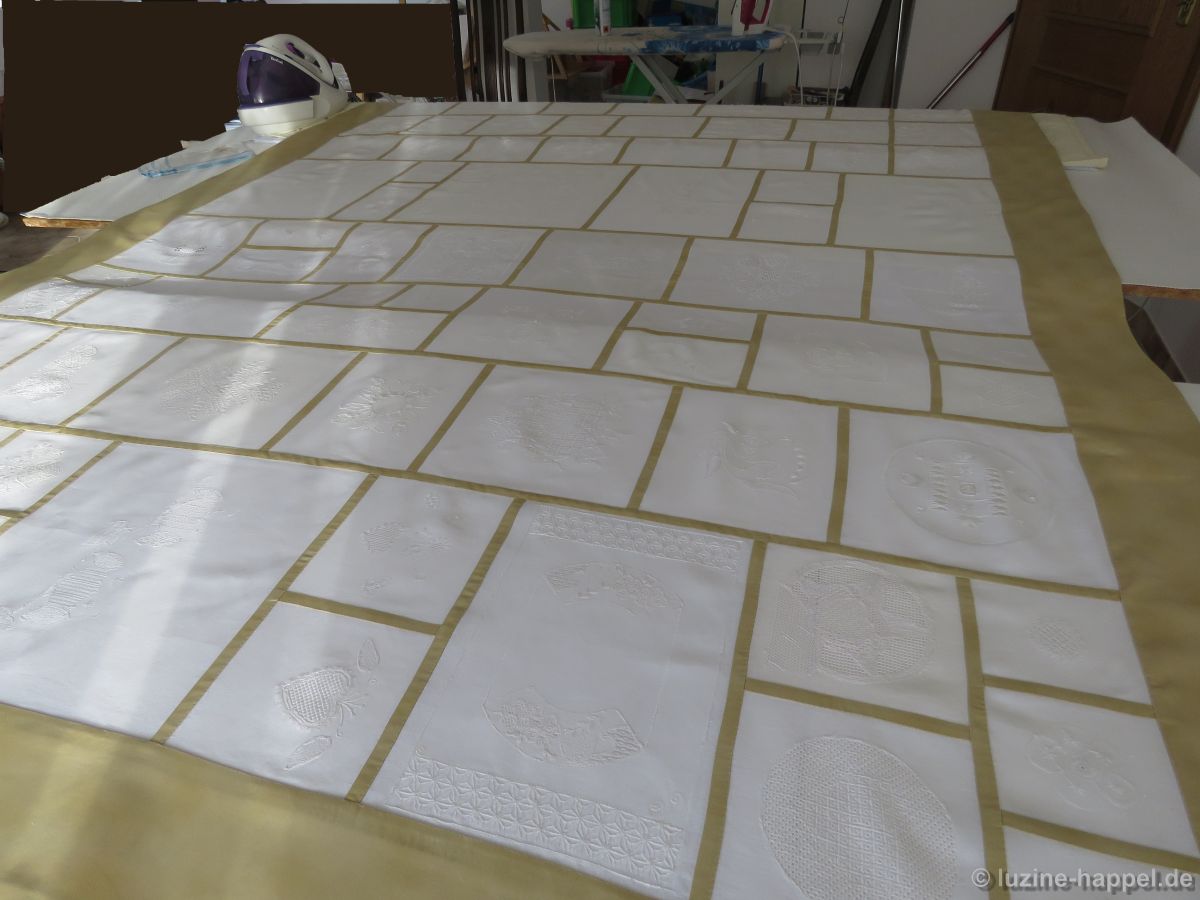
The table was prepared for ironing. A layer of insulating material with aluminum foil over a length of more than 2.20 m,
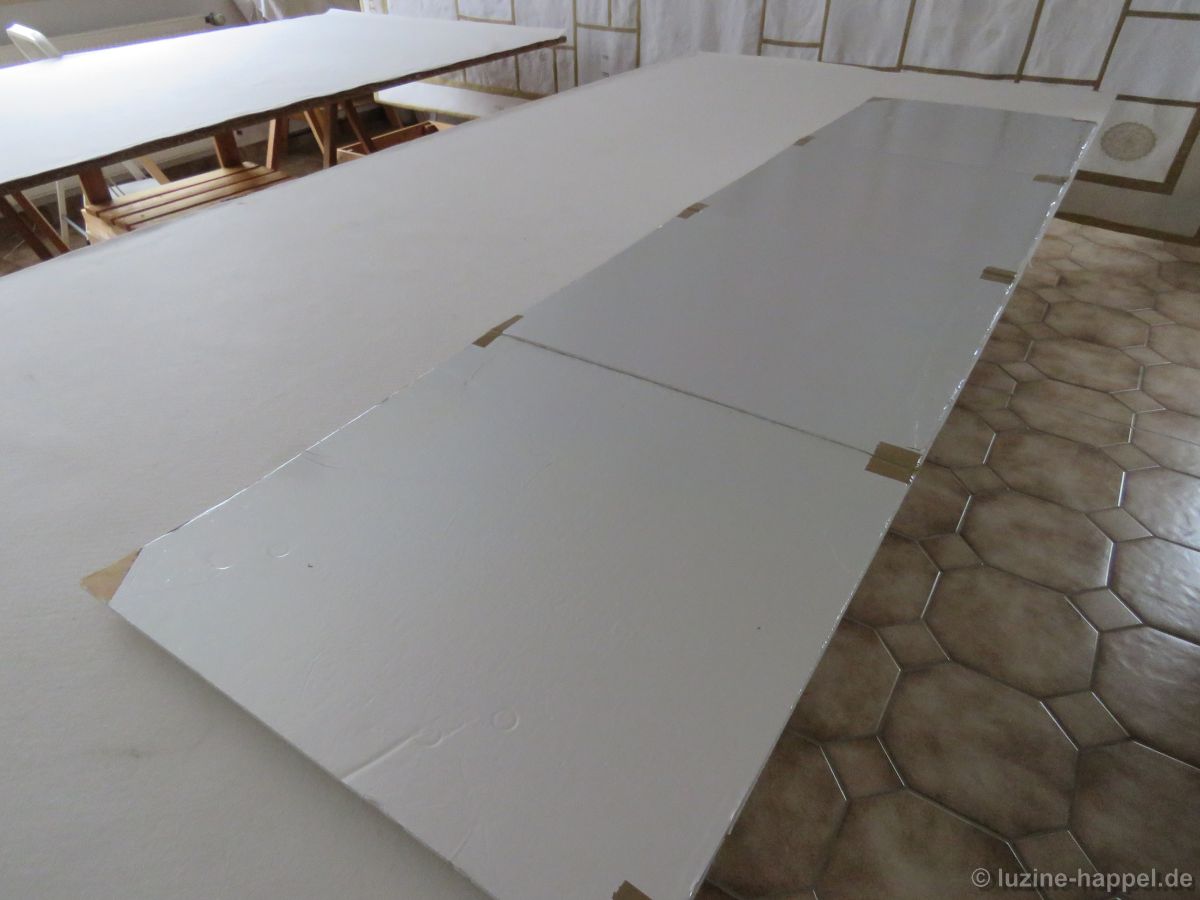
a thick layer of terry fabric and a further layer of smooth cotton fabric should suffice.
The sampler was taken down.
The floor covered with a cloth to keep the unironed part of the sampler clean and stocked up with enough spray starch, the ironing work began.
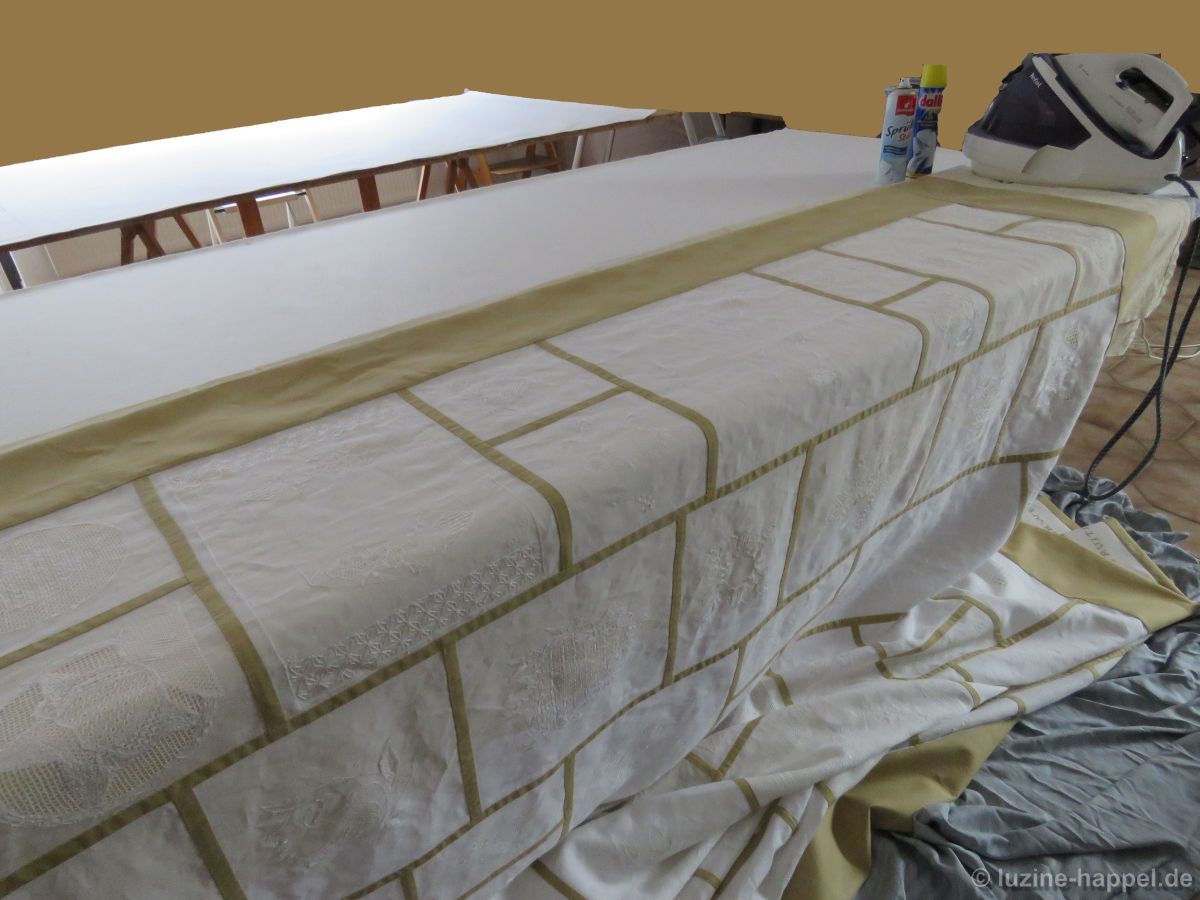
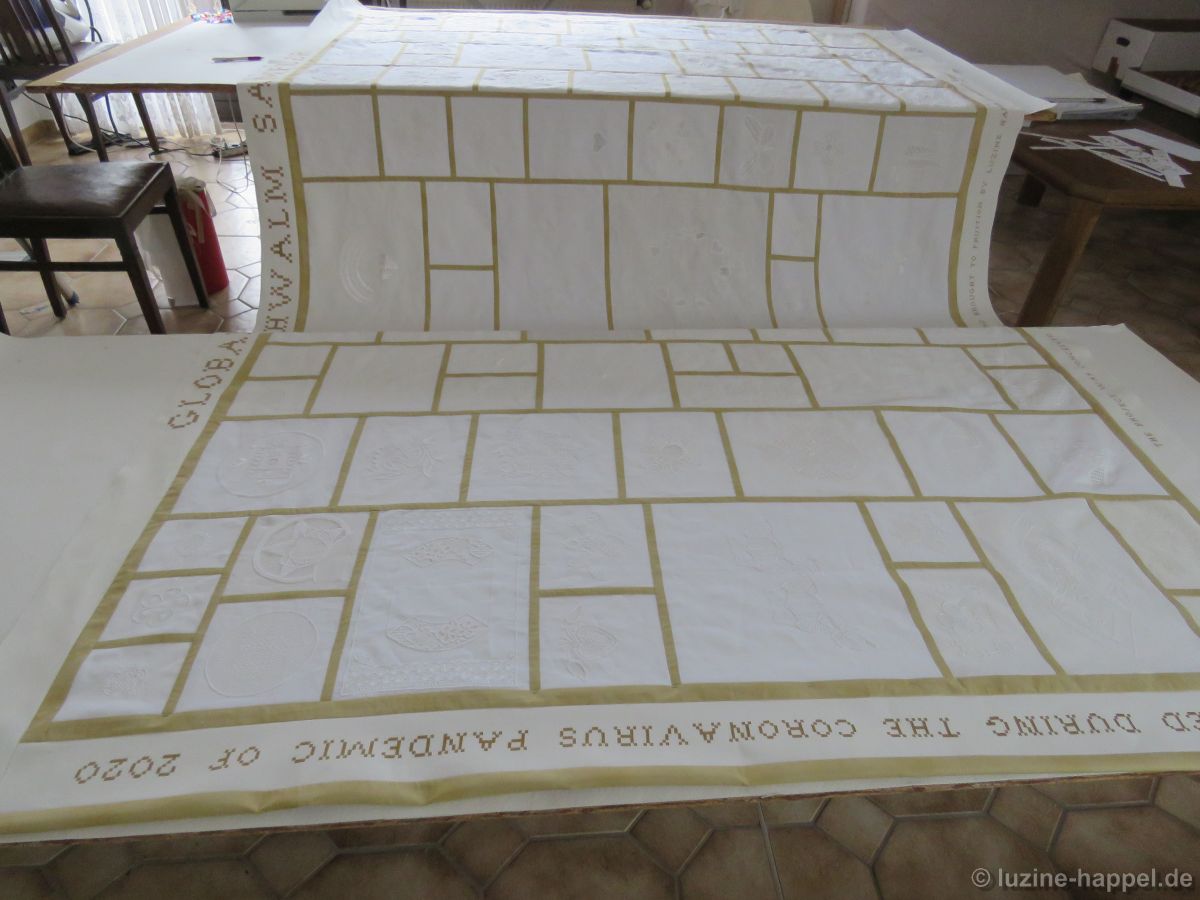
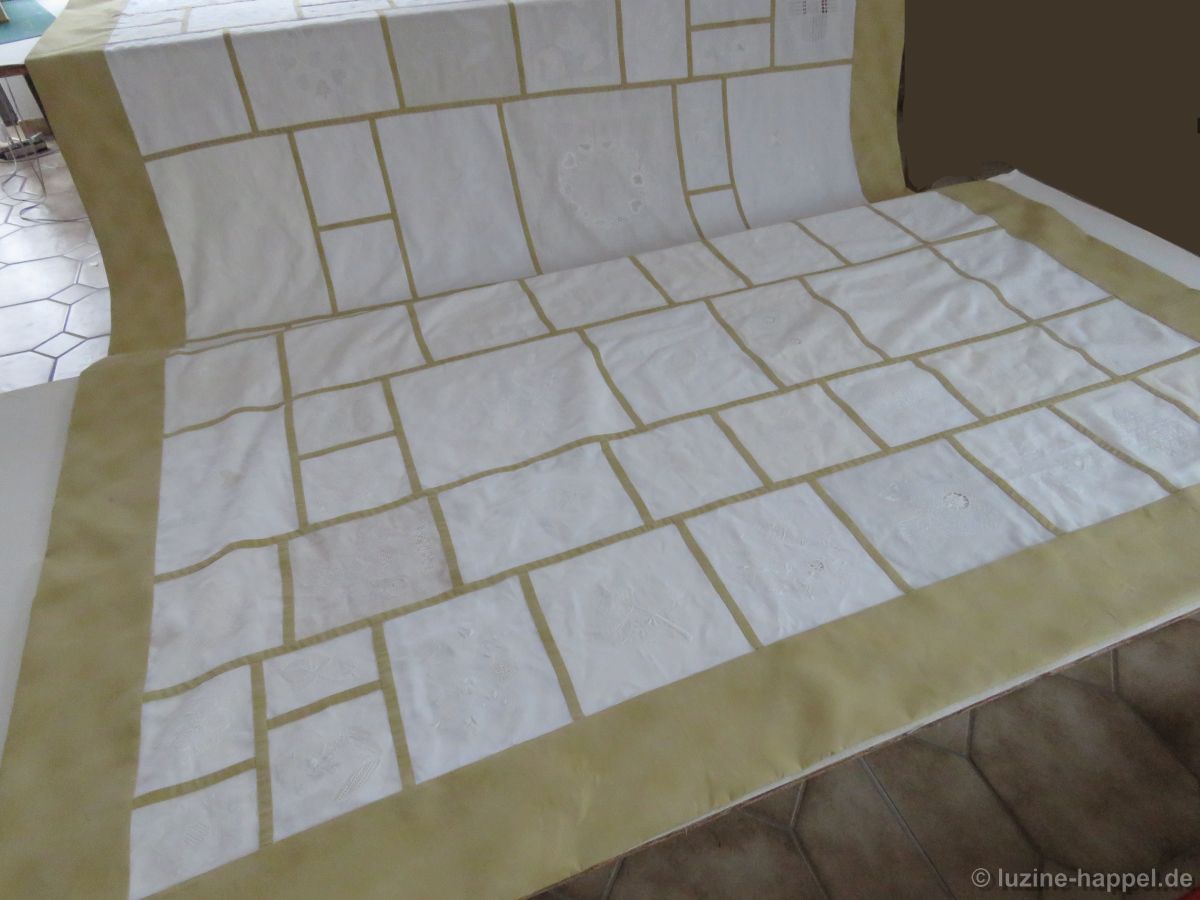
Ironed piece by piece and pulled over the tables in stages, the cloth finally lay nicely smooth in front of me.
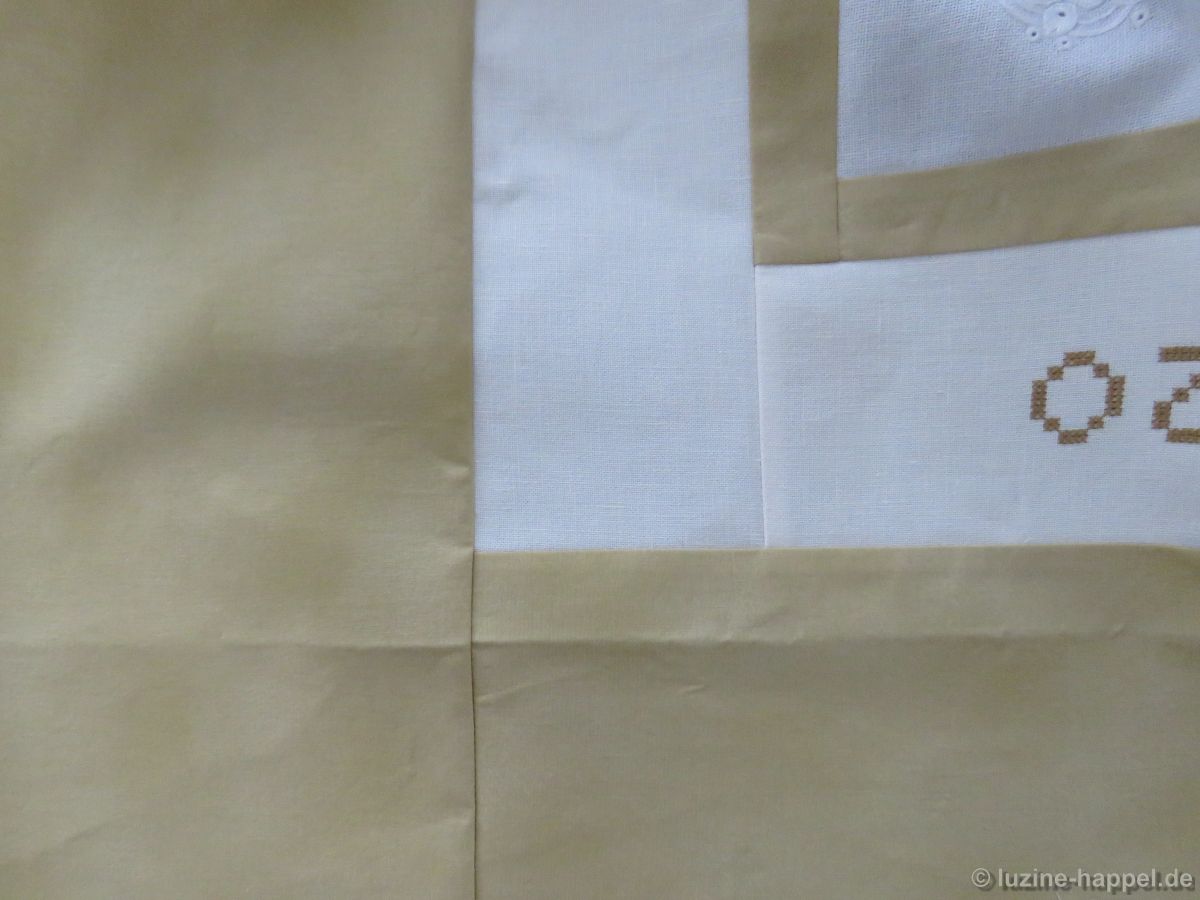
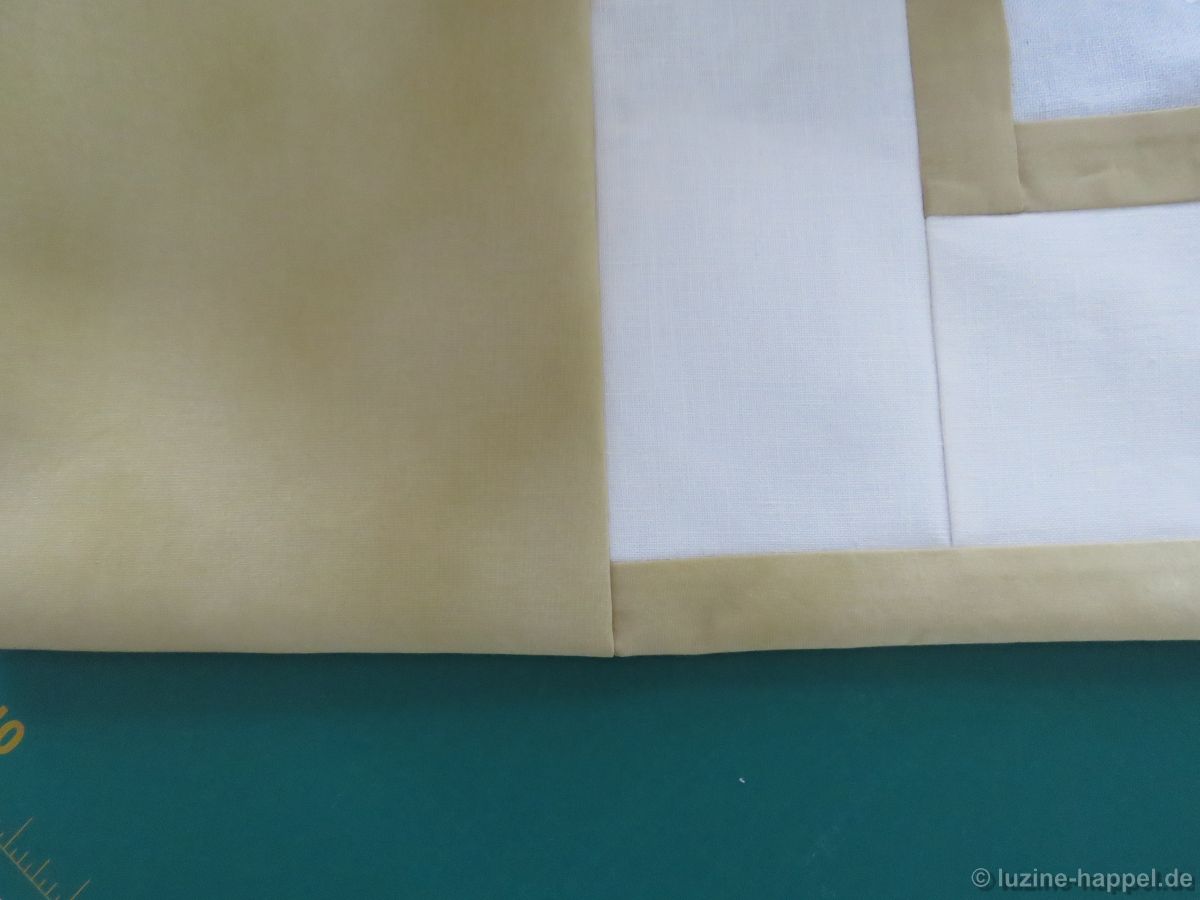
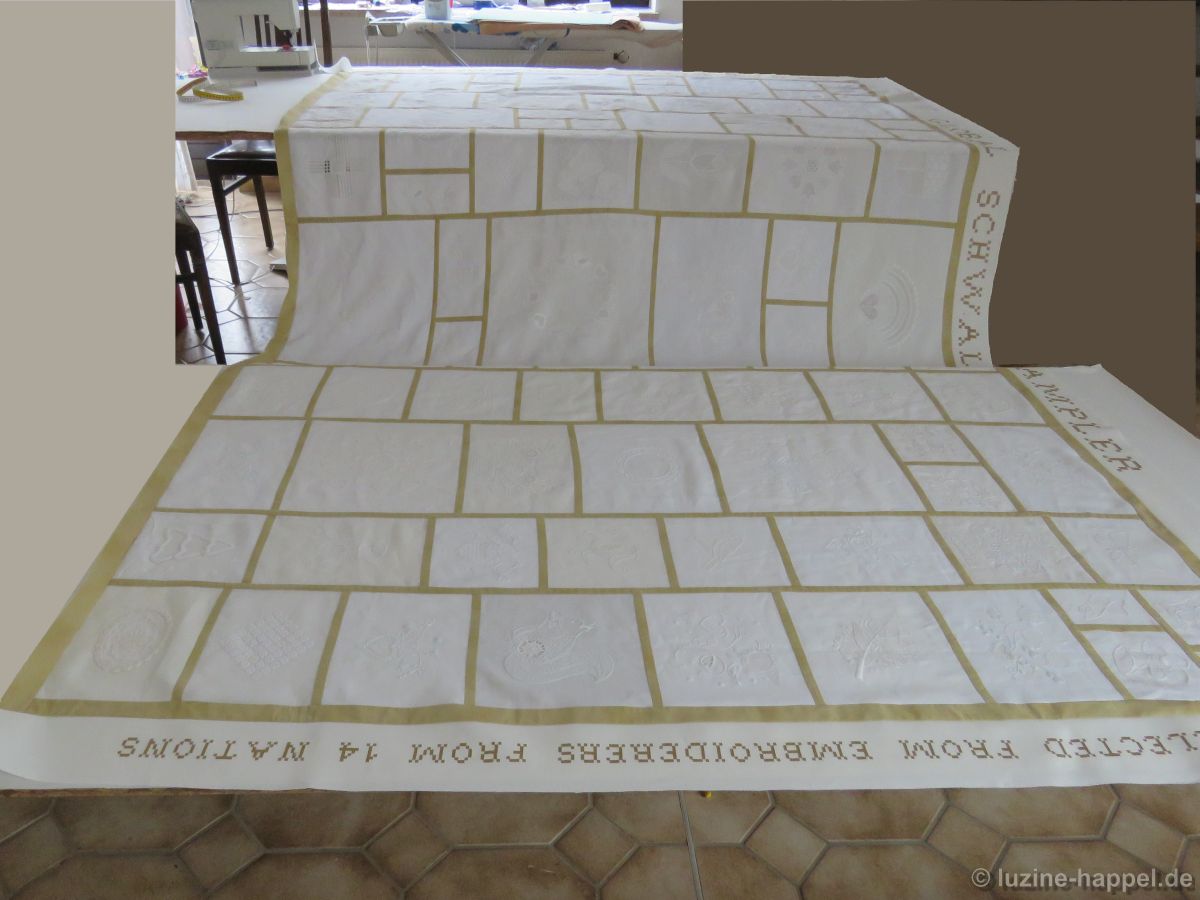
The bar was pushed through and attached to the ceiling. Despite the greatest care, a few wrinkles have again appeared in the fabric. Also, the sampler cloth hangs slightly wavy in some places – I will probably have to correct the tension between the holding bar and the ceiling in some places. Without the support of additional nylon loops, the stable but very long bar sags a little, which can be seen here already in the first minutes of hanging, and it will intensify over time.
Maybe I’m just too persnickety about the light waves – after all, it’s textile fabric, not rigid material. I was also able to observe that with increasing humidity, some linen fabrics trend to wear somewhat out.
However, for the moment I am satisfied with the result – the remaining fine adjustments are made when the sampler has taken its regular place in my exhibition rooms.
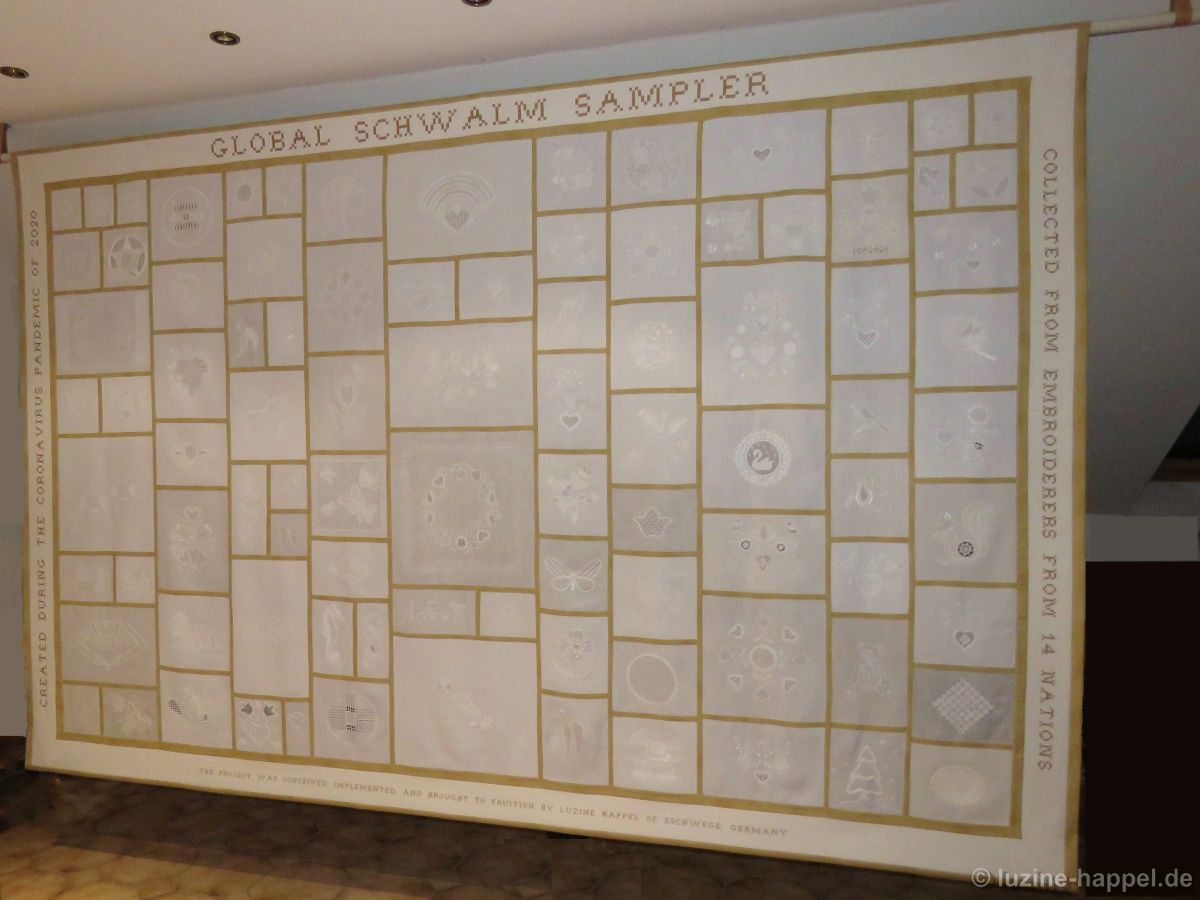
More than anything, I am happy with the great result and enjoy the sight of the beautiful embroideries every day.
One final time I will report on the sampler cloth , then – after almost a year – the project Global Schwalm Sampler will give way to other subjects.