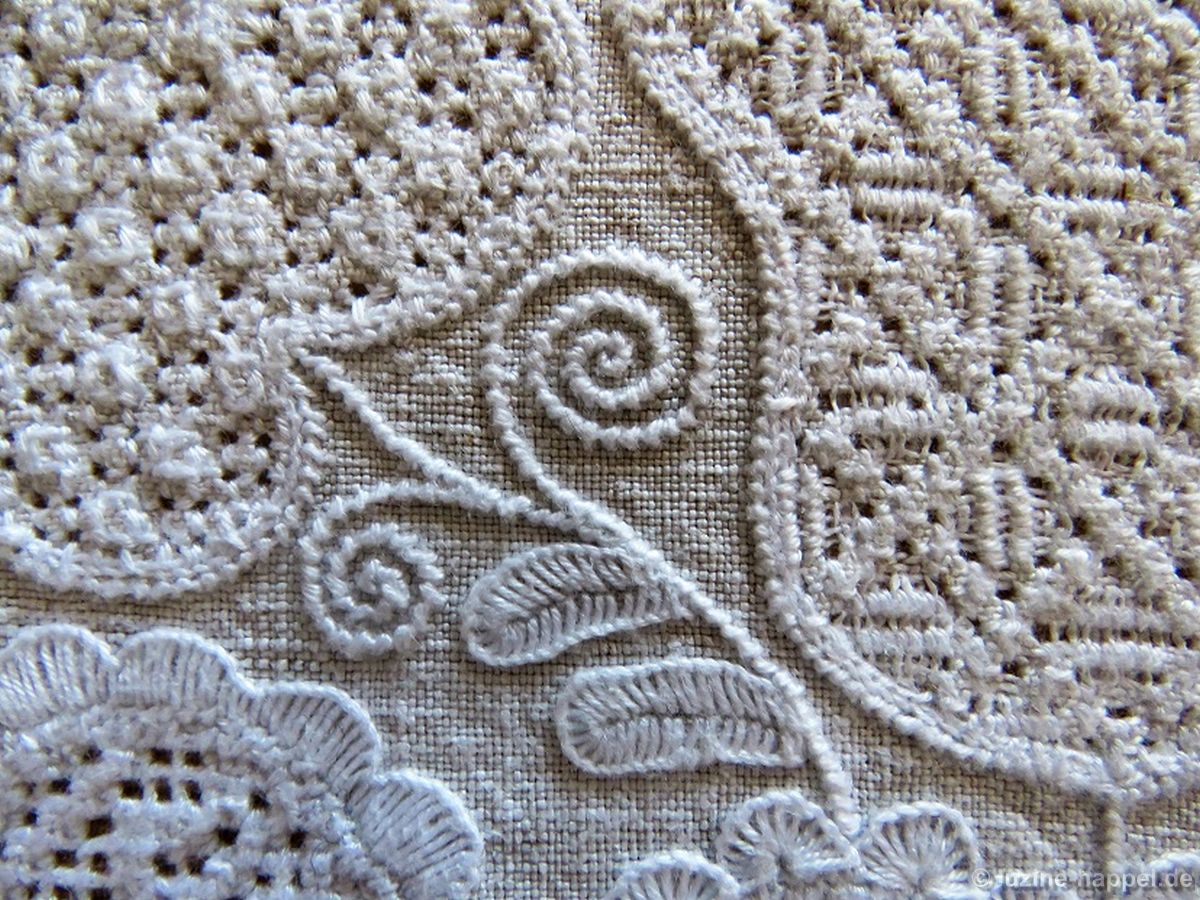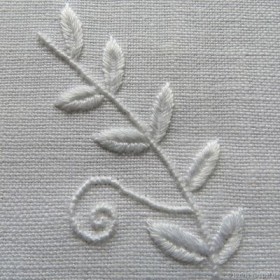
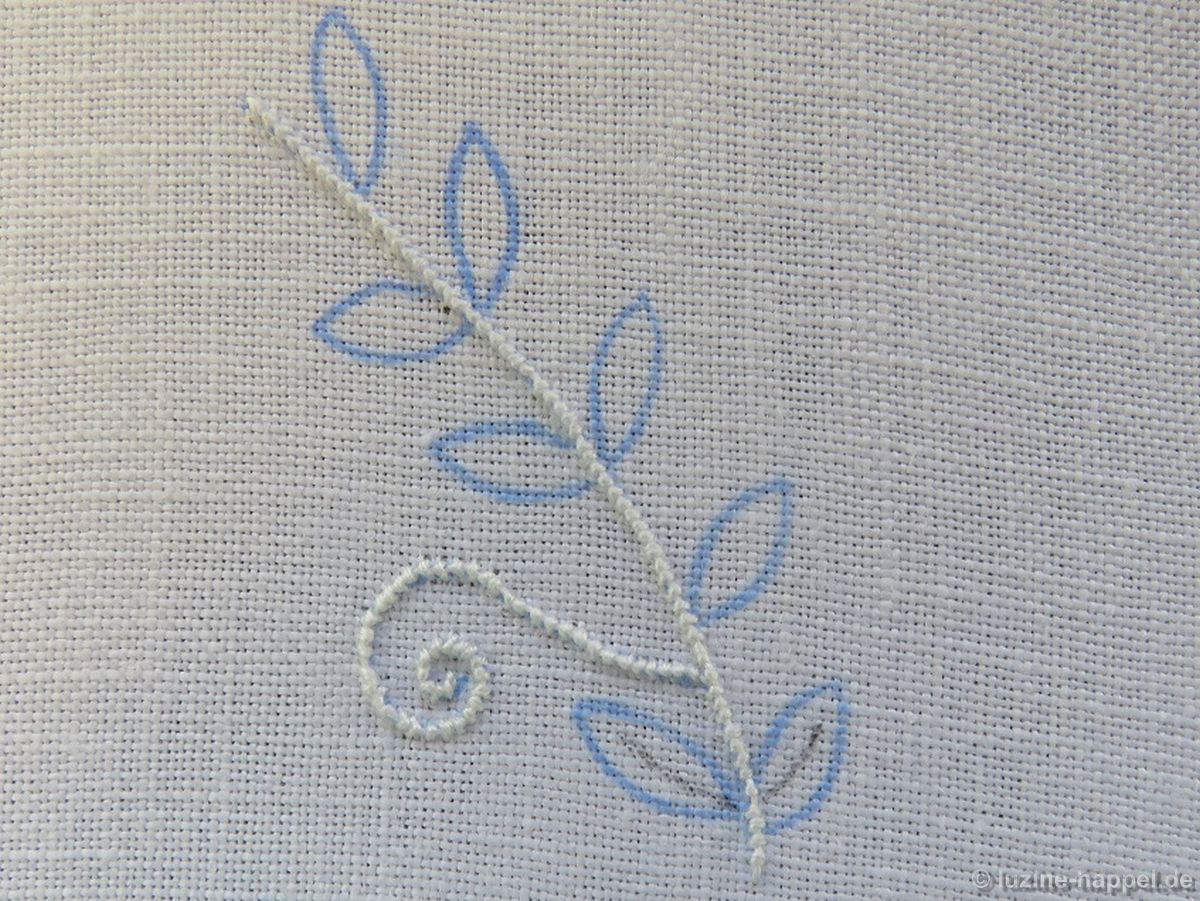
Kleine Blätter, an beiden Enden spitz zulaufend und ungefähr ellipsenförmig, sind beliebte und oft gebrauchte Elemente der Schwälmer Weißstickerei. Solche Blättchen werden mit Plattstichen gestickt. Manche Stickerinnen berichteten mir von Schwierigkeiten in der ordentlichen Ausführung der Stiche in diesen kleinen Formen. Daher kommt nun eine detaillierte Arbeitsanleitung.
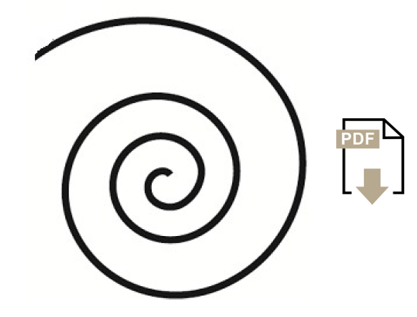
Die hier gezeigten Beispiele sind mit 25er Garn auf 16-fädigem Leinen gestickt. Die Vorlage zum Üben umfasst 2 Größen. Bevor Sie die kleine Blättchen-Vorlage (ca. 4,5 cm x 3 cm) nutzen, sollten Sie zuerst die etwas größeren Blättchen-Vorlage (ca. 5,9 cm x 3,9 cm) ausprobieren. Damit Sie die richtigen Designgrößen erhalten, können Sie meinen neuen Service nutzen und ein pdf-Dokument mit den Mustervorlagen kostenlos herunterladen.
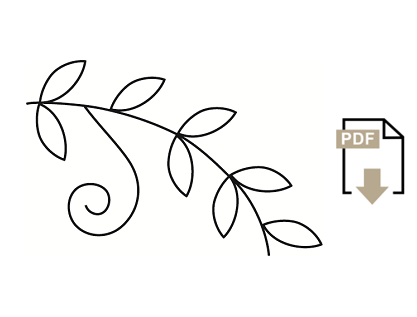
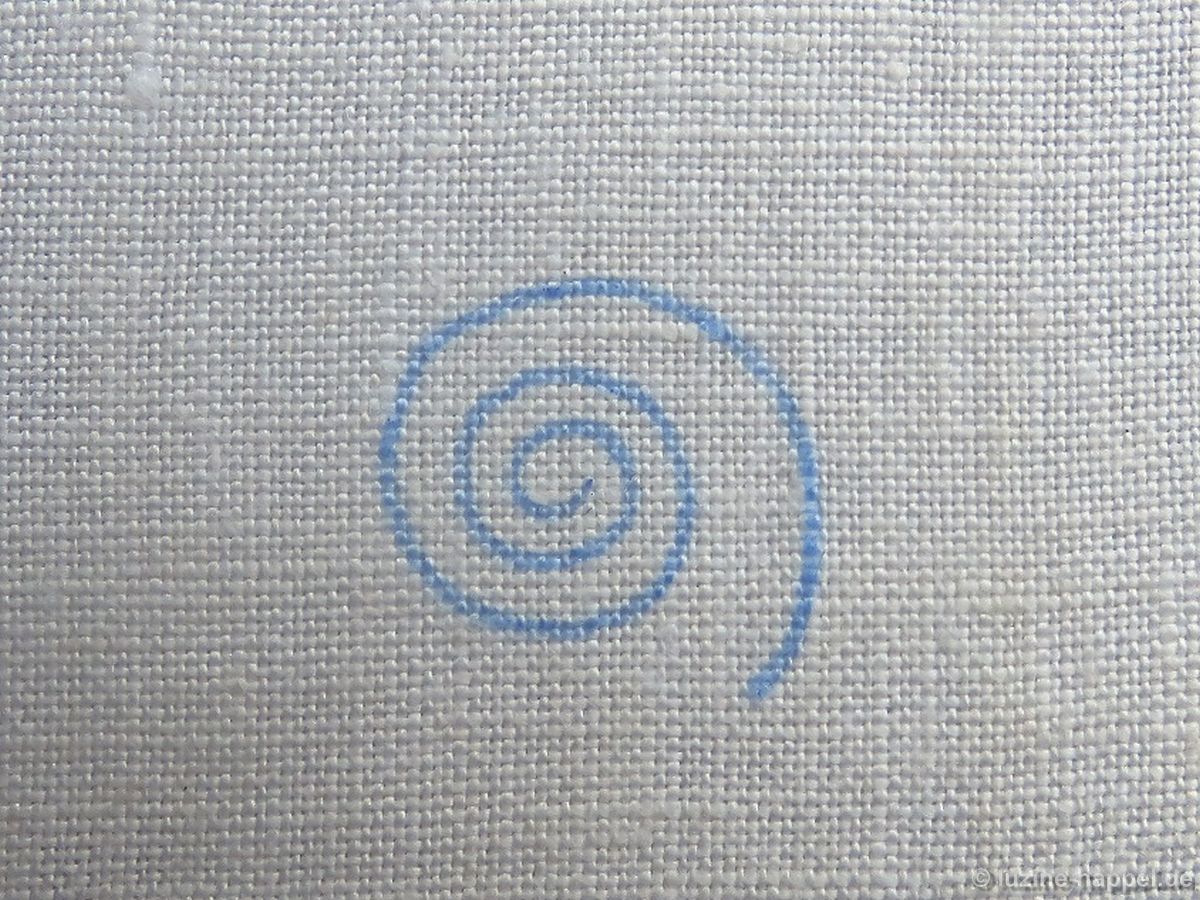
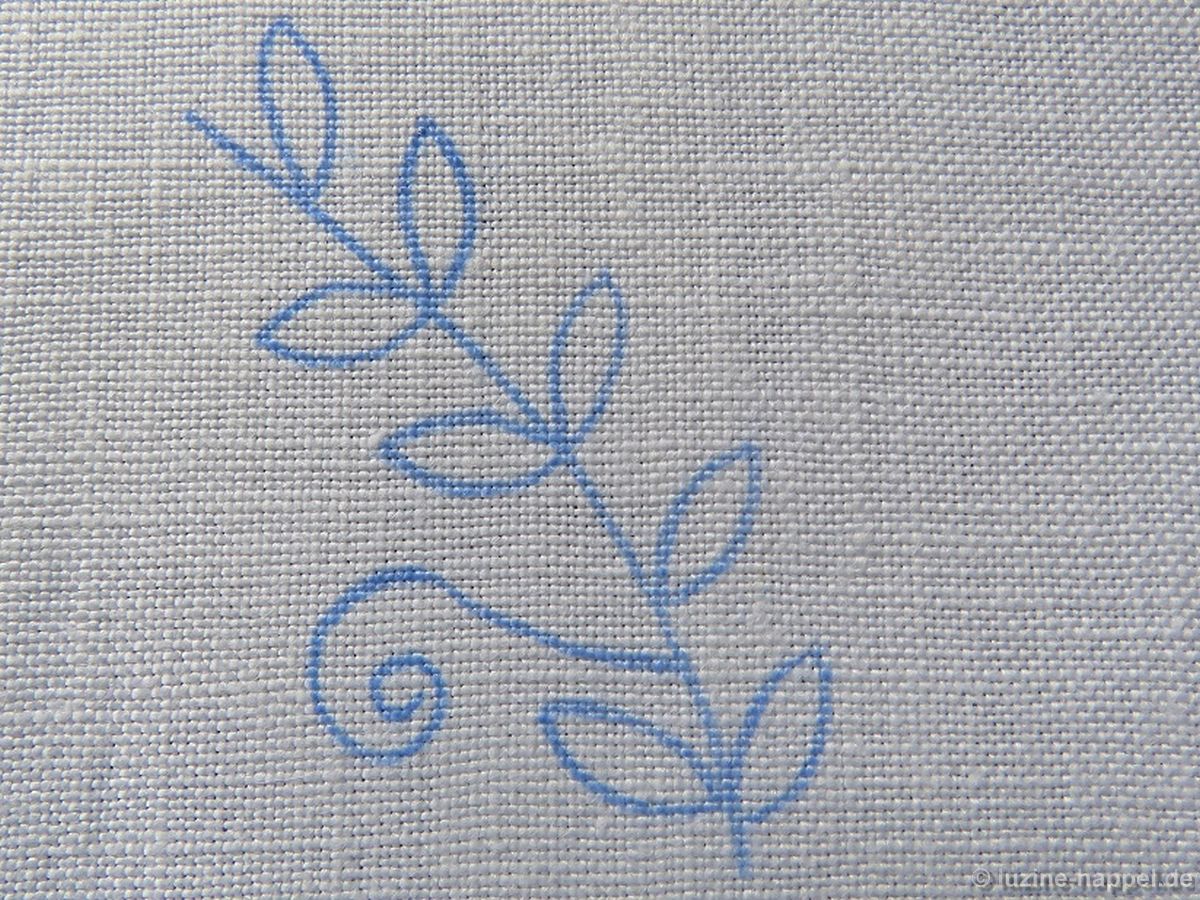
Das Design wird auf das Leinen übertragen – wenn man es aufbügelt, erscheint das Muster spiegelbildlich.
 Die Arbeit sollte fest in einen Rahmen gespannt sein.
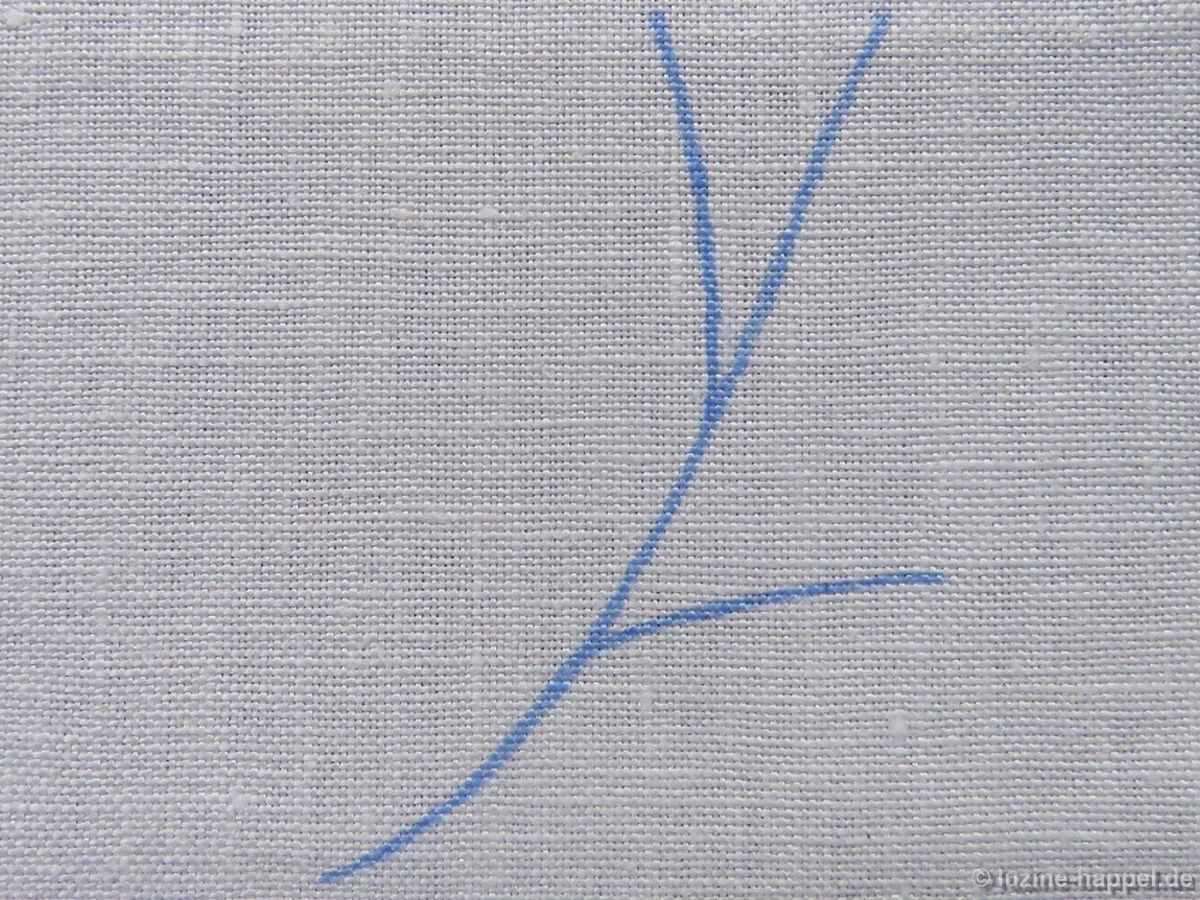
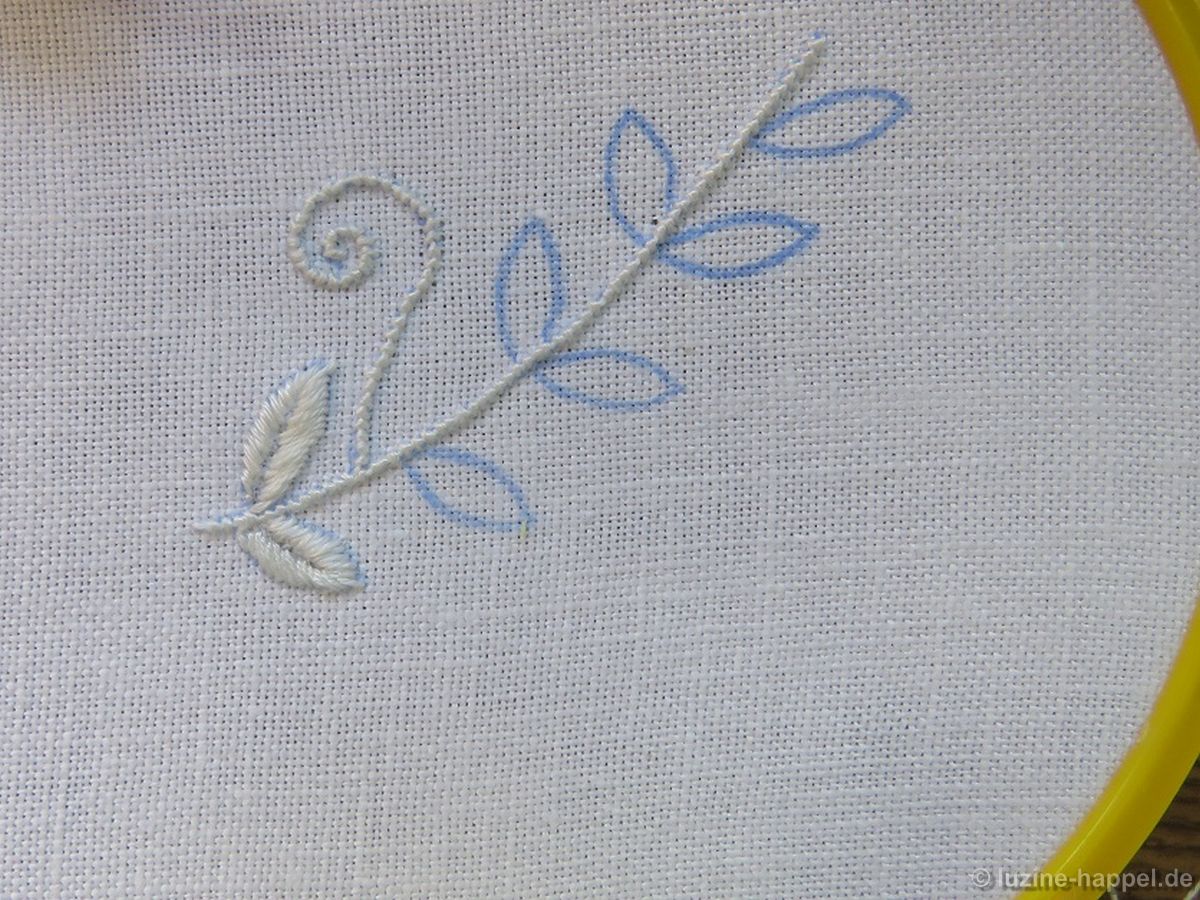 Zuerst zeichnet man mit HB-Bleistift eine dünne Mittellinie in jedes Blatt, die in etwa im gleichen Abstand zur Spitze endet, wie der Abstand zu den Seiten ist.
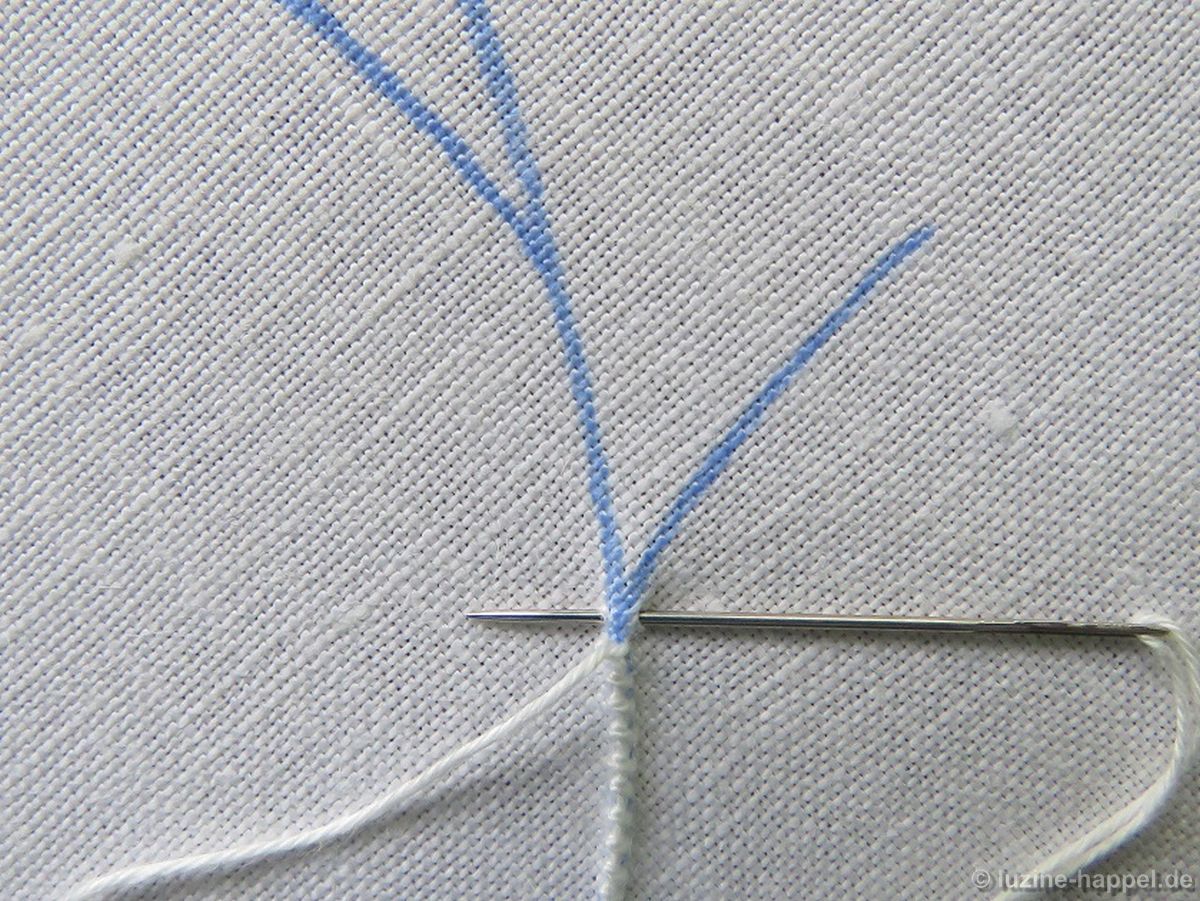
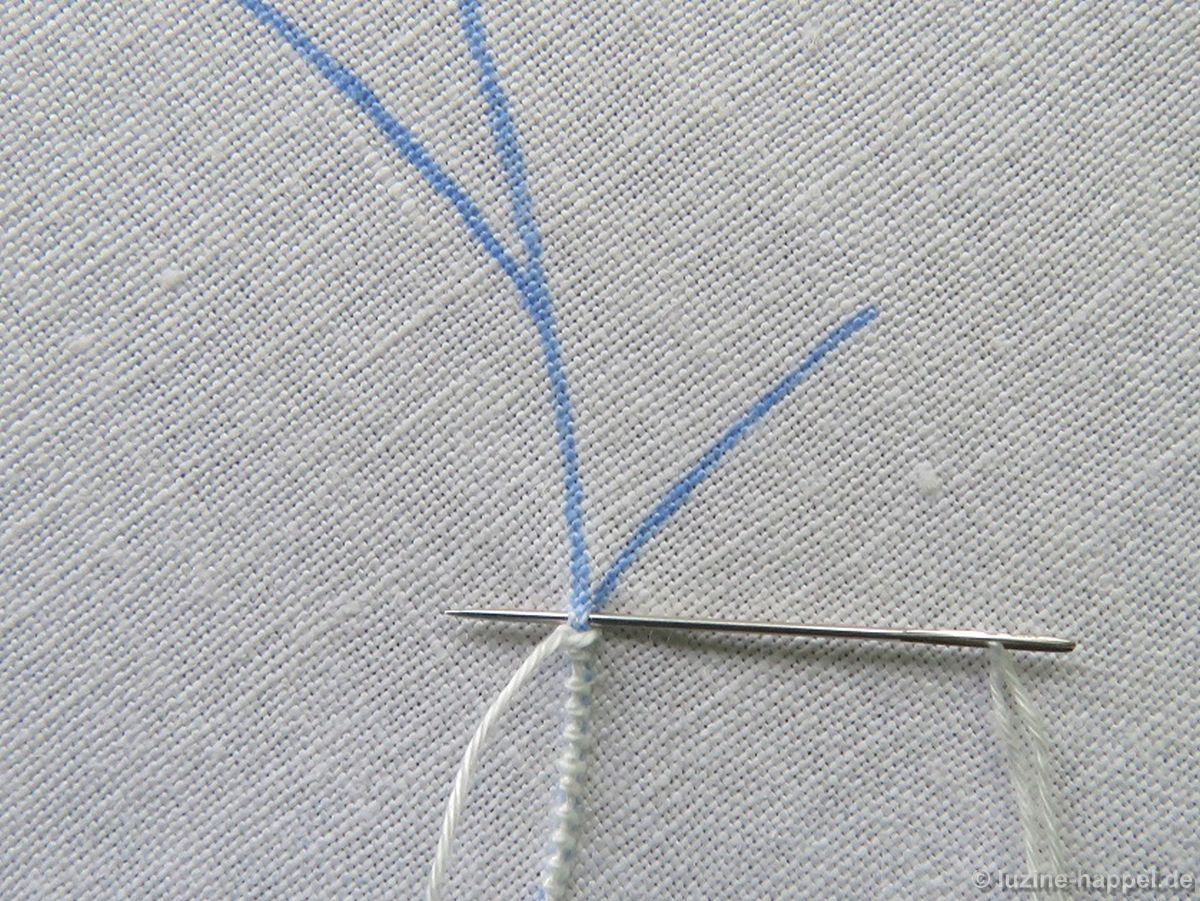
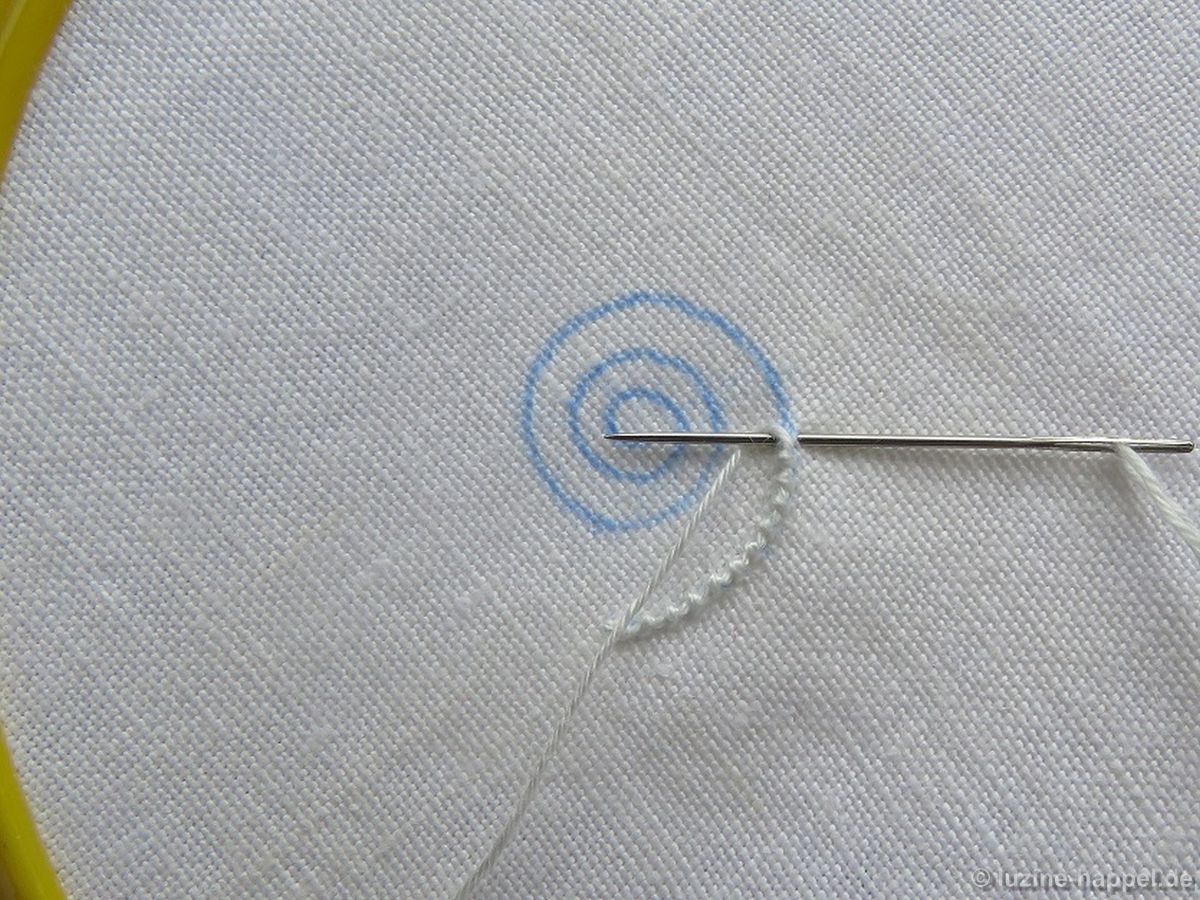
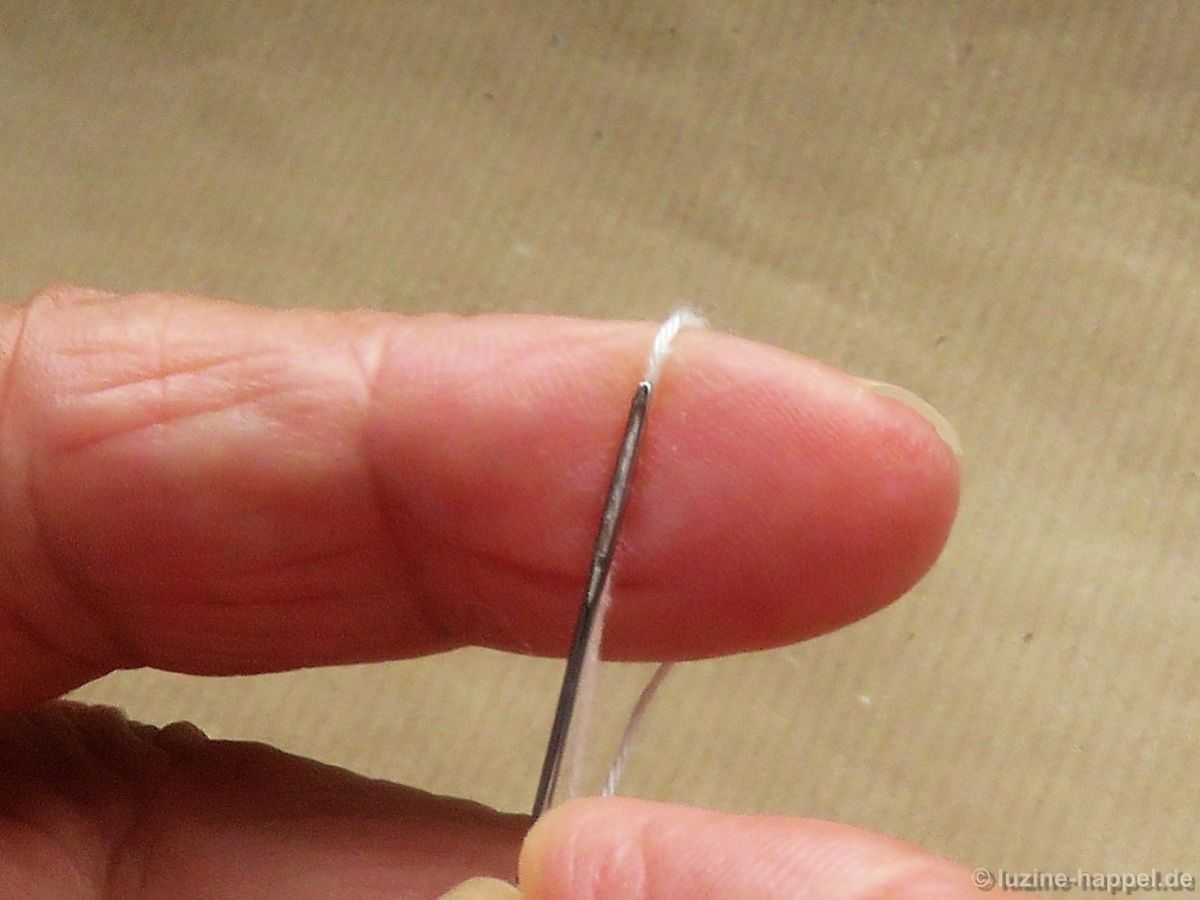
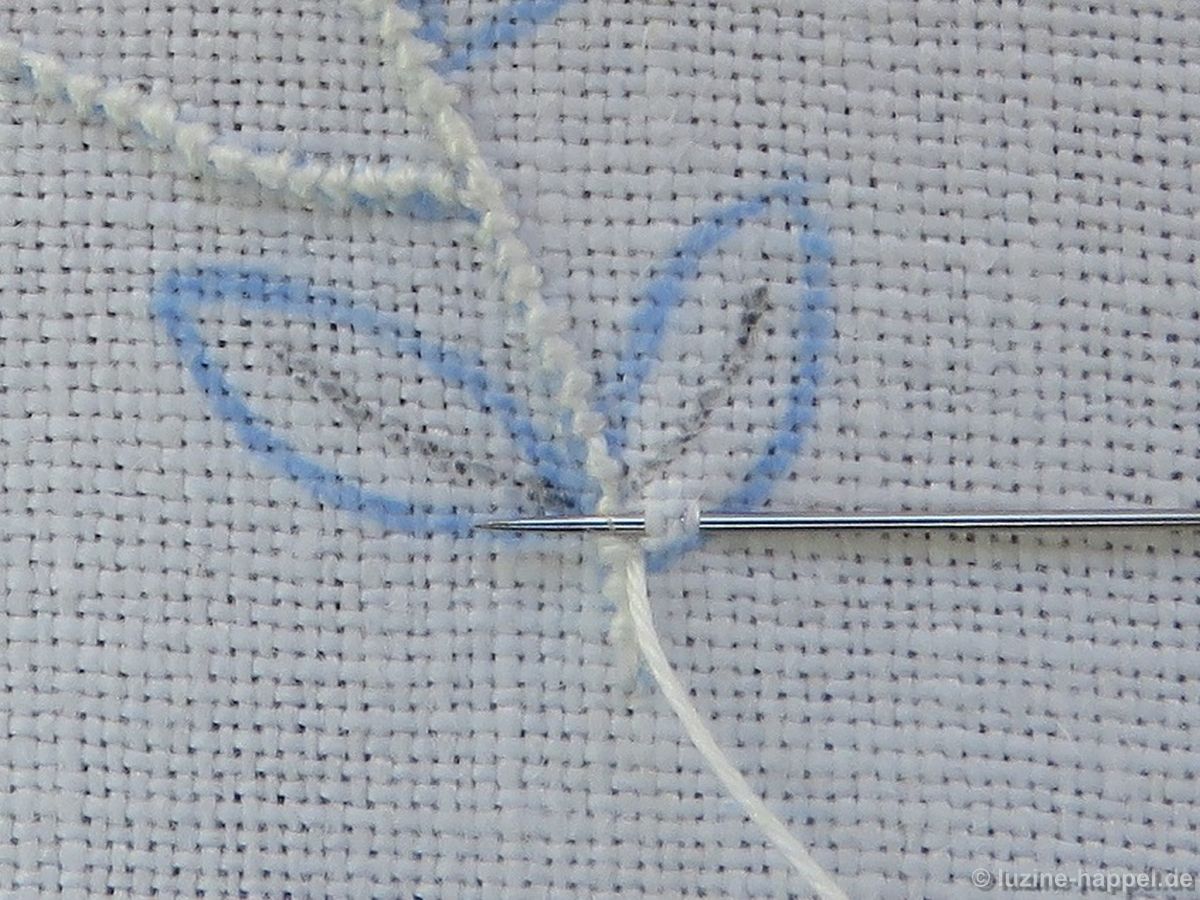
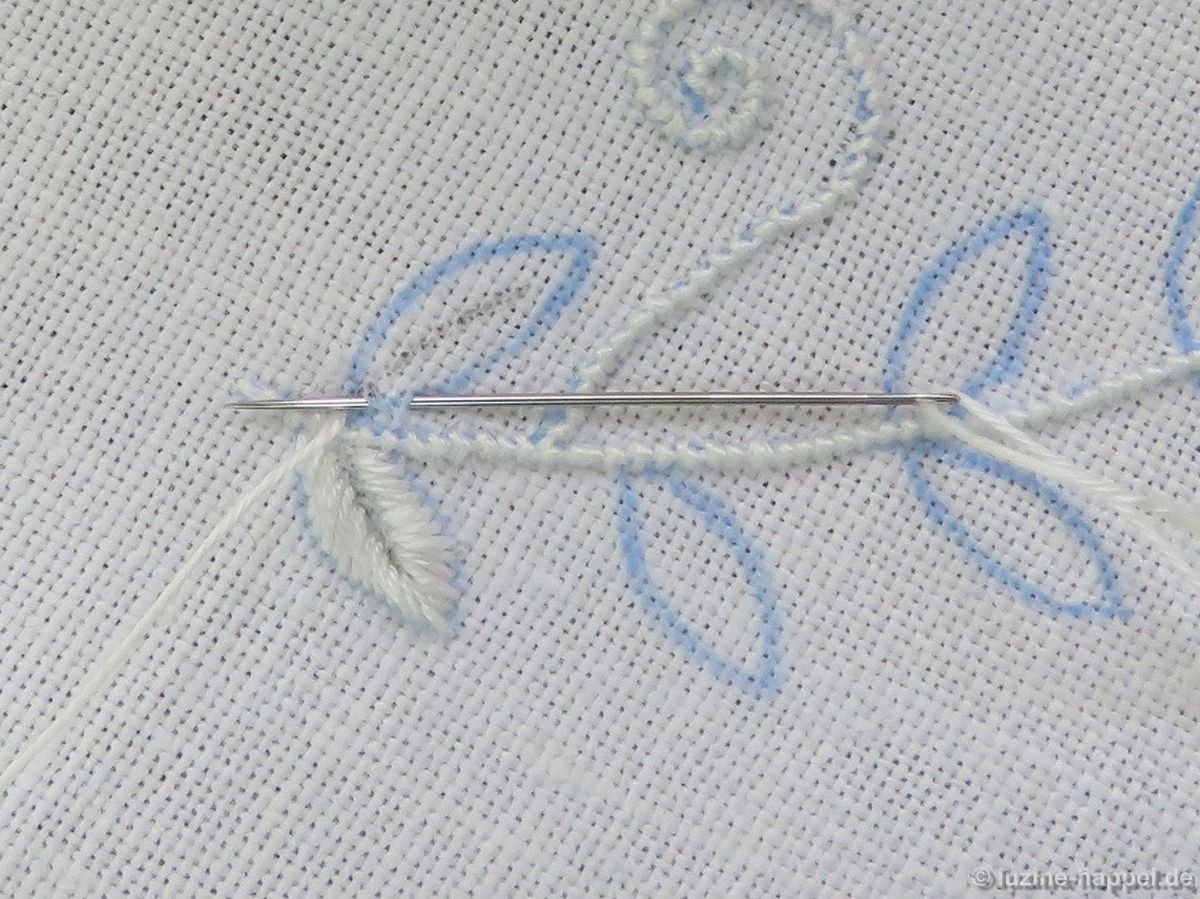
 Man vernäht den Faden (am besten unter den Knötchenstichen), kommt auf der Konturenlinie dicht neben den Knötchenstichen heraus und legt einen ersten Plattstich ein Stückchen auf der Konturenlinie entlang.
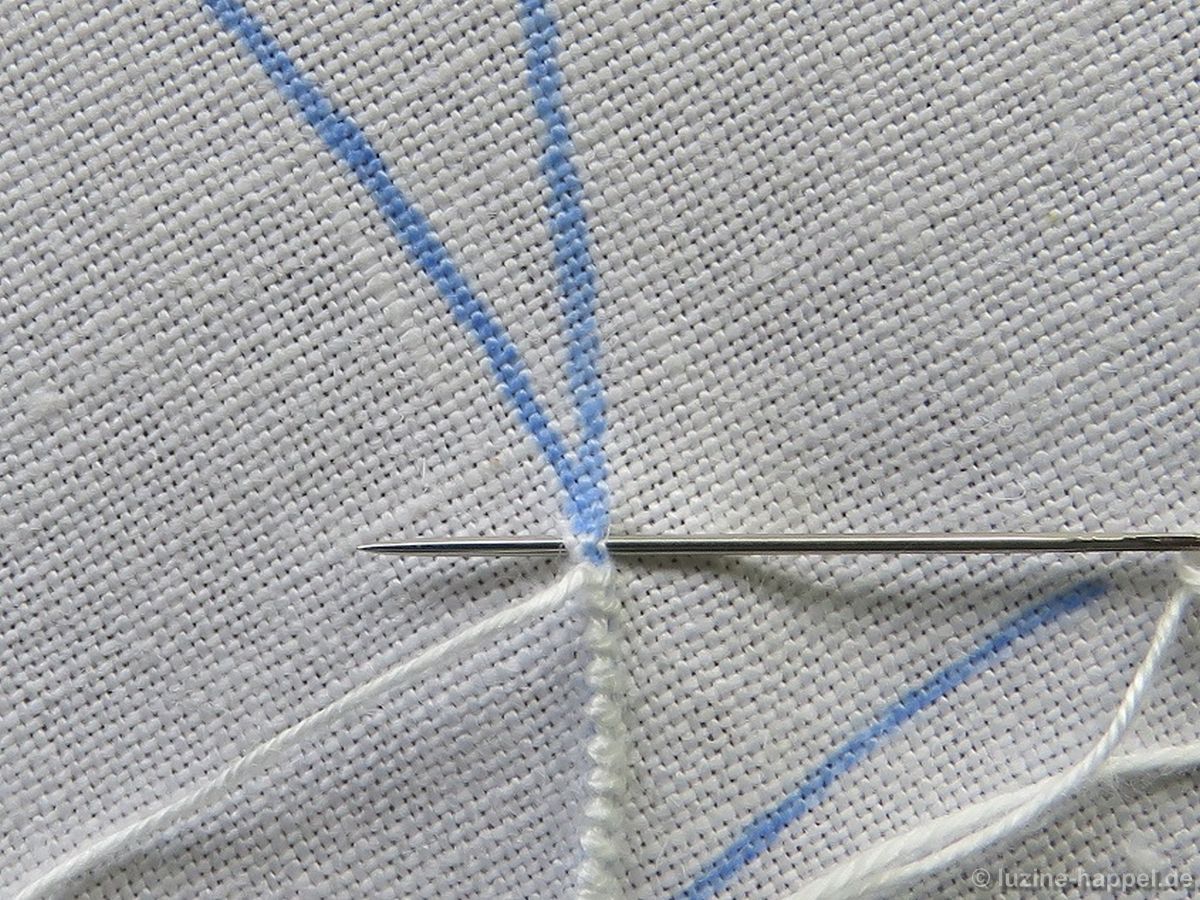
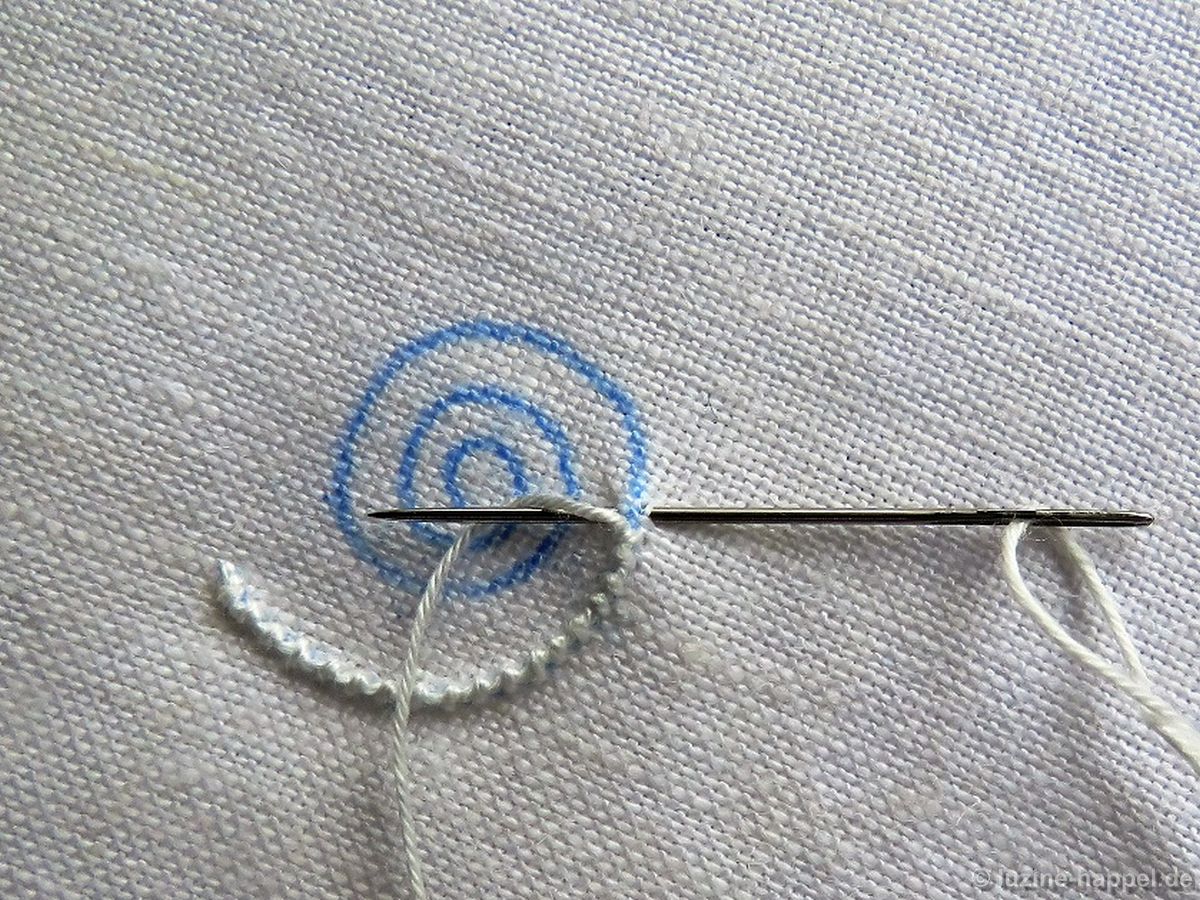
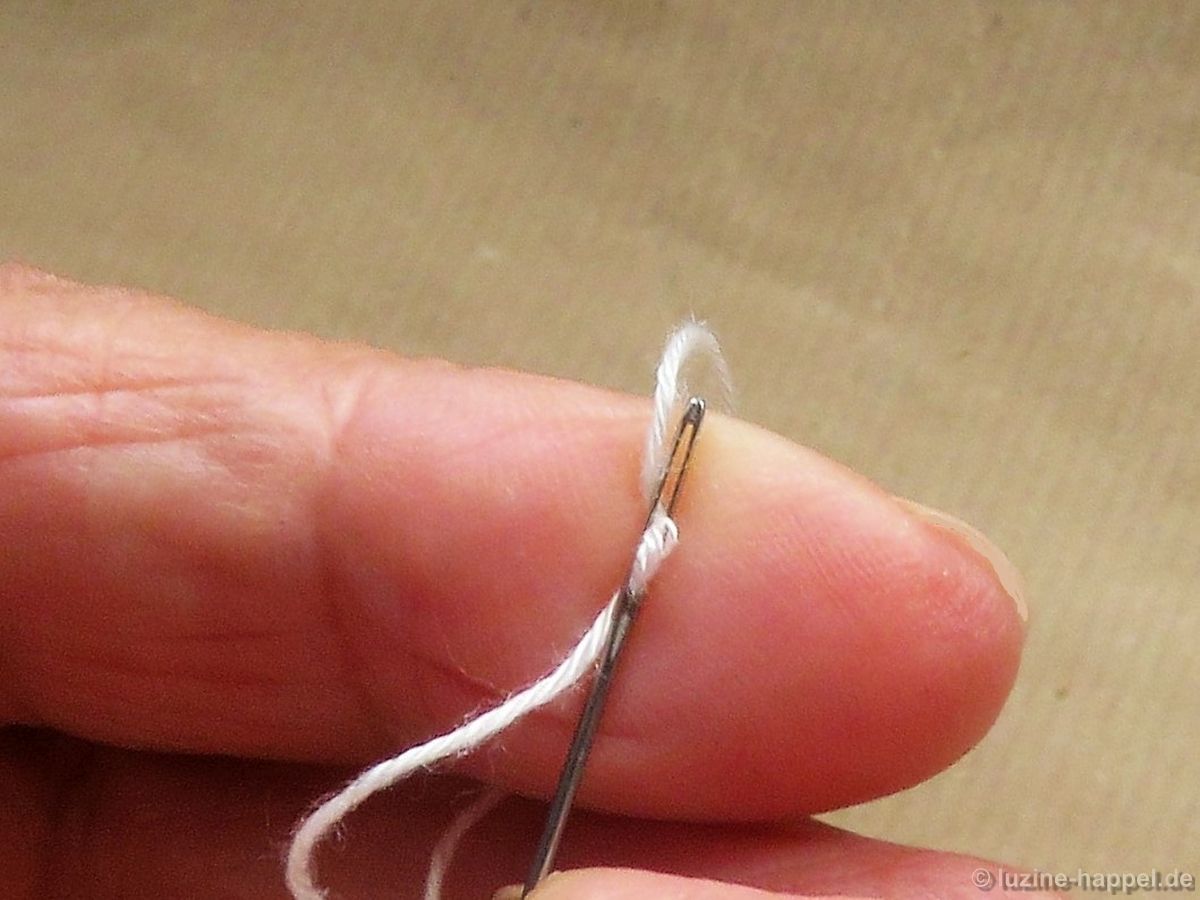
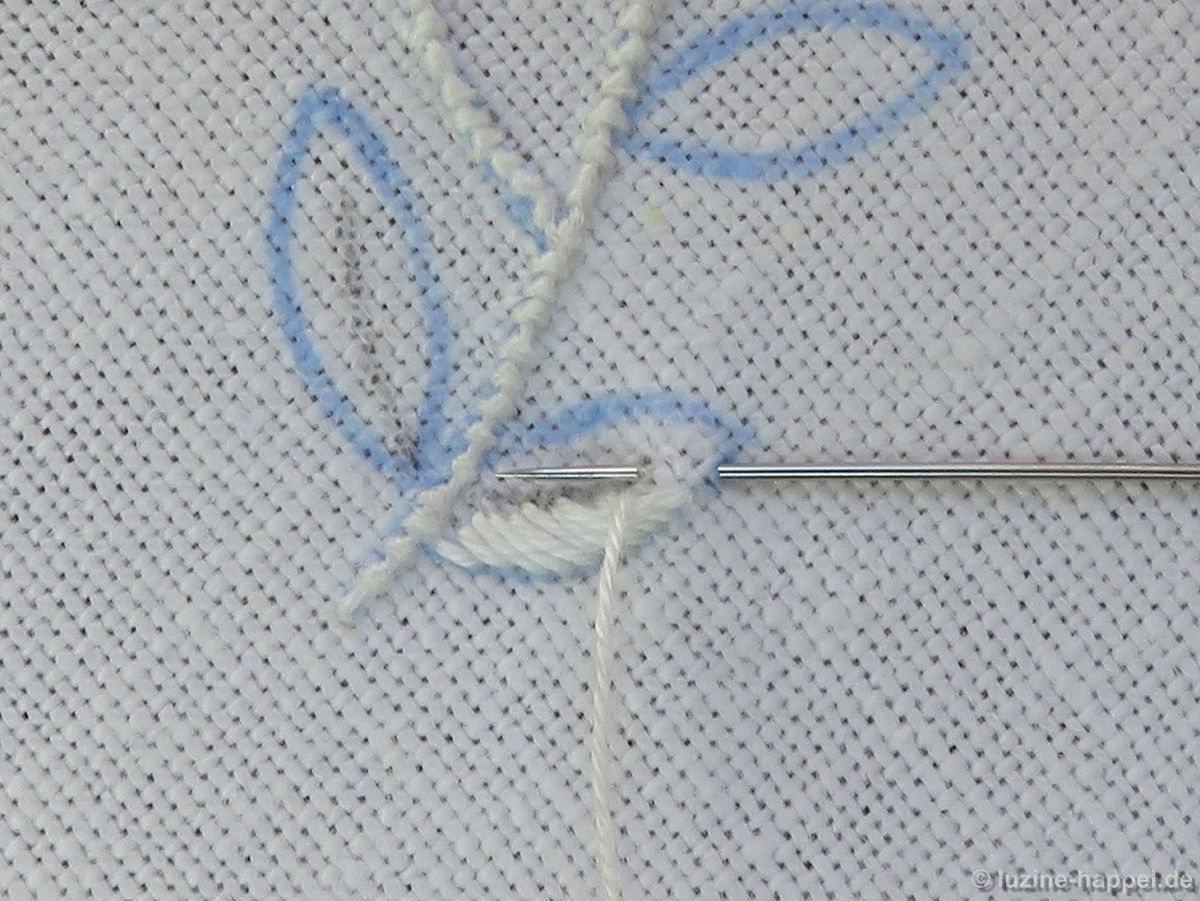
 Die weiteren Stiche erstrecken sich dann zwischen der Konturenlinie und der Mittellinie. Die Mittellinie sollte dabei frei bleiben.
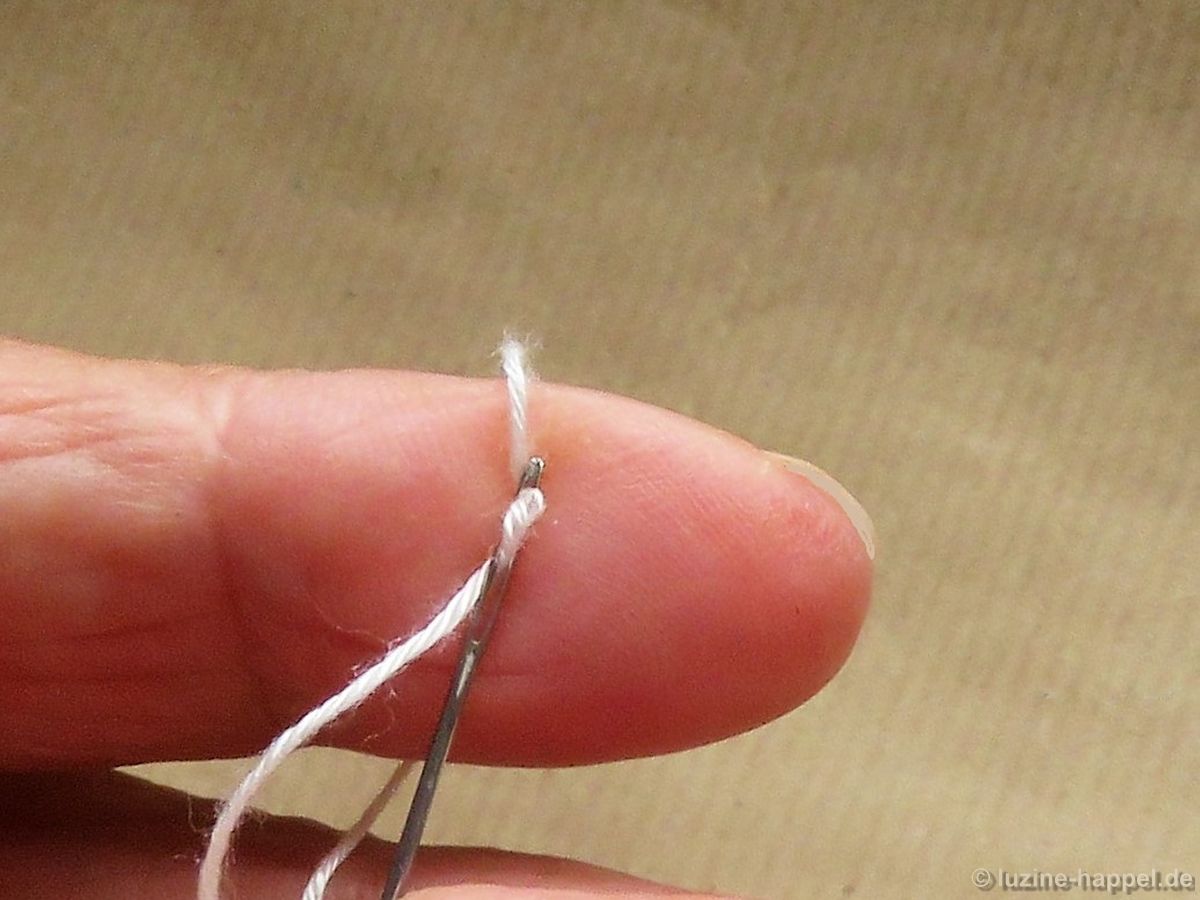
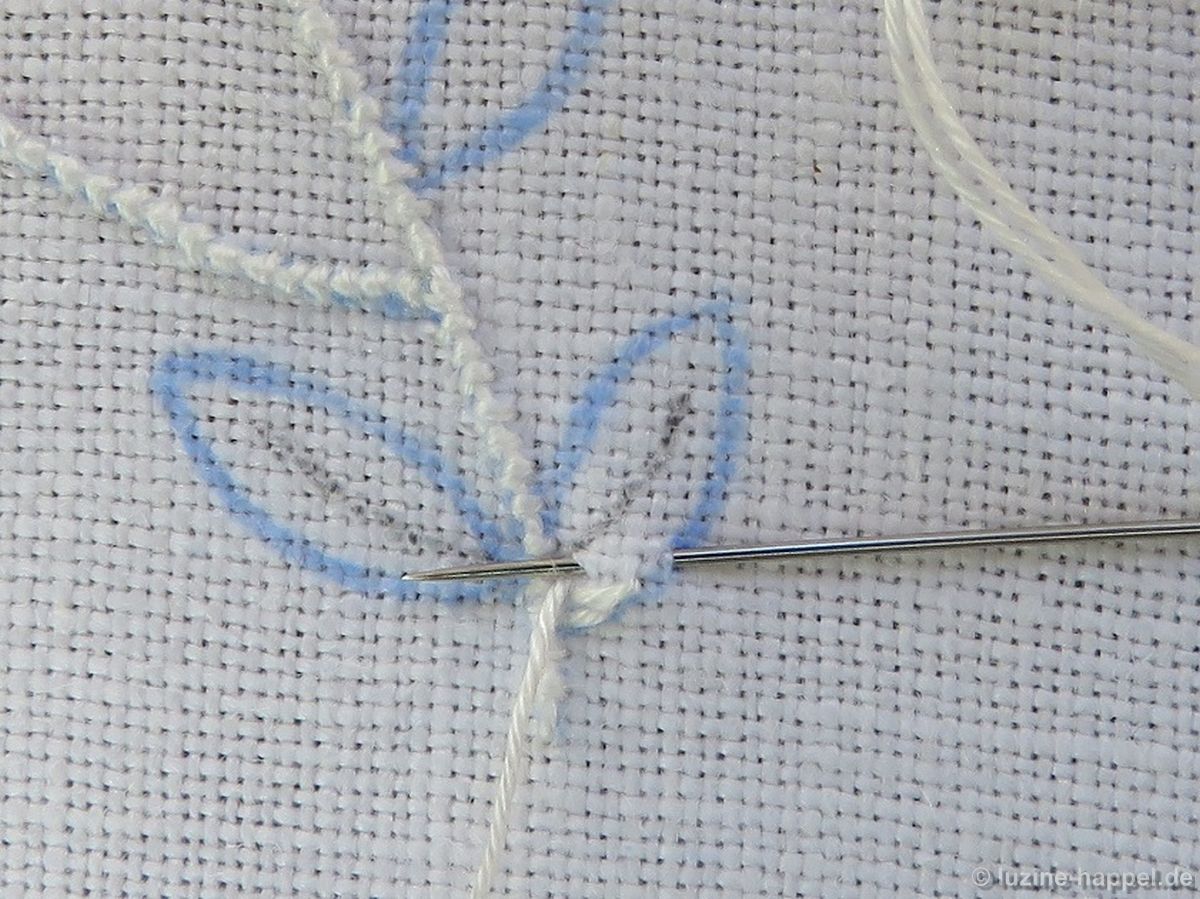 Man legt die Stiche dicht nebeneinander
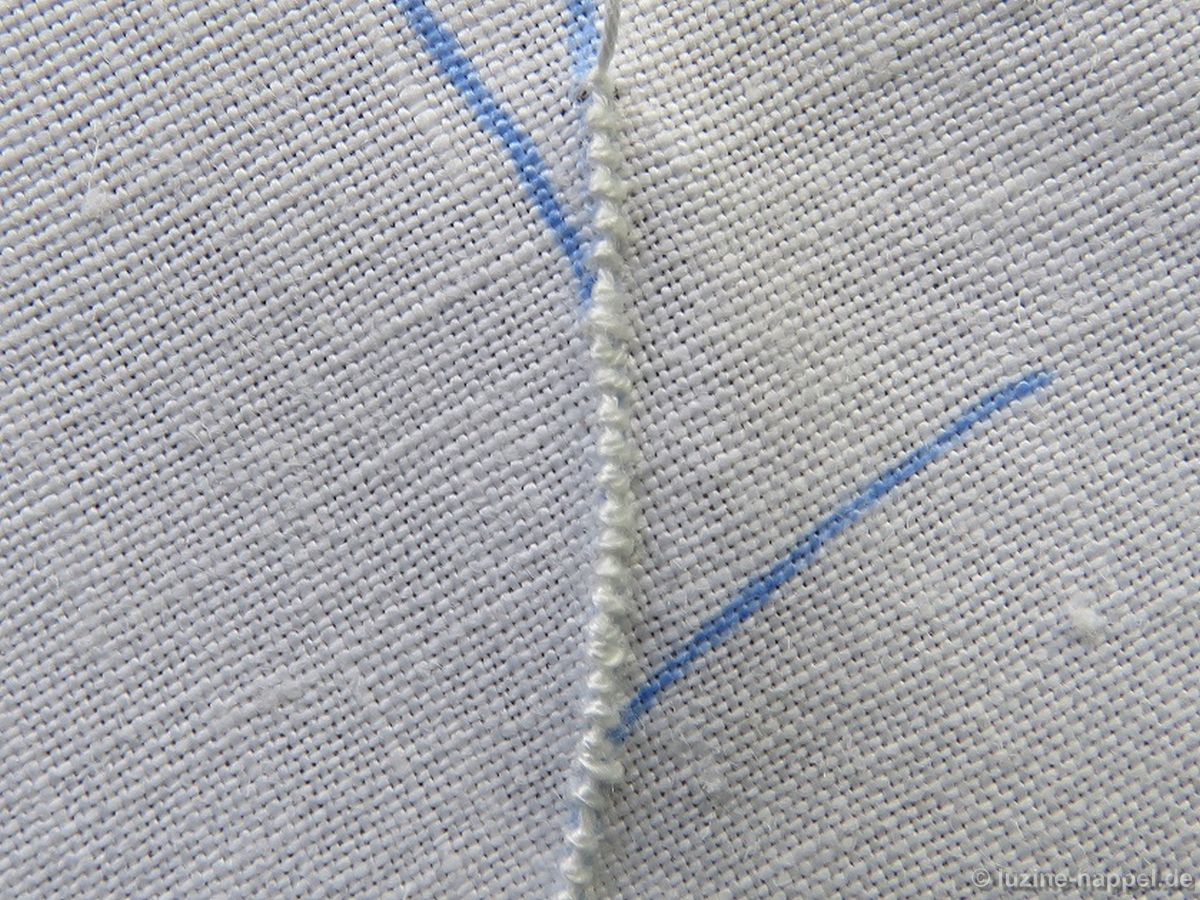
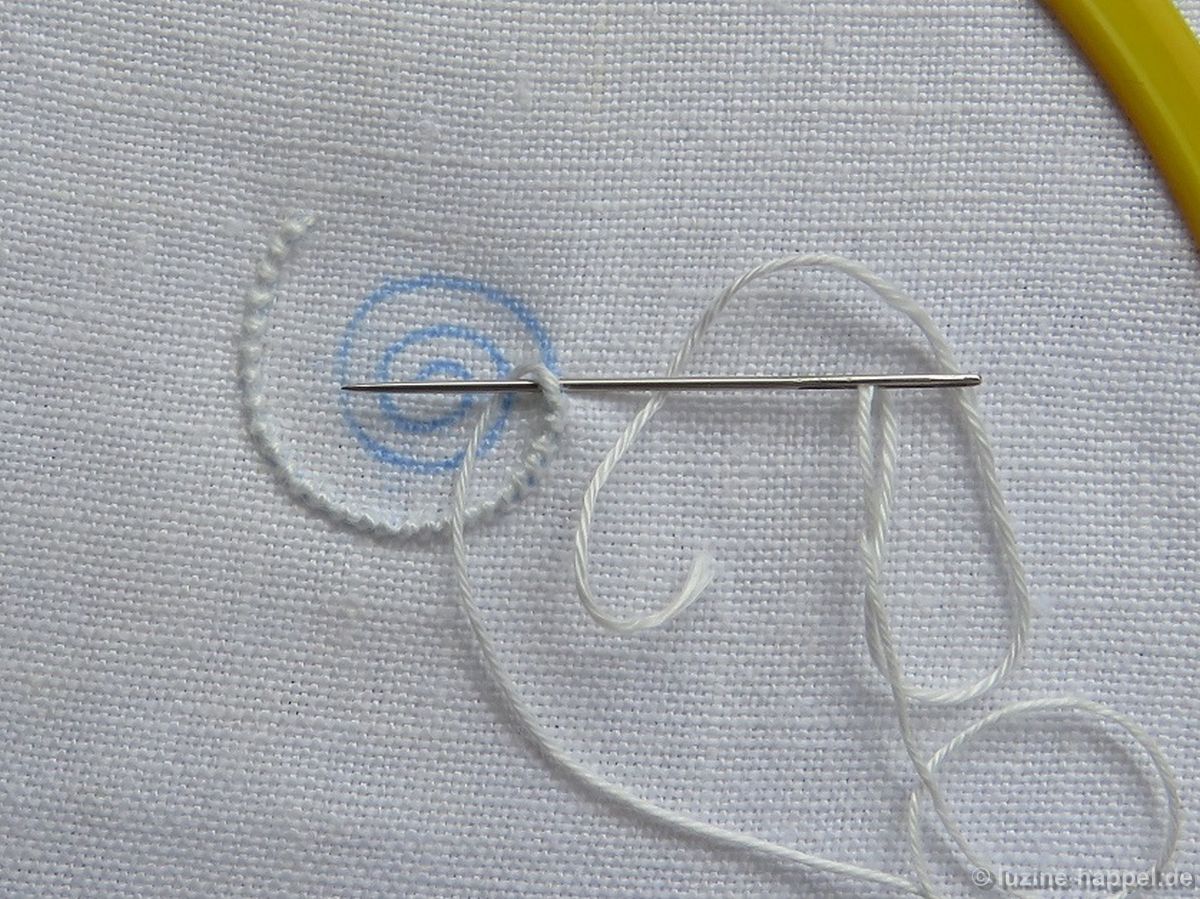
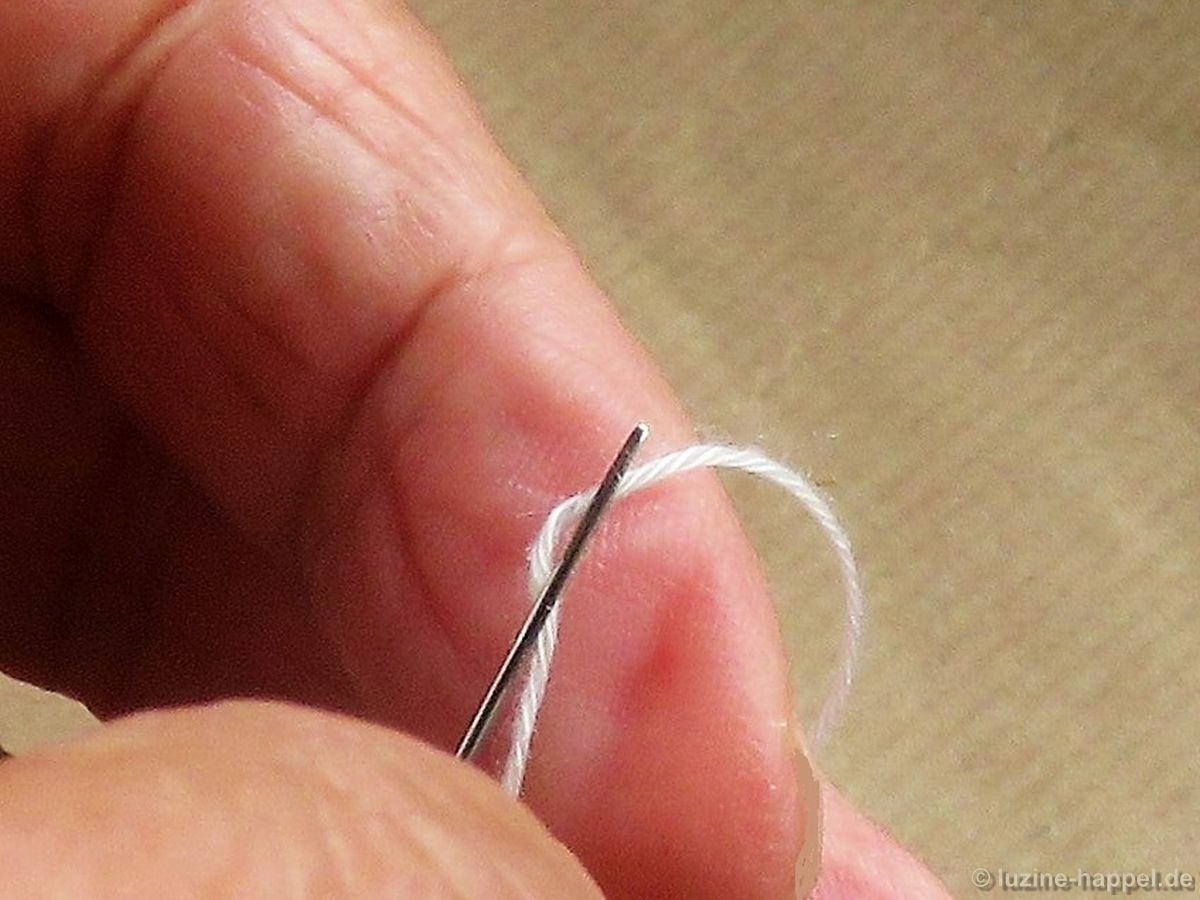
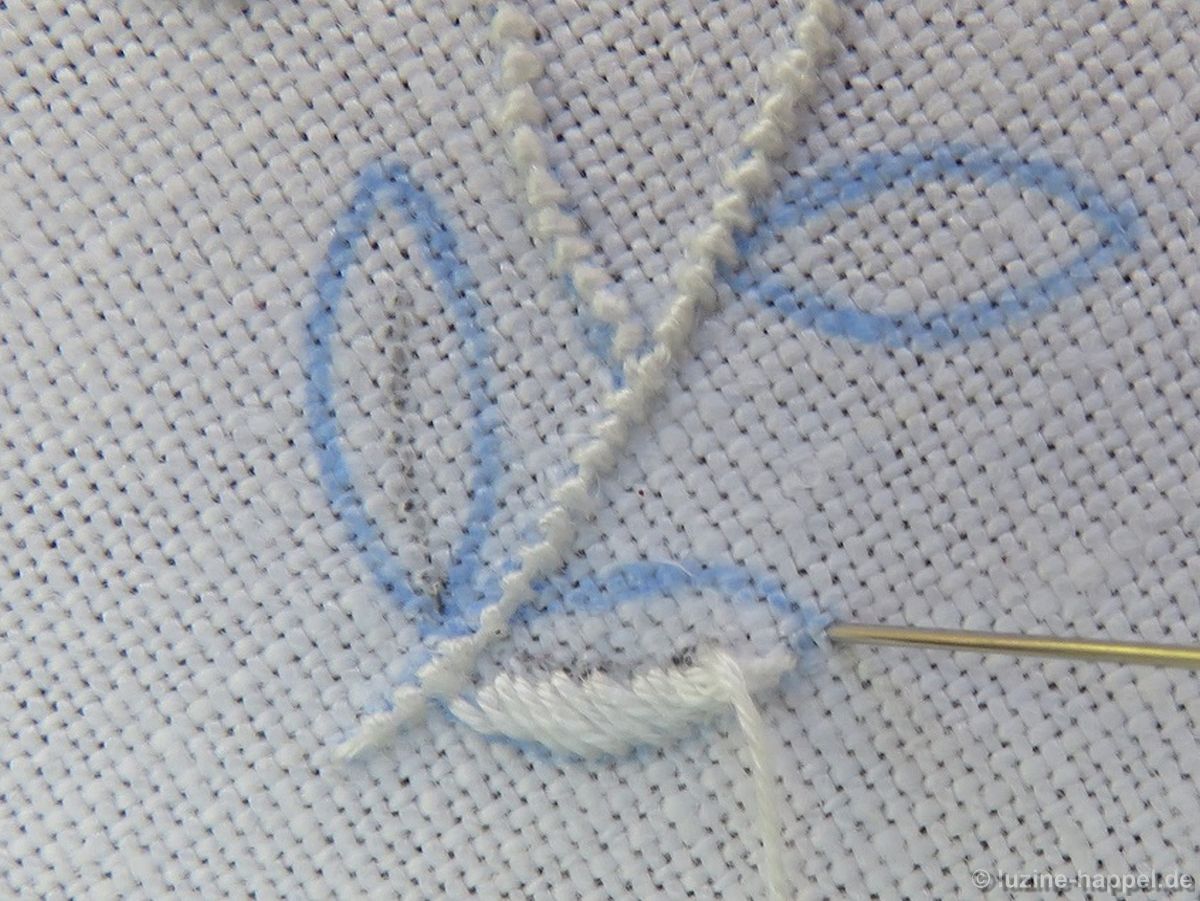
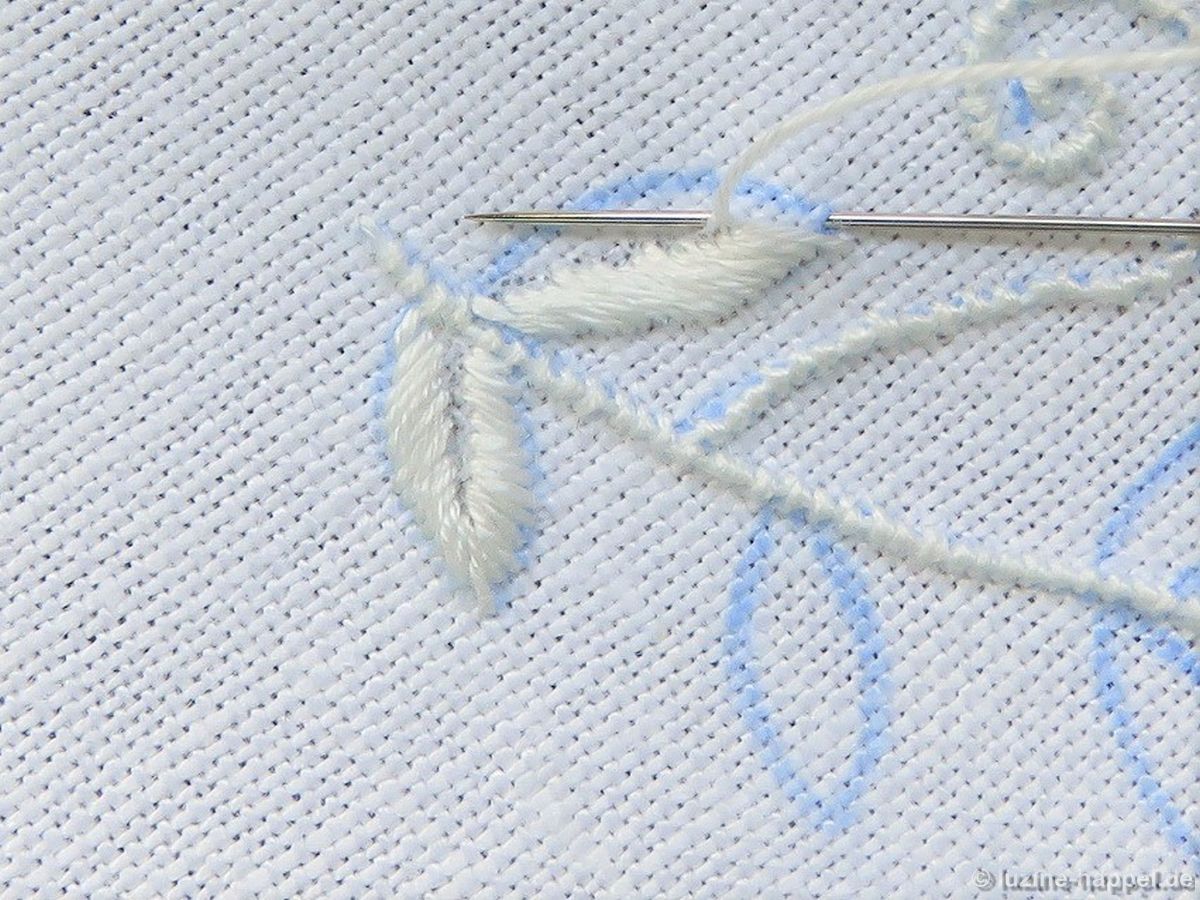
 und folgt der Form der Kontur, d.h. die Stiche liegen nicht ganz parallel, sondern in der Mitte geringfügig dichter zusammen als an der Außenkante. Dabei dreht man die Arbeit immer so, dass die Nadel horizontal von rechts nach links geführt werden kann.
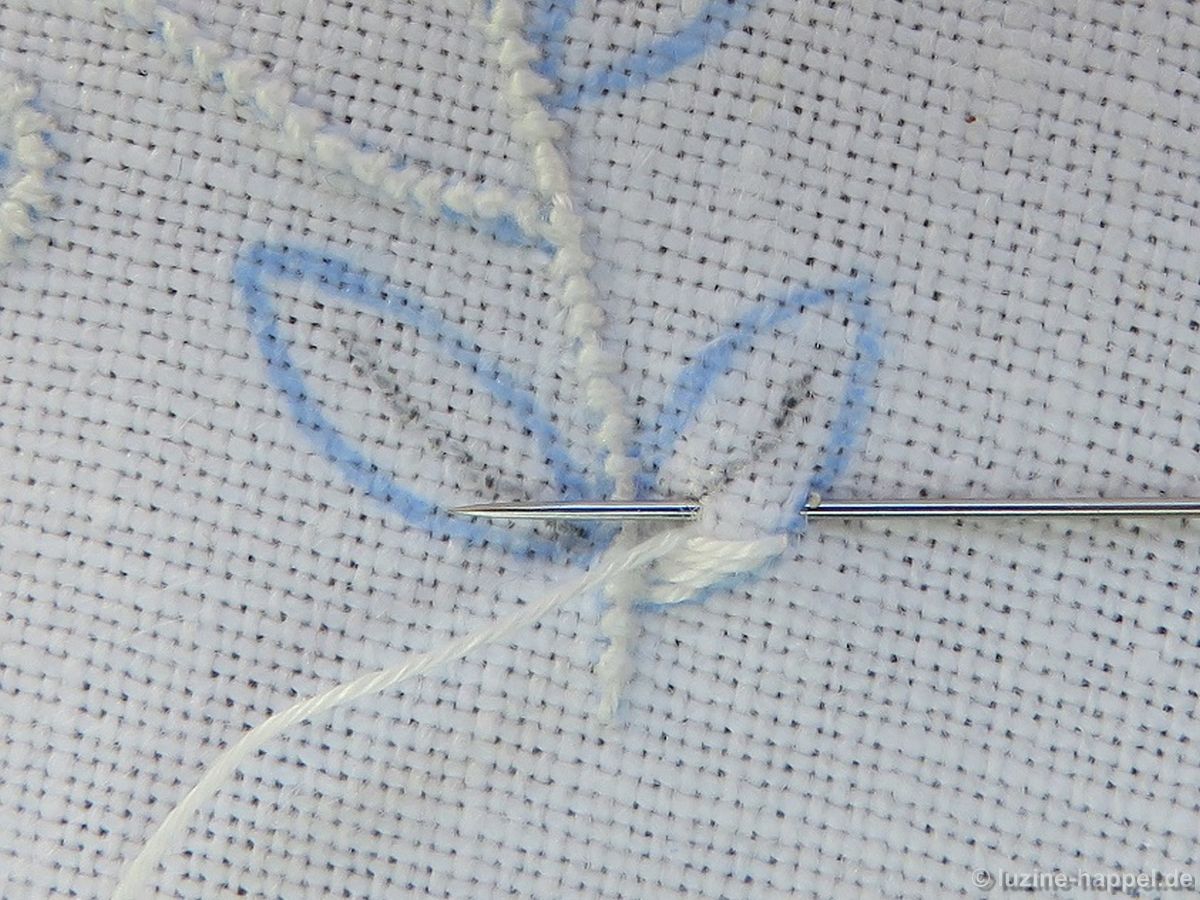
 Der Spitzenstich sollte gerade von der Mittellinie zur Spitze verlaufen. Damit das Blatt am Ende auch wirklich spitz aussieht, wird dieser Stich ca. 1 – 2 mm über die Konturenlinie hinaus gestochen.
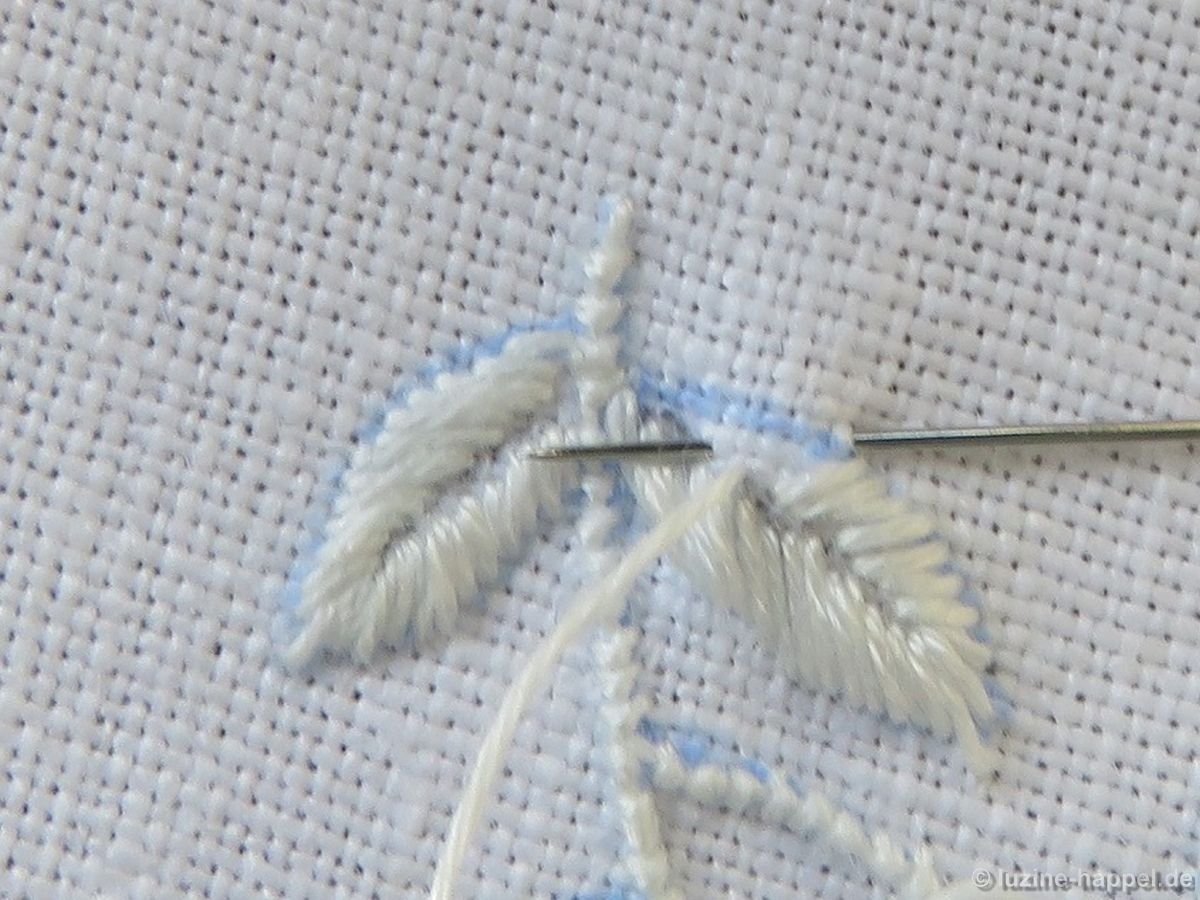
 Die zweite Seite stickt man dann von der Spitze zurück zum Blattansatz zwischen Konturenlinie (Einstich) und Mittellinie (Ausstich).
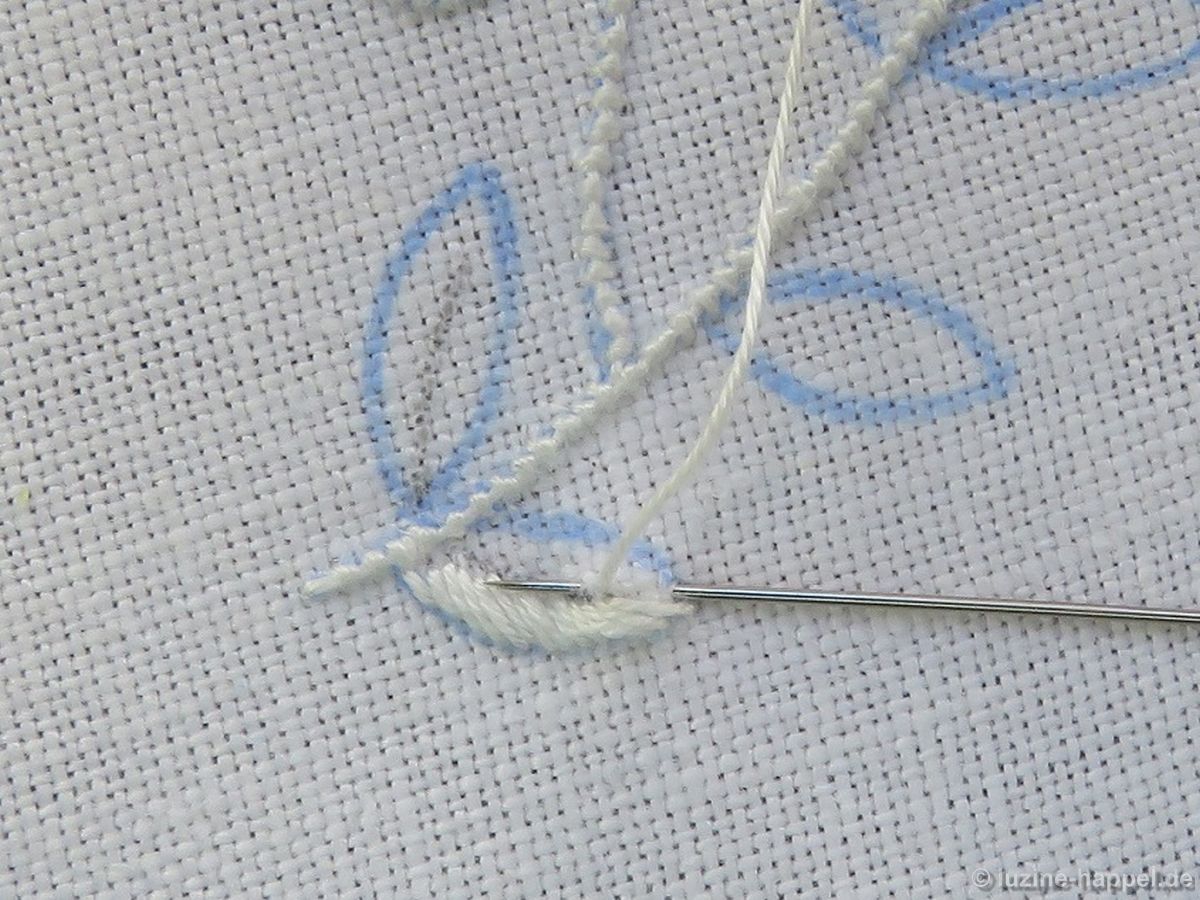 Auch hier sollte die Arbeit so gedreht werden, dass die Stiche horizontal von rechts nach links ausgeführt werden.
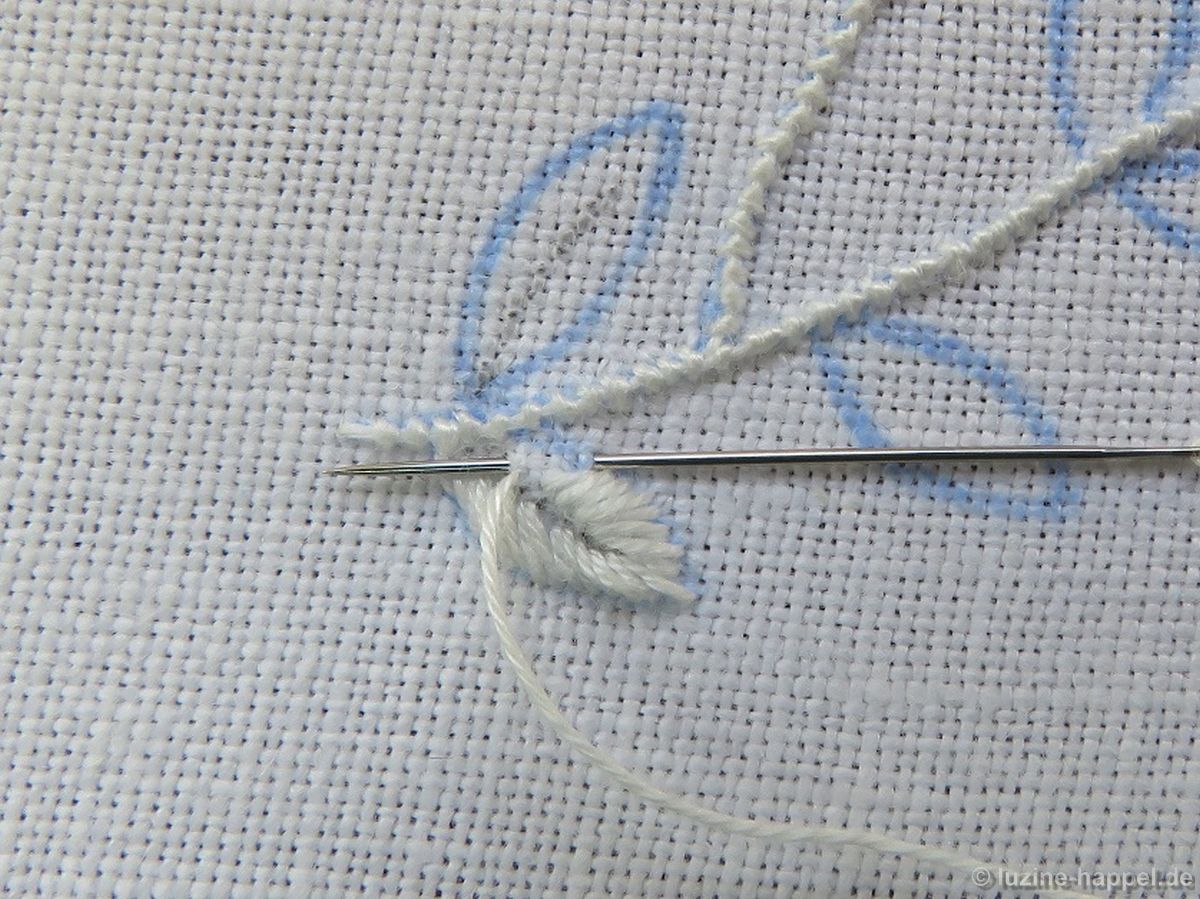 Das gegenüberliegende Blatt wird in der selben Art gestickt. Der erste Stich liegt vom Blattansatz kommend ein Stück weit auf der Konturenlinie.
 Der Stich zur Spitze wird wieder etwas über die Kontur hinaus gezogen, bevor die Stiche der zweiten Blatthälfte wieder zwischen Konturenlinie und Mittellinie verlaufen.
 Auch hier werden die Stiche der Form des Blattes angepasst und liegen innen etwas dichter als außen.
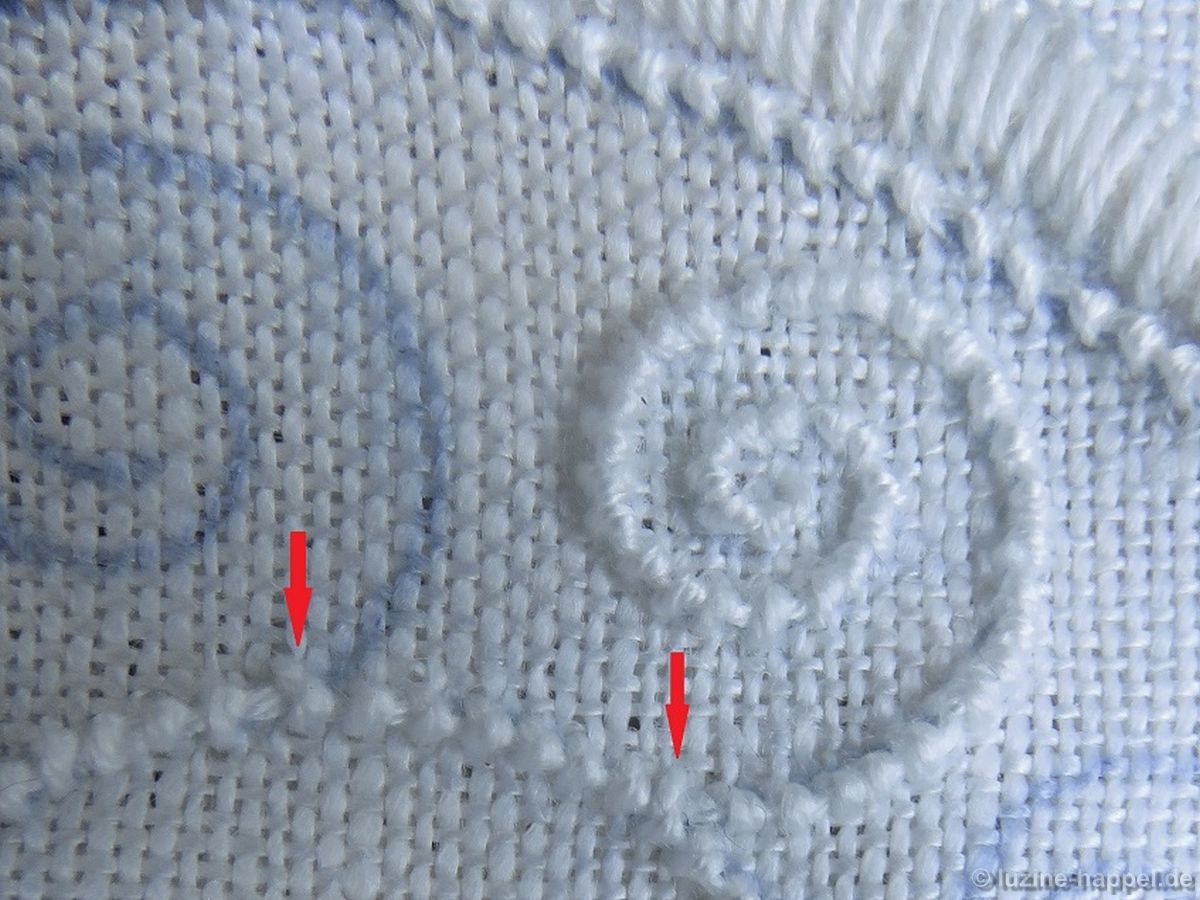
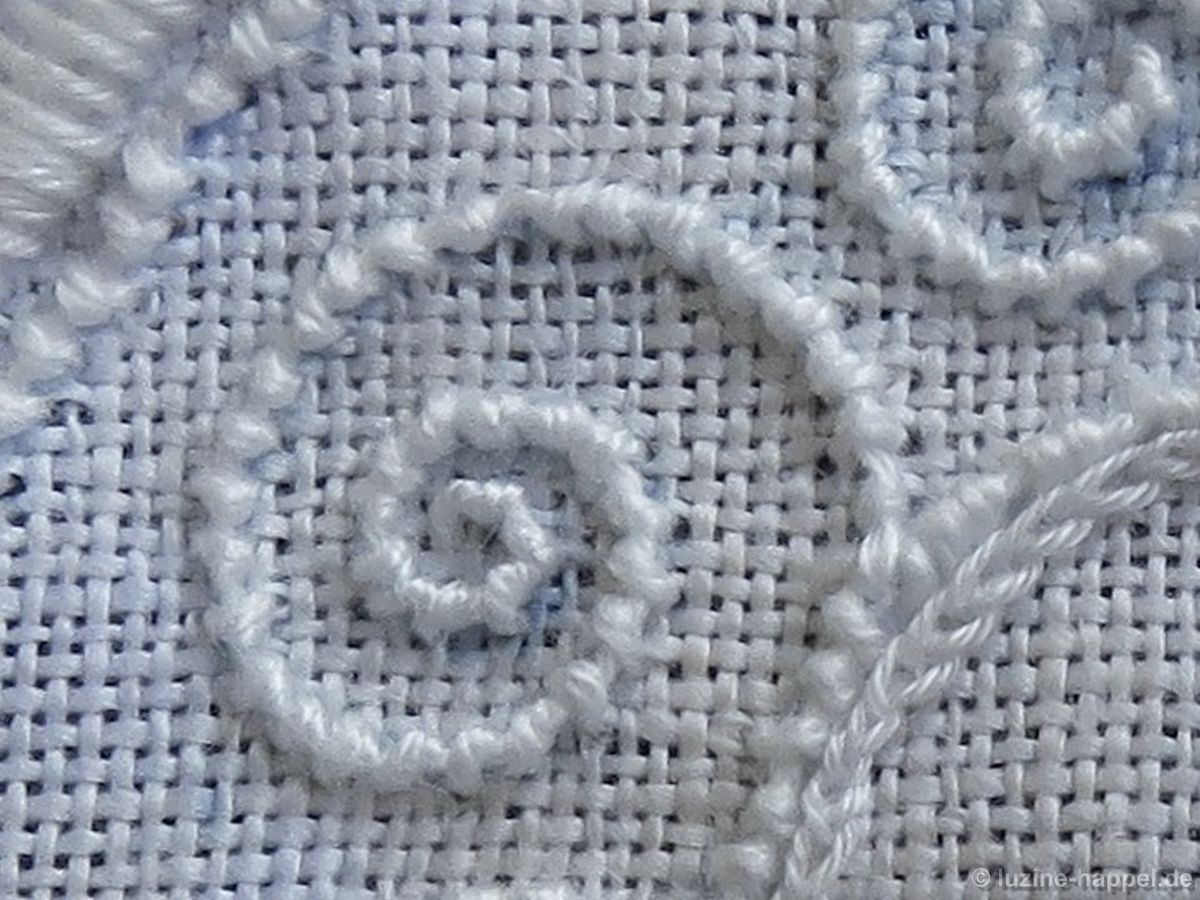
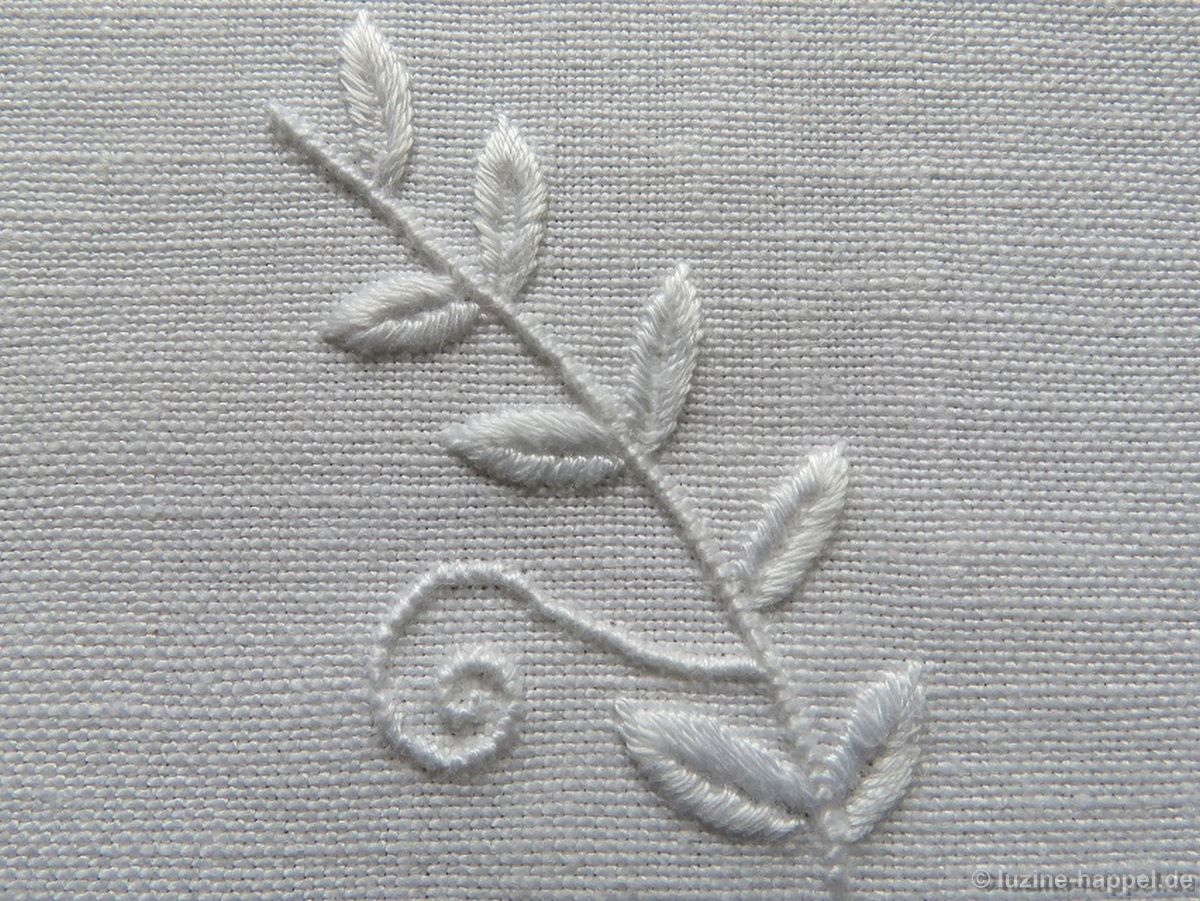
 Bitte bedenken sie, dass die hier gezeigten Blätter nicht in einem Zug gestickt werden konnten, weil immer Unterbrechungen zum Fotografieren erfolgen mussten. Und bedenken sie, dass die Bilder starke Vergrößerungen zeigen, bei denen kleine Unebenheiten wie grobe Fehler aussehen. Bei den Blättchen in der realen Größe fallen sie dagegen nicht auf. Nachdem die blauen Linien verschwunden sind und nach dem Schrumpfen in der Kochwäsche, gestärkt und gebügelt sehen diese Blättchen perfekt aus.
 Probieren sie es doch mal aus.
Wenn Sie Freude am Sticken solch kleiner Blättchen gefunden haben und nach aufwändigeren Vorlagen suchen, kann ich weiterhelfen. Frau Irmgard Mengel druckt die hier zu sehenden Motive auf 16-fädigem Weddigen Leinen auf.
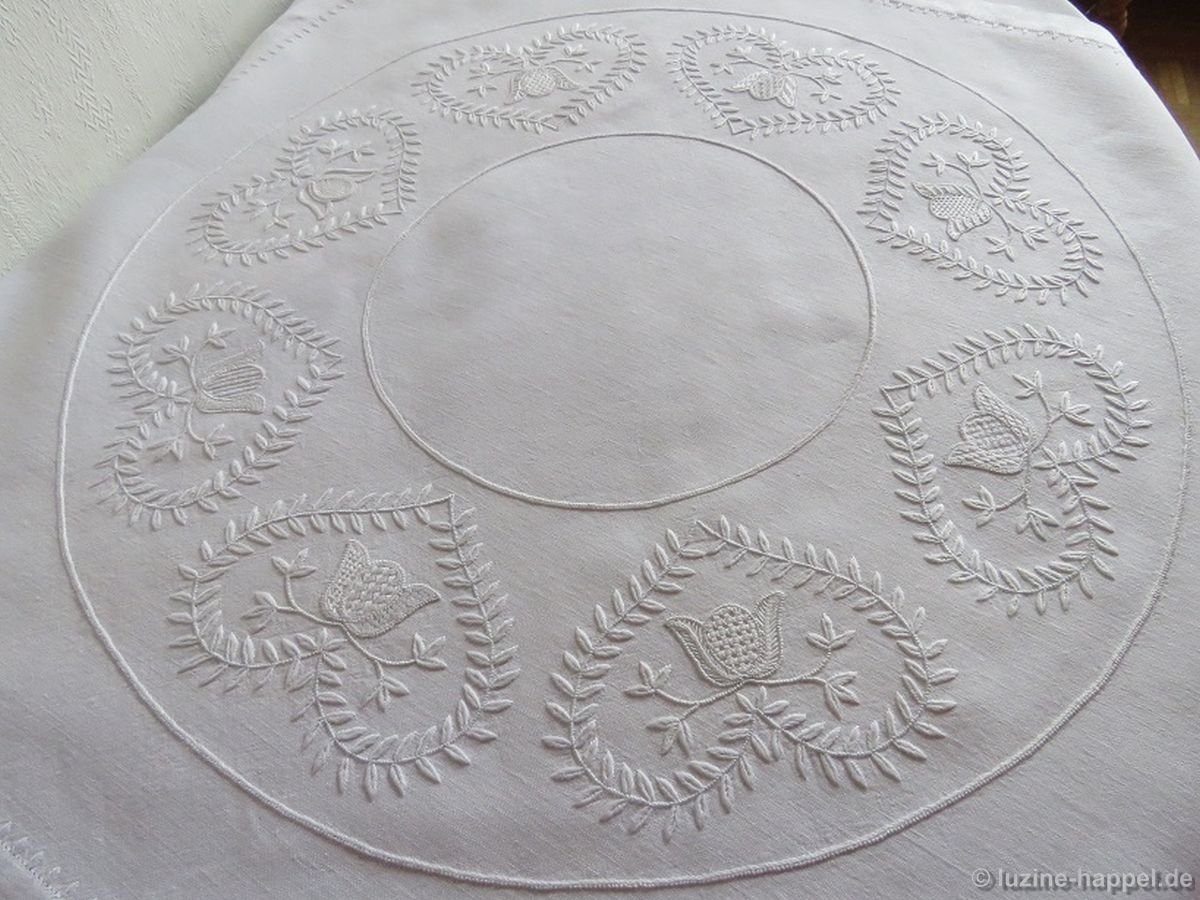 Der Blätterherzen-Kranz misst 60 cm im Durchmesser und wird auf einen Leinenzuschnitt von 90 cm x 90 cm aufgedruckt. Er kostet 29,00 € zuzüglich Versandkosten.
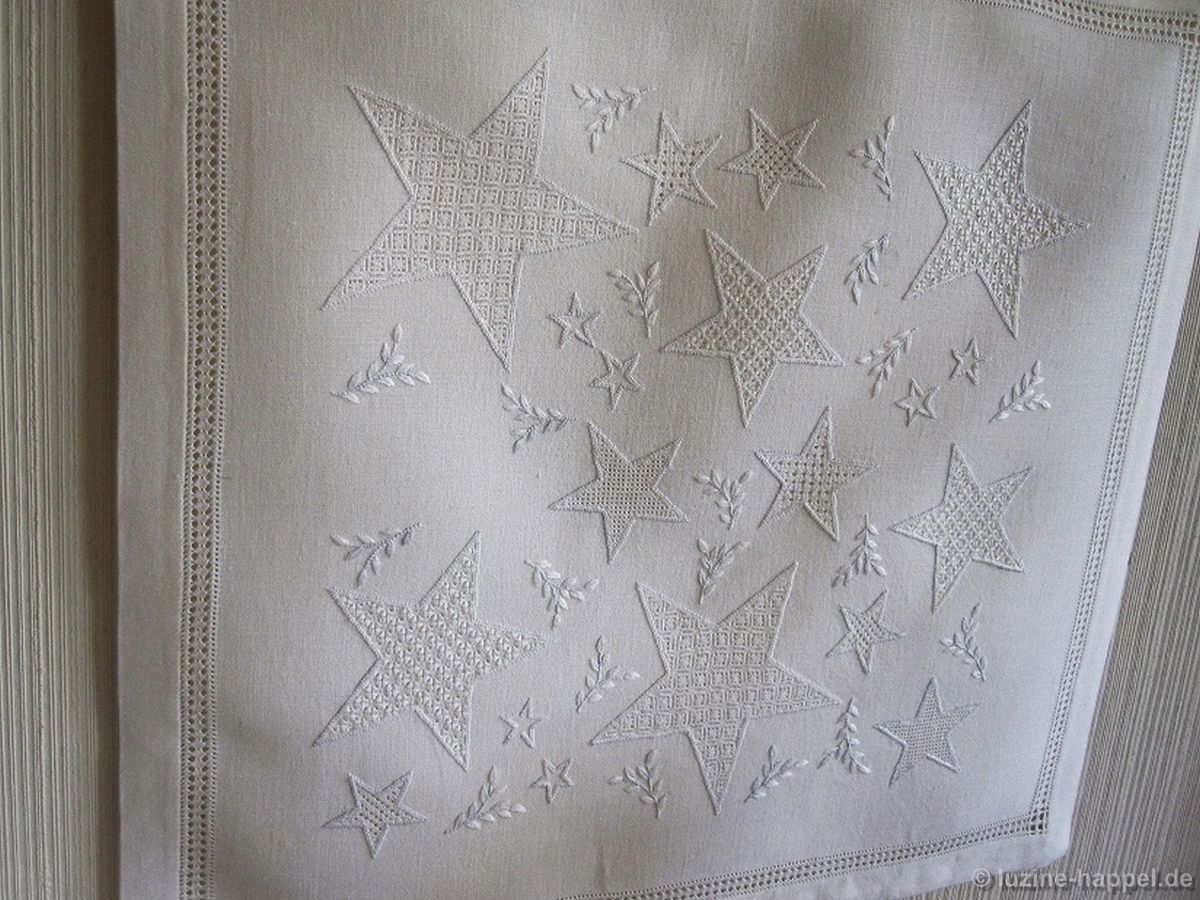 Das Sternen-Quadrat wird auf einen Leinenzuschnitt von 65 cm x 65 cm aufgedruckt. Es kostet 22,00 € zuzüglich Versandkosten.
Rufen Sie bei Interesse doch einfach mal bei Frau Mengel an: 05651 40684.