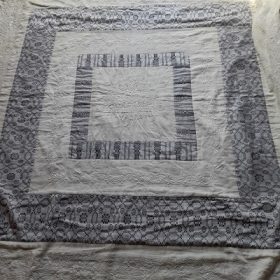
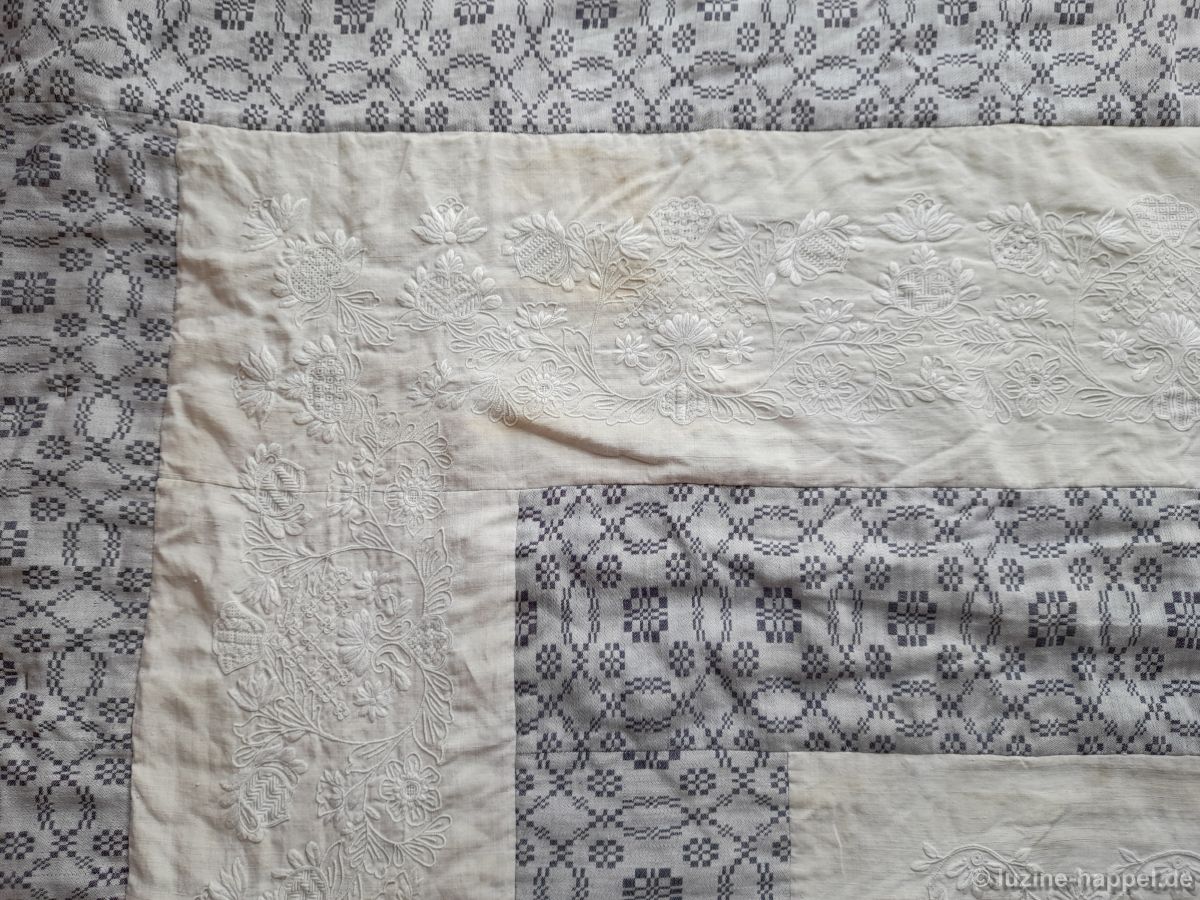
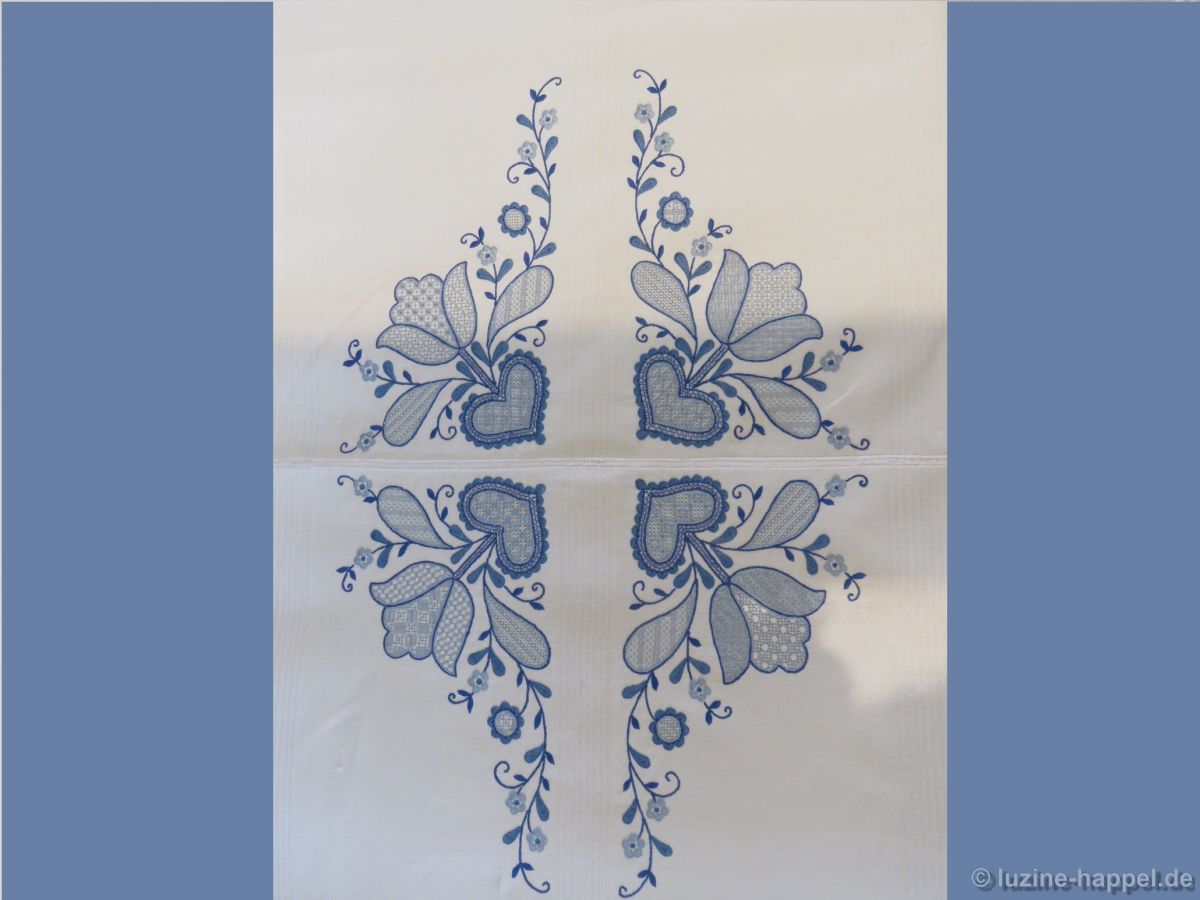
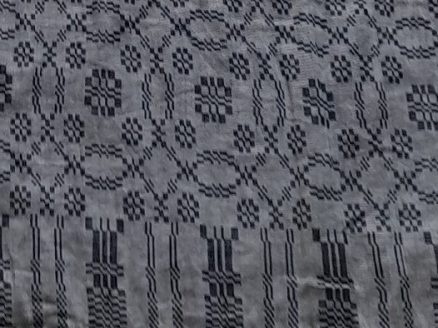
In der Schwalm wurde auch schweres, blau-weißes Damastleinen mit unterschiedlichen Musterungen gewebt (z. B. siehe Hintergrundstoff hier).
Es wurde für Bettwäsche (letzte drei Bilder), Bett- und Fenstervorhänge sowie für Tischdecken verwendet.
Bei einem Besuch im Museum der Schwalm vor einigen Jahren entdeckte Gertrude Vorwerk einen Restposten solchen Leinens mit dem sogenannten „Bäumchenmuster.“ Sie kaufte den gesamten Vorrat umgehend auf.
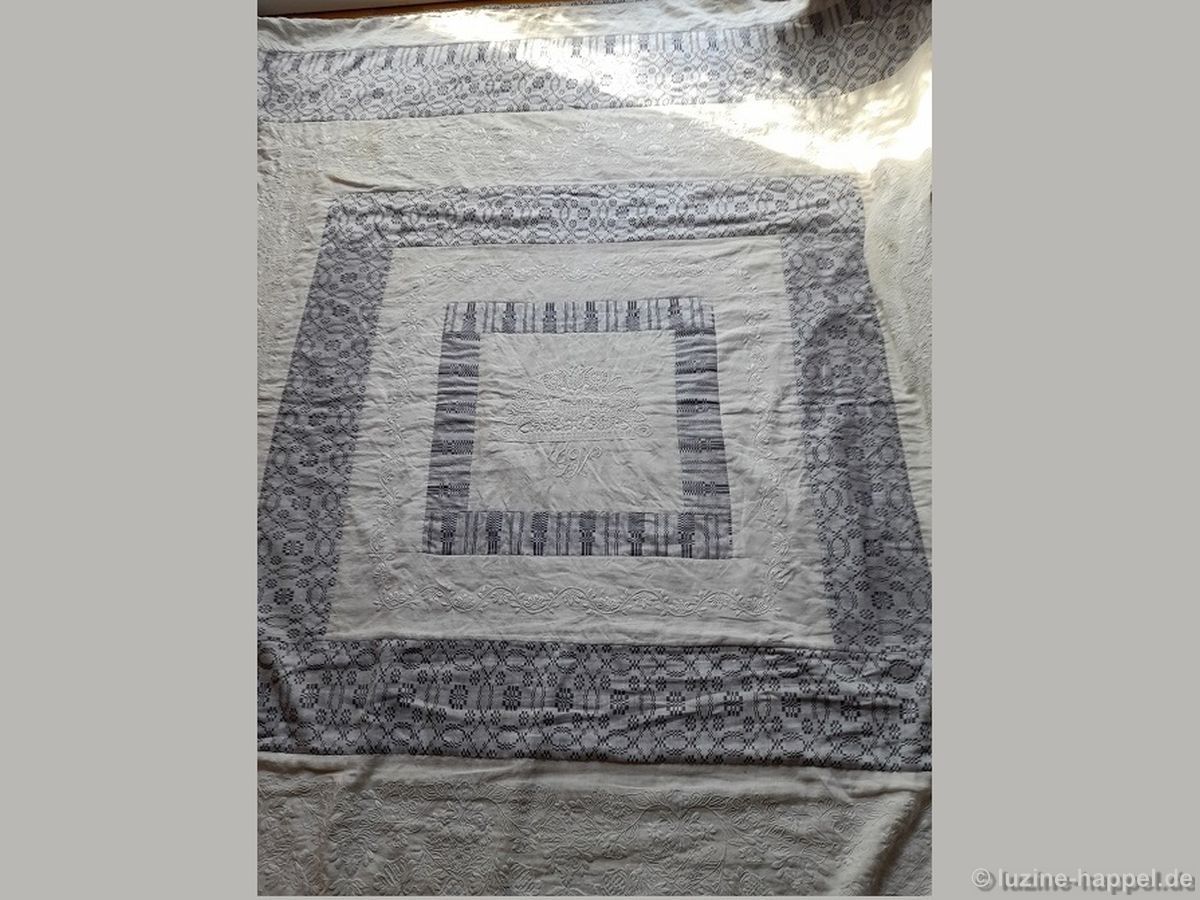
Zuerst fertigte Sie Übergardinen (zu sehen auf dem Bild ganz unten) und bestickte eine dazugehörige Schabracke mit Schwälmer Motiven. Dann nutzte sie Teile des Stoffes, um daraus einen passenden Bettüberwurf zu gestalten. In Kombination mit in Schwälmer Weißstickerei besticktem, handgewebtem weißem Leinen ließ sie eine wunderschöne, riesige Tagesdecke für ein Doppelbett entstehen.
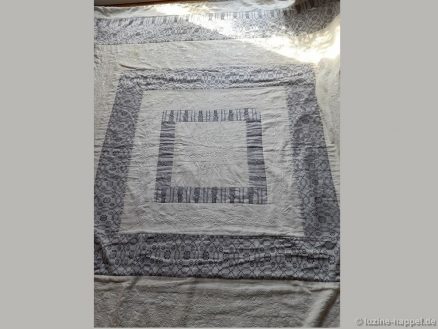
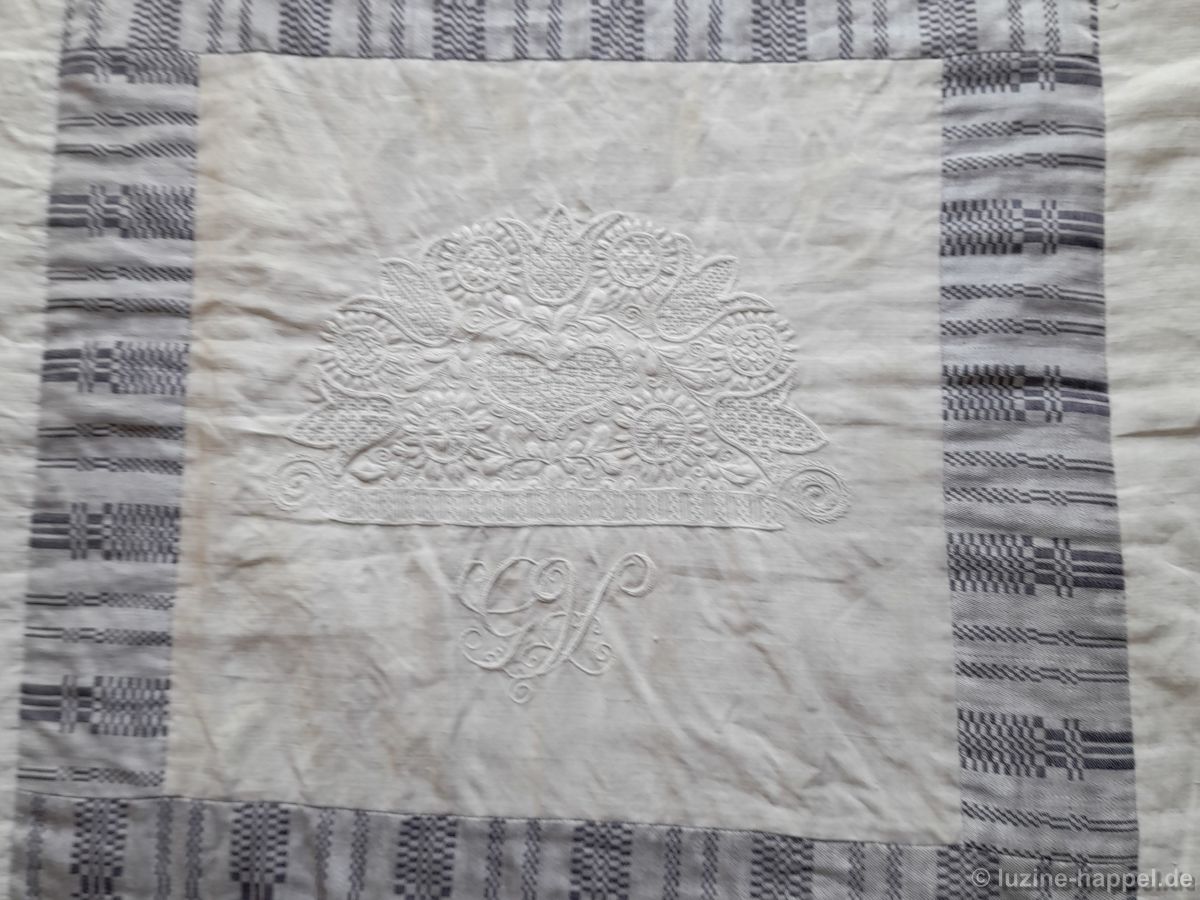
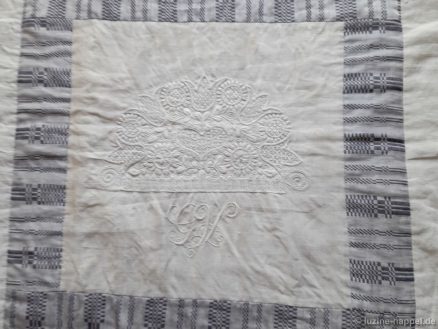
Die Mitte verziert ein beliebtes Kronenmotiv, ergänzt durch die Initialen der Stickerin. Drum herum wurde ein schmaler Streifen des Damastgewebes angesetzt. Hierfür verwendete sie den gestreift wirkenden Teil des Stoffes, der sich auch als Randeinfassung wieder findet.
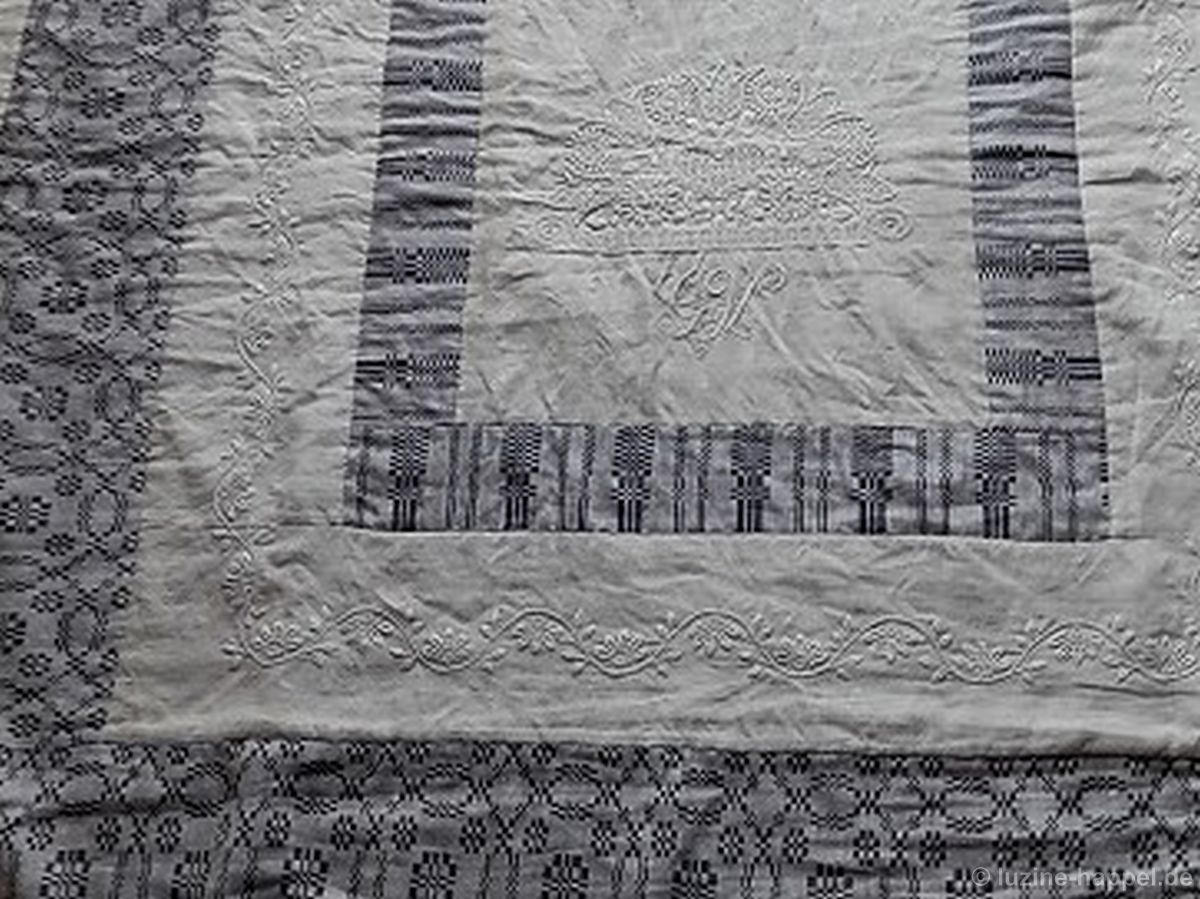
Der nächste bestickte und zum Quadrat angeordnete Streifen zeigt ein umlaufendes Wellenmotiv. Dieser Streifen wurde mit einem etwas breiteren Streifen des Damastgewebes eingefasst.
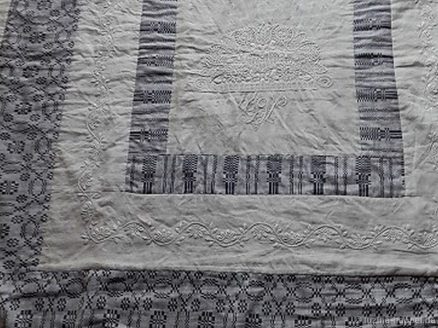
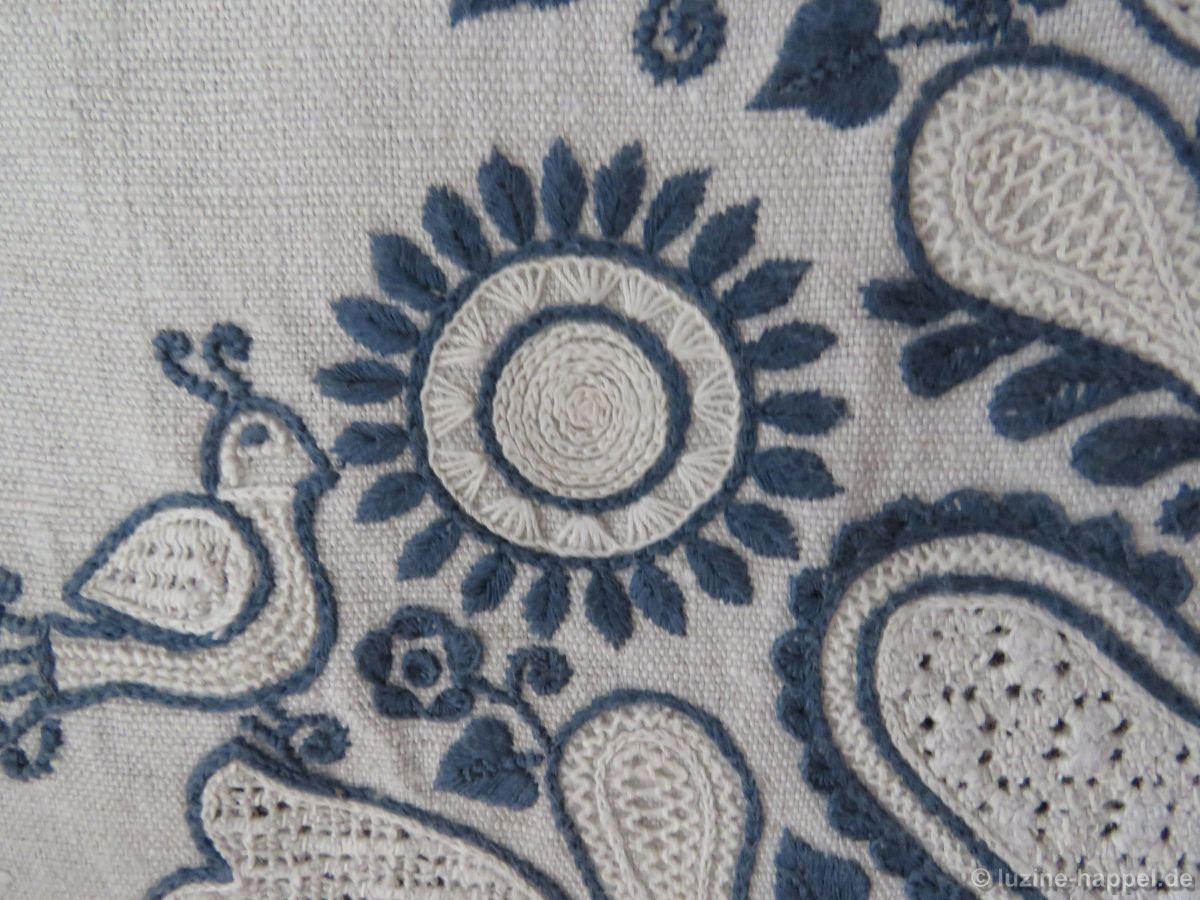
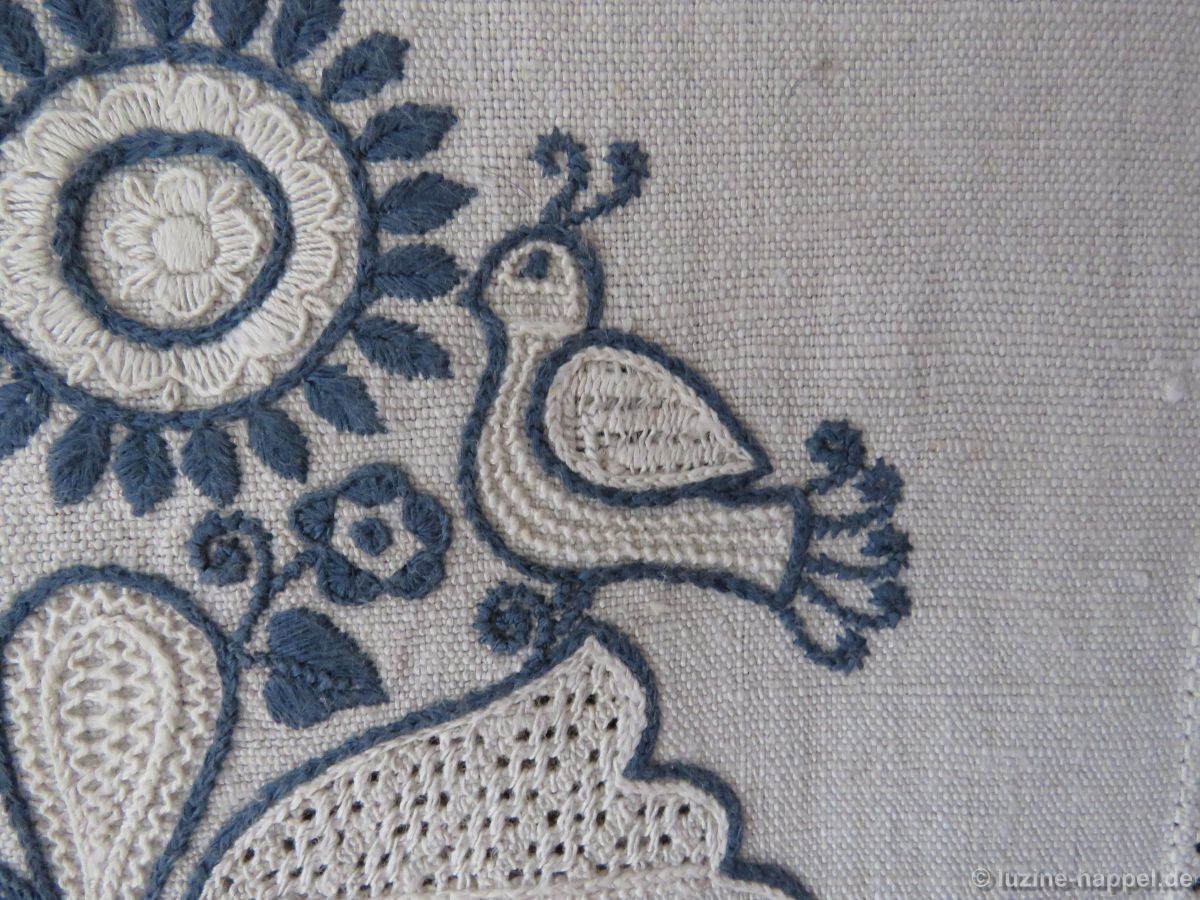
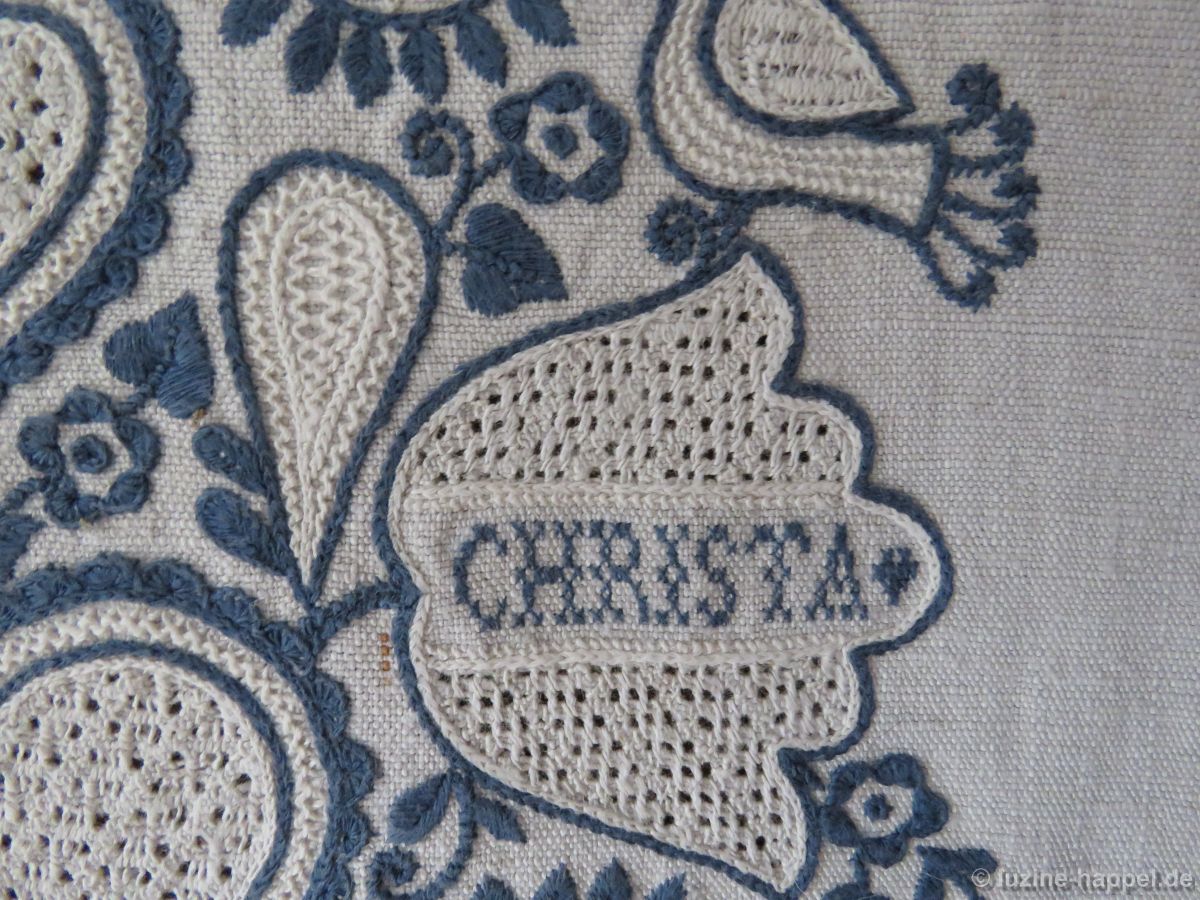
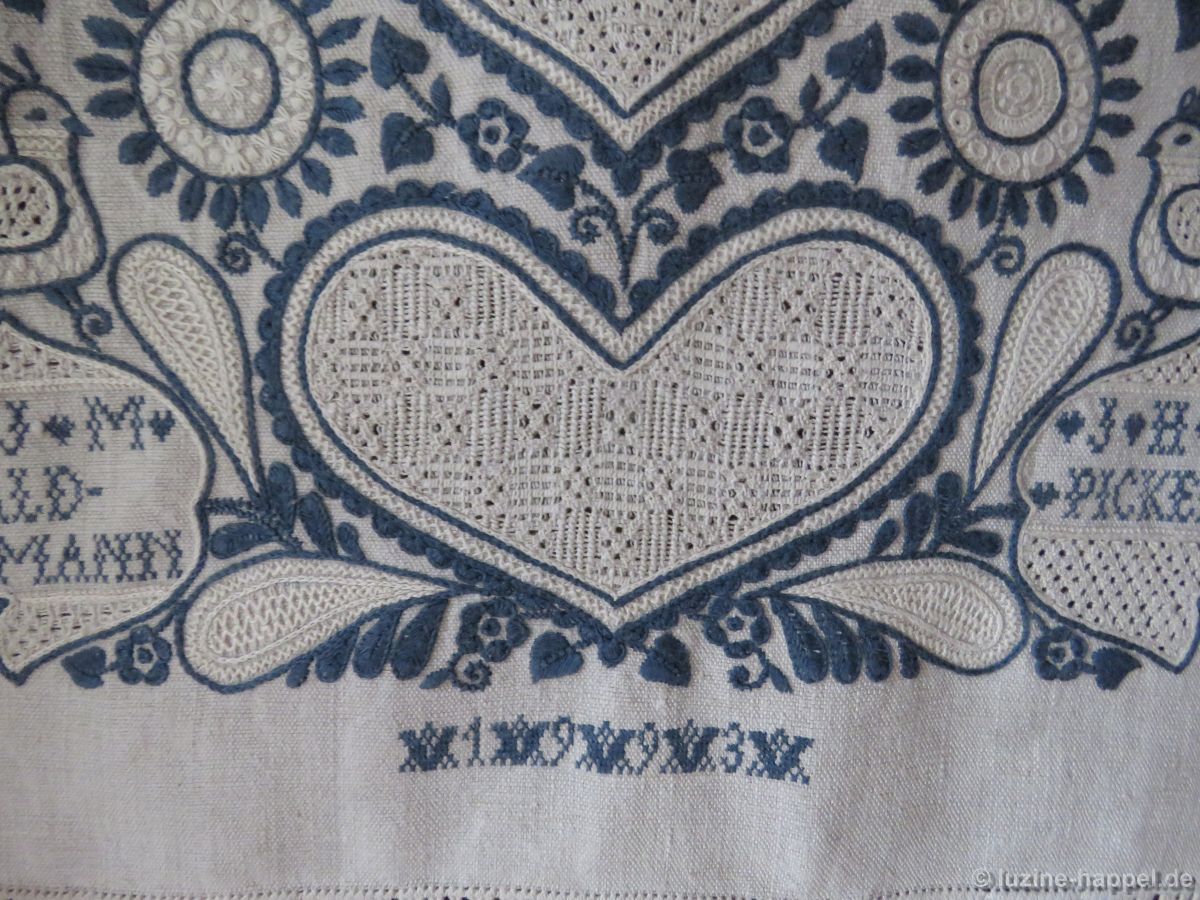
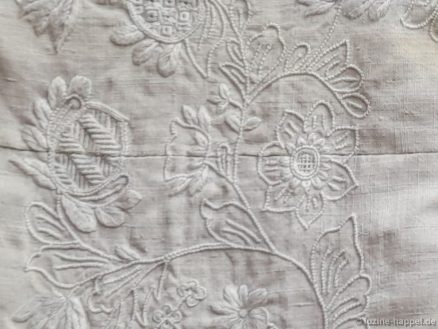
Ein noch breiterer Streifen folgte – bestickt mit einer aufwändigen Weißstickereiborte.
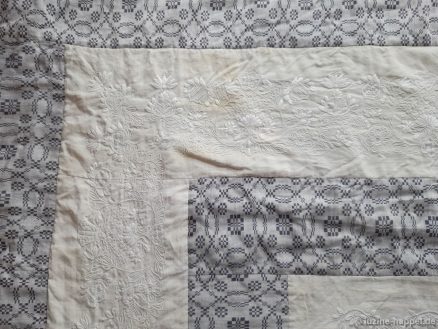
Eine besondere Herausforderung war die Fortführung der Stickerei über die Ansatznähte hinweg. Diese hat Gertrude Vorwerk hervorragend gemeistert.
Auf einen weiteren, sehr breiten Streifen des Damastgewebes folgte ein unbestickter weißer Leinenstreifen, der mit einem schmalen Streifen des Damastleinens eingefasst wurde.
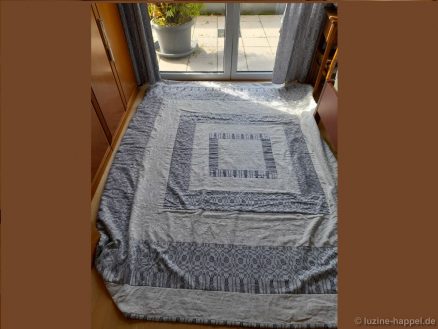
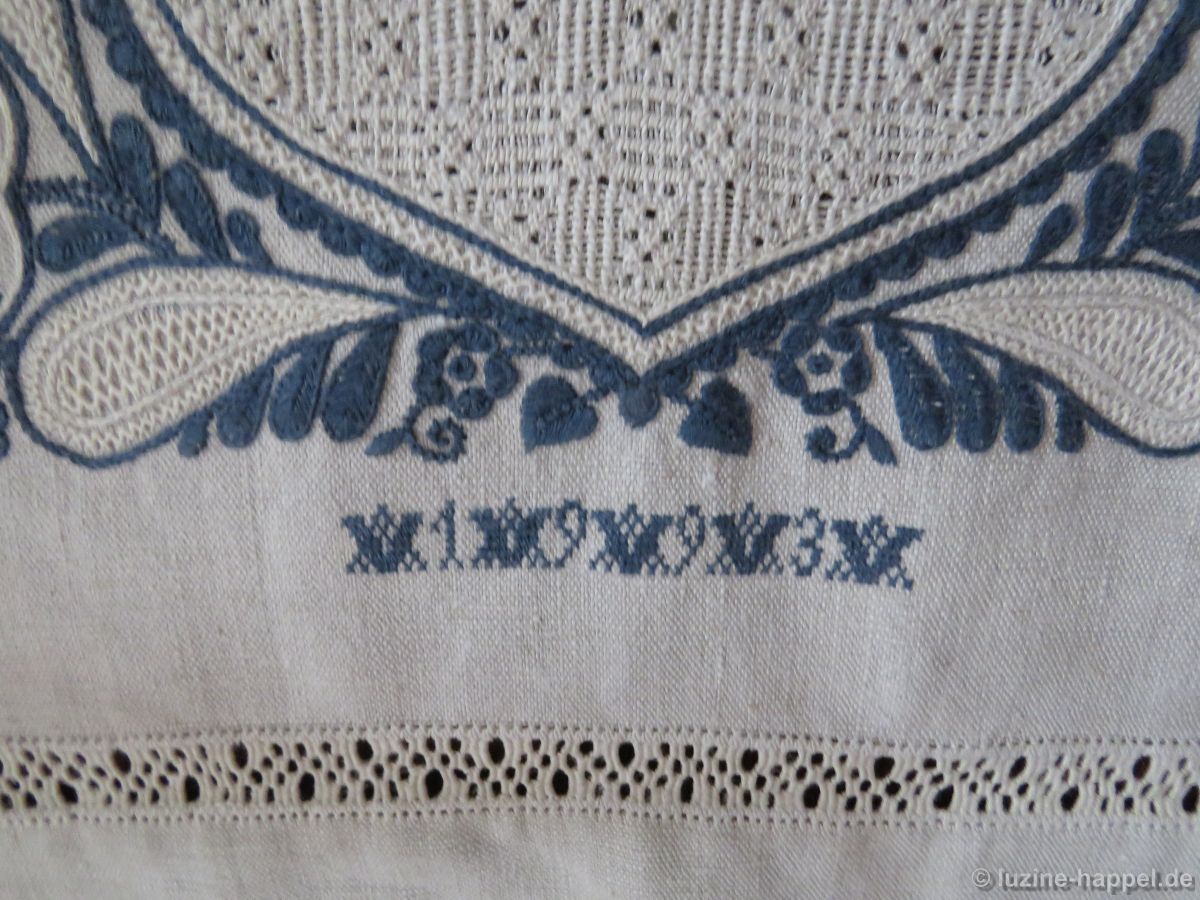
Gertrude Vorwerk hat ungefähr 3 Jahre benötigt, um ihre Lieblingsmuster auf das alte Leinen zu sticken. In Verbindung mit dem blau-weißen Damastleinen entstand eine ganz außergewöhnliche und einmalige Decke, an deren Anblick sich die Stickerin täglich auf´s Neue erfreut.
Danke, dass auch wir daran teilhaben dürfen!
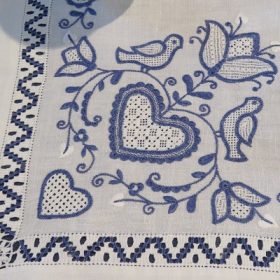
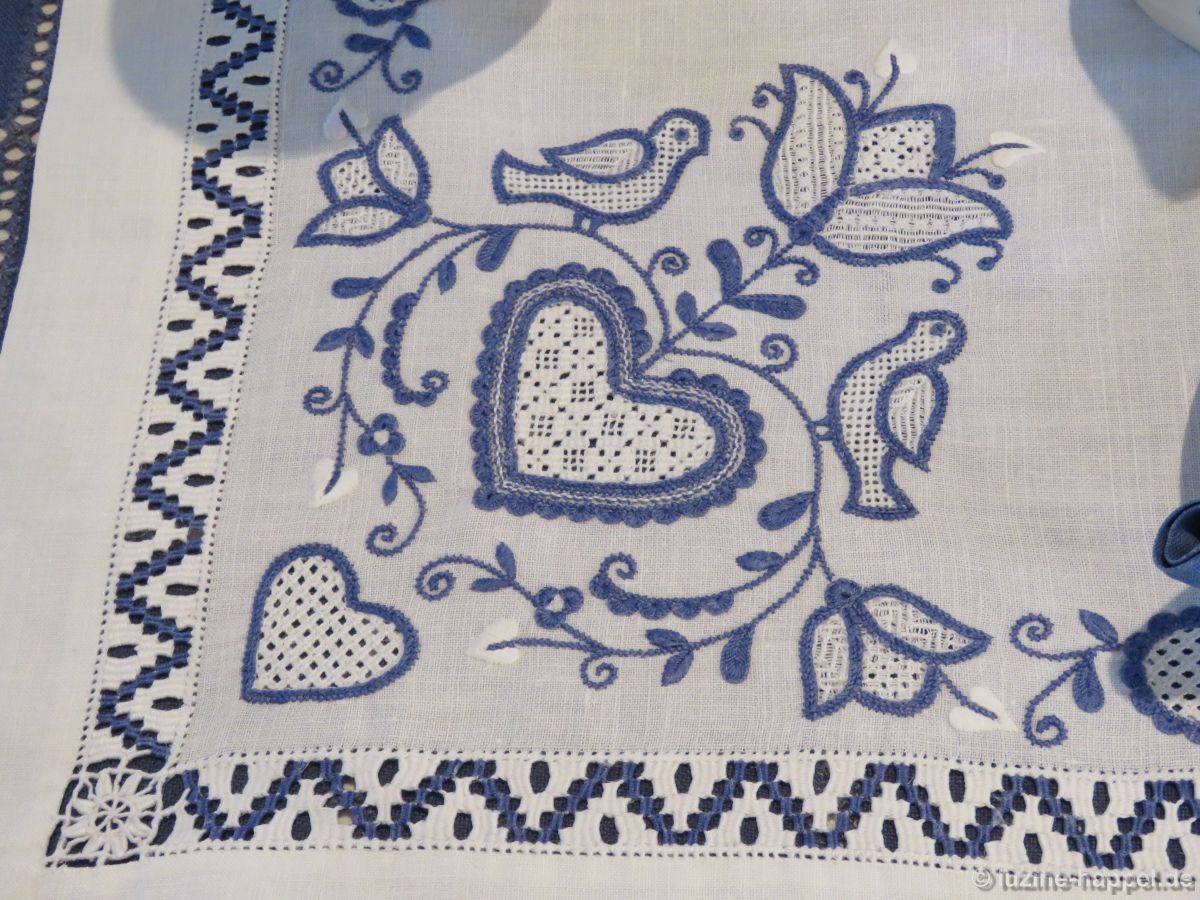
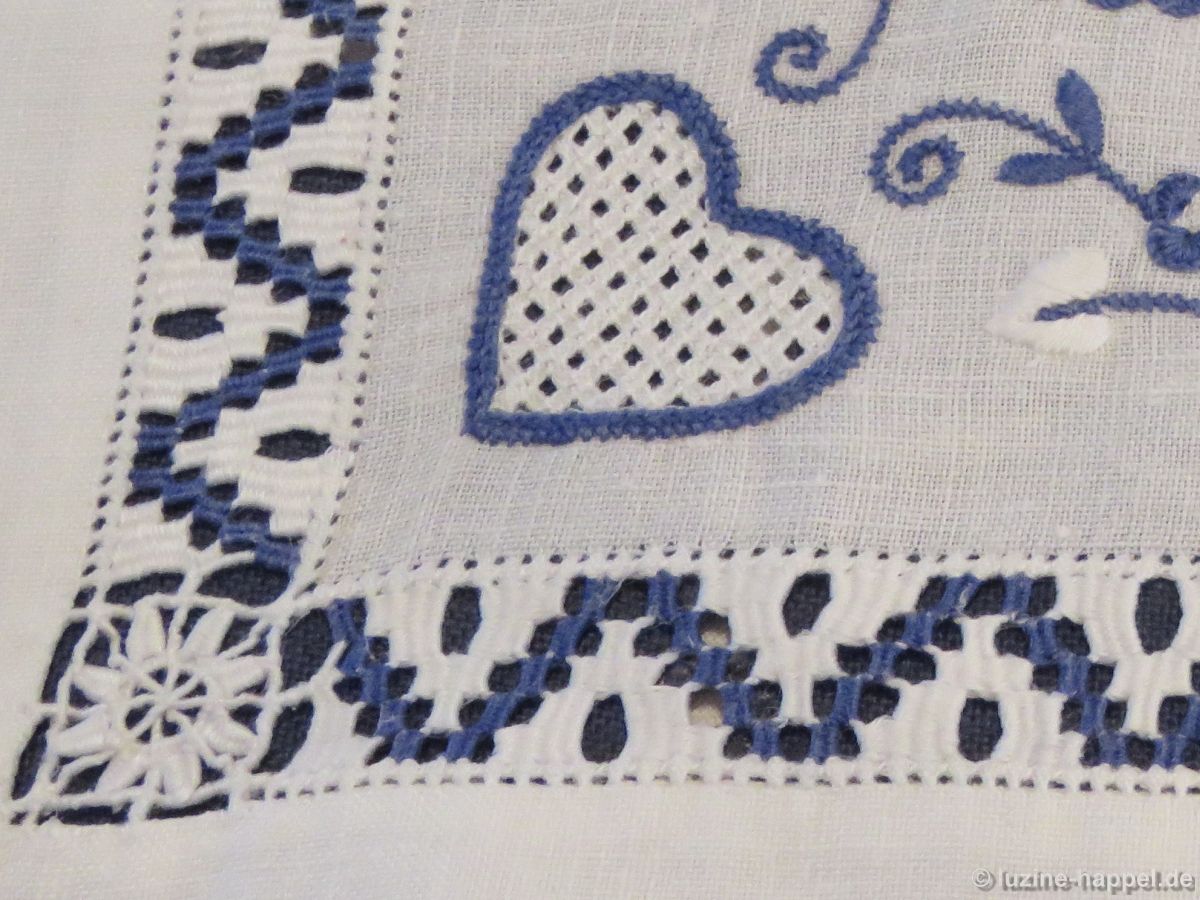
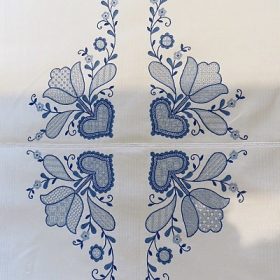
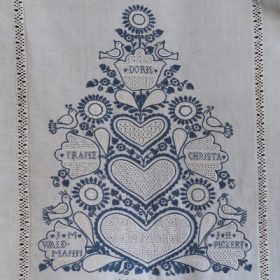
Schwälmer Weißstickerei und Blau (1)
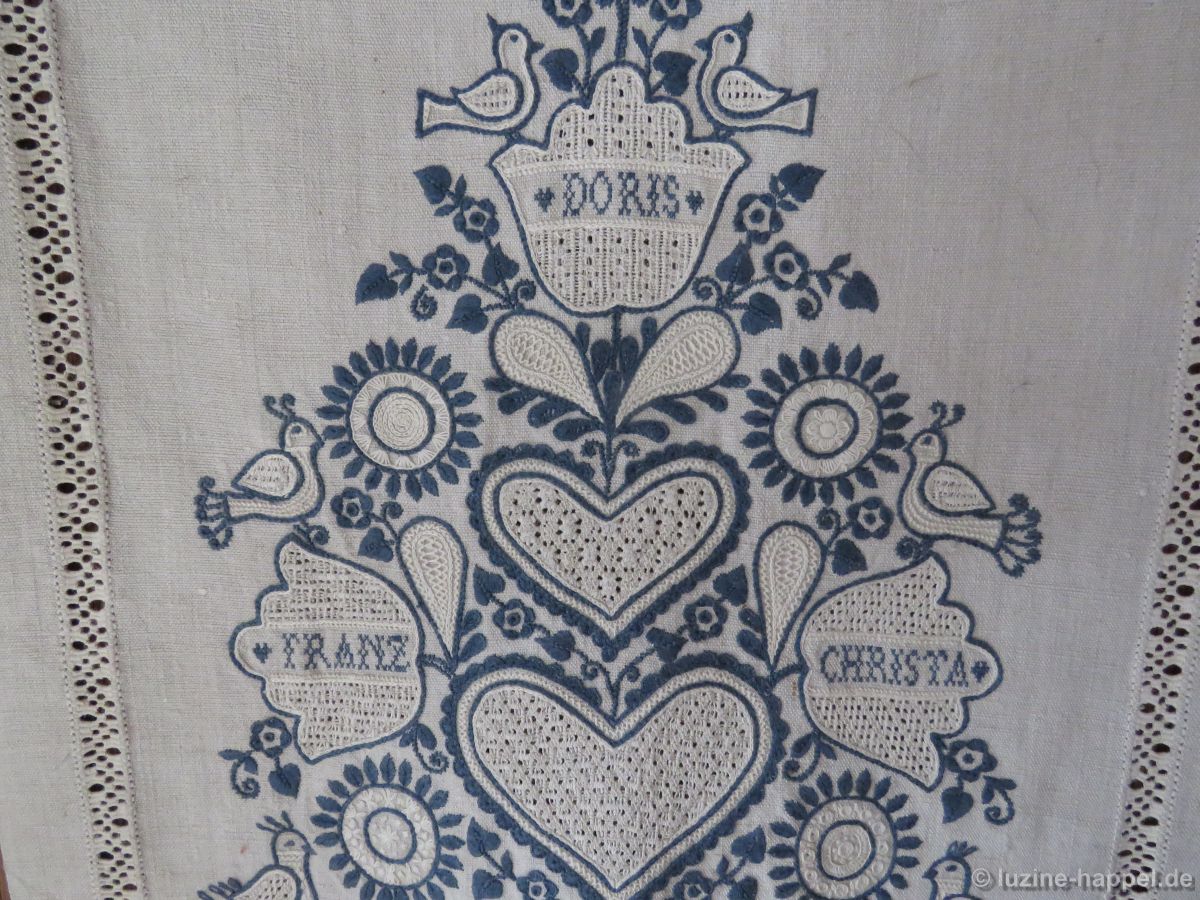
Schwälmer Weißstickerei und Blau (2)
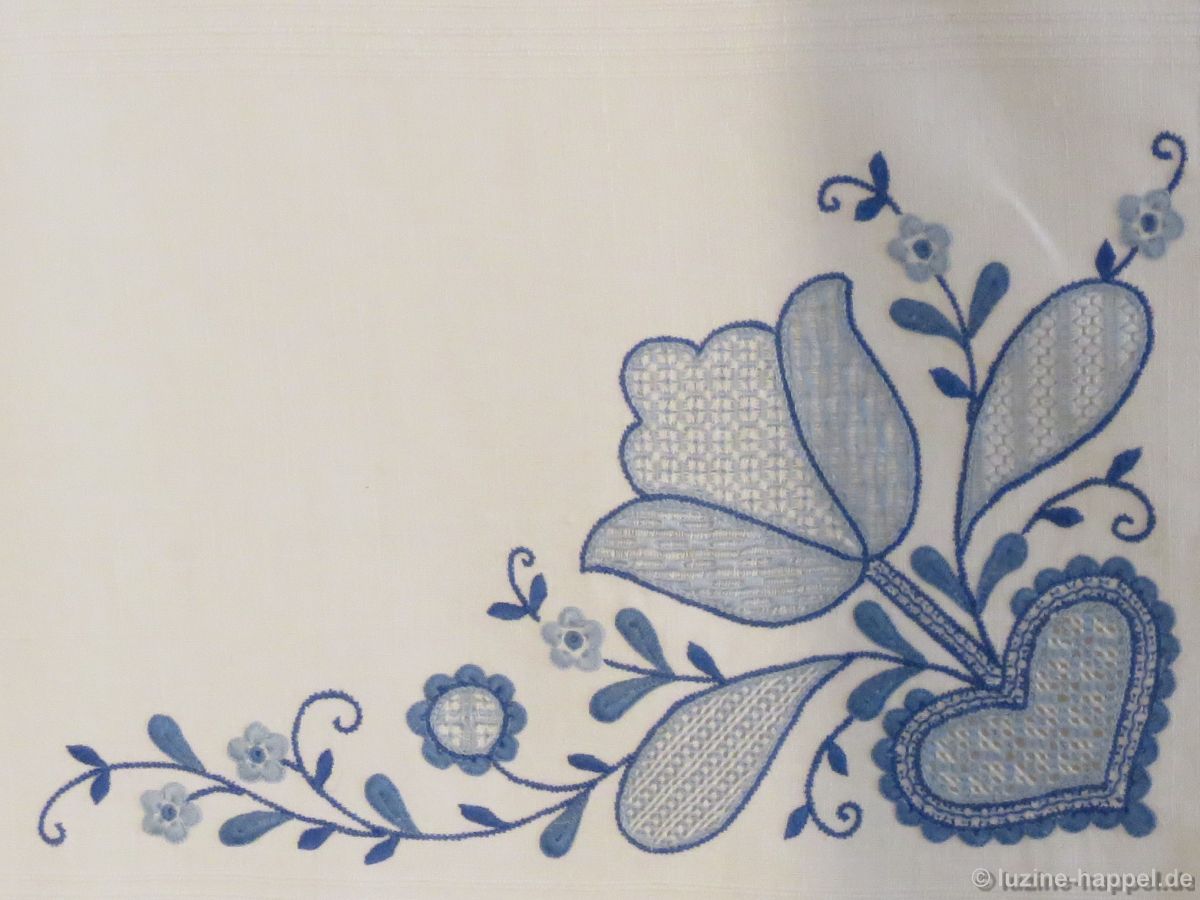
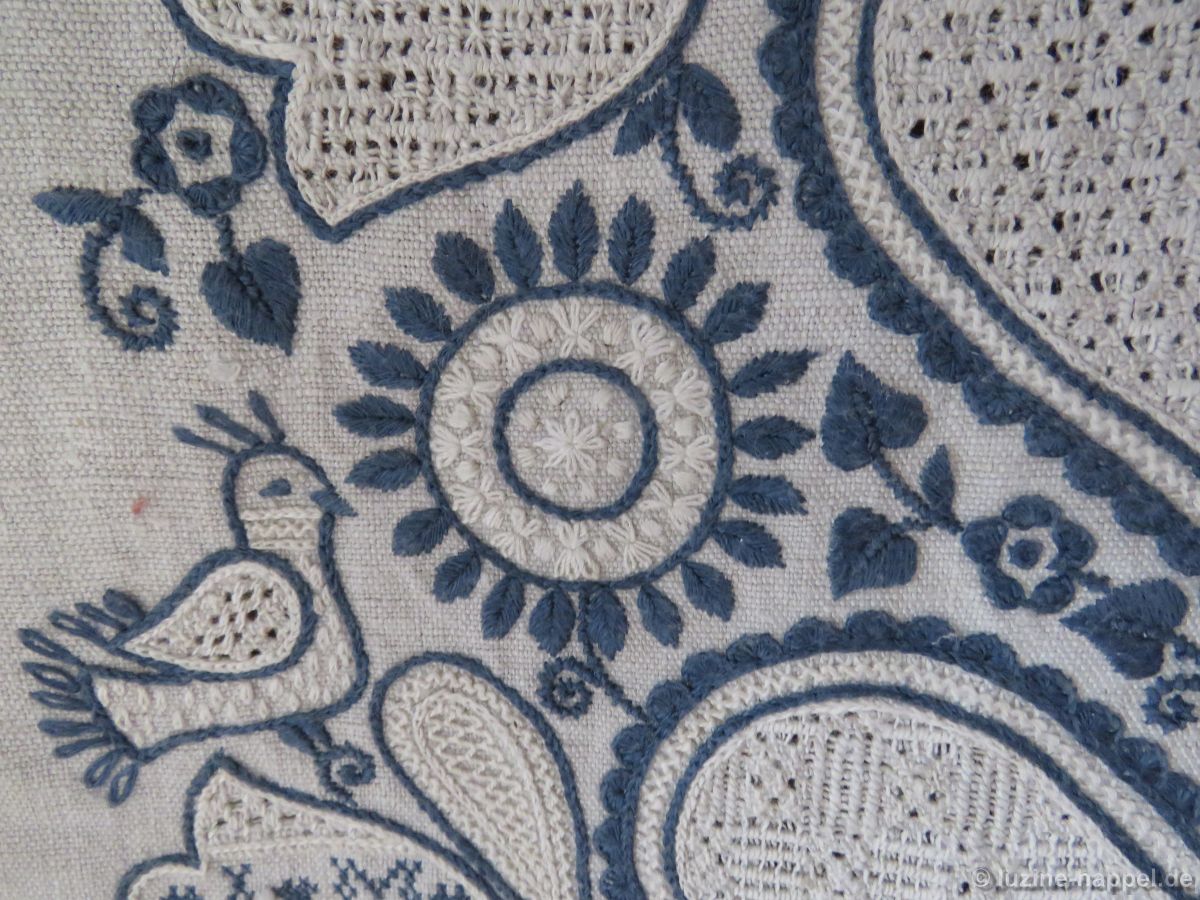
Schwälmer Weißstickerei und Blau (3)
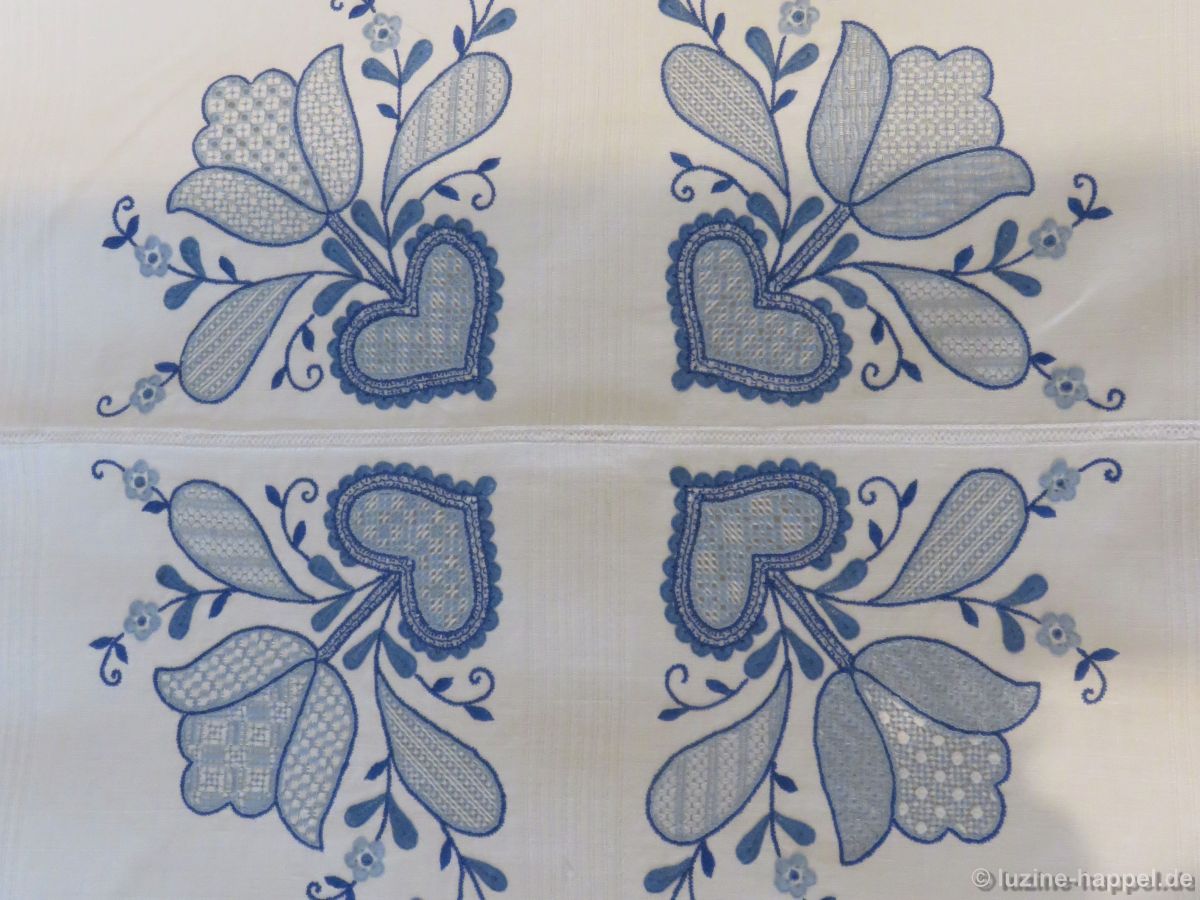
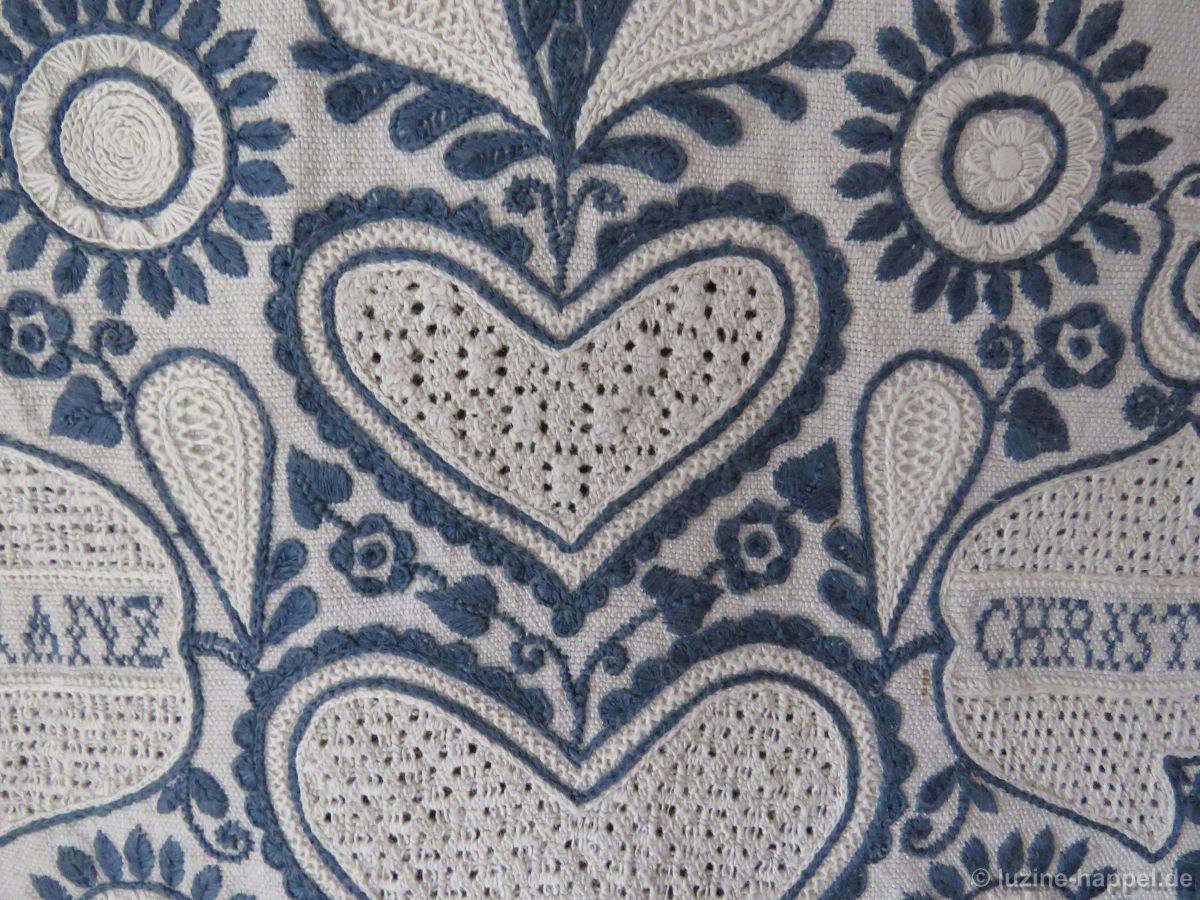
Schwälmer Weißstickerei und Blau (4)