Der erste Beitrag der Erklärung von Grundlagen zur Erstellung von Fadengittern behandelte die Beschreibung von Limet-Fadengittern, die Muster im geraden Fadenlauf mit einer Kreuzung zweier Fadenrinnen im Zentrum oder einer Fadenrinne als mittlerer Längsachse benötigen. Auch dieser zweite Beitrag beschäftigt sich mit Limet-Fadengittern.
Wie bereits erwähnt, sieht ein Muster in einem symmetrischen Motiv nur perfekt aus, wenn es symmetrisch angeordnet ist. Dazu müssen unterschiedliche Fadengitter vorbereitet werden.
In diesem Beitrag handelt es sich um die Beschreibung von Limet-Fadengittern, die Muster im geraden Fadenlauf mit einem Kästchen im Zentrum oder einem 3-er Fadenbündel als mittlerer Längsachse benötigen.
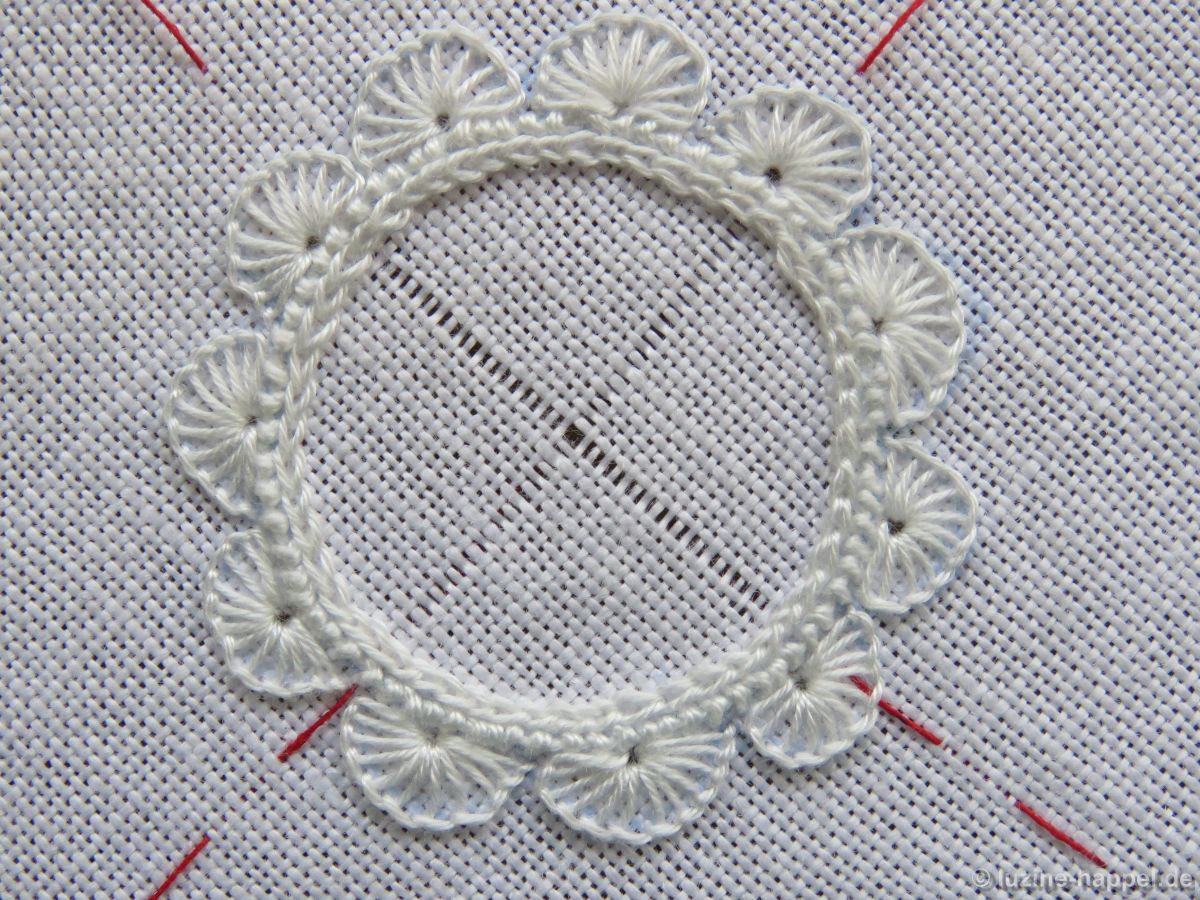
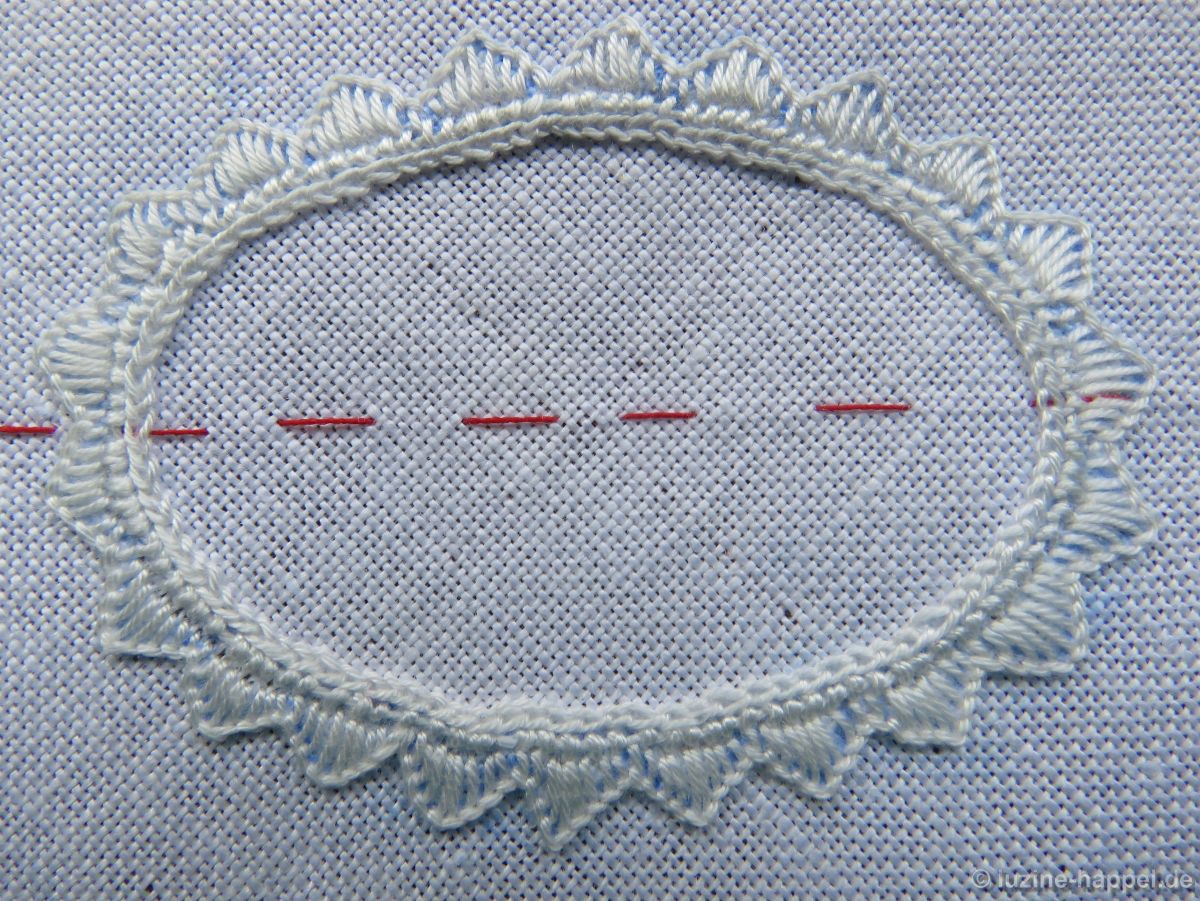
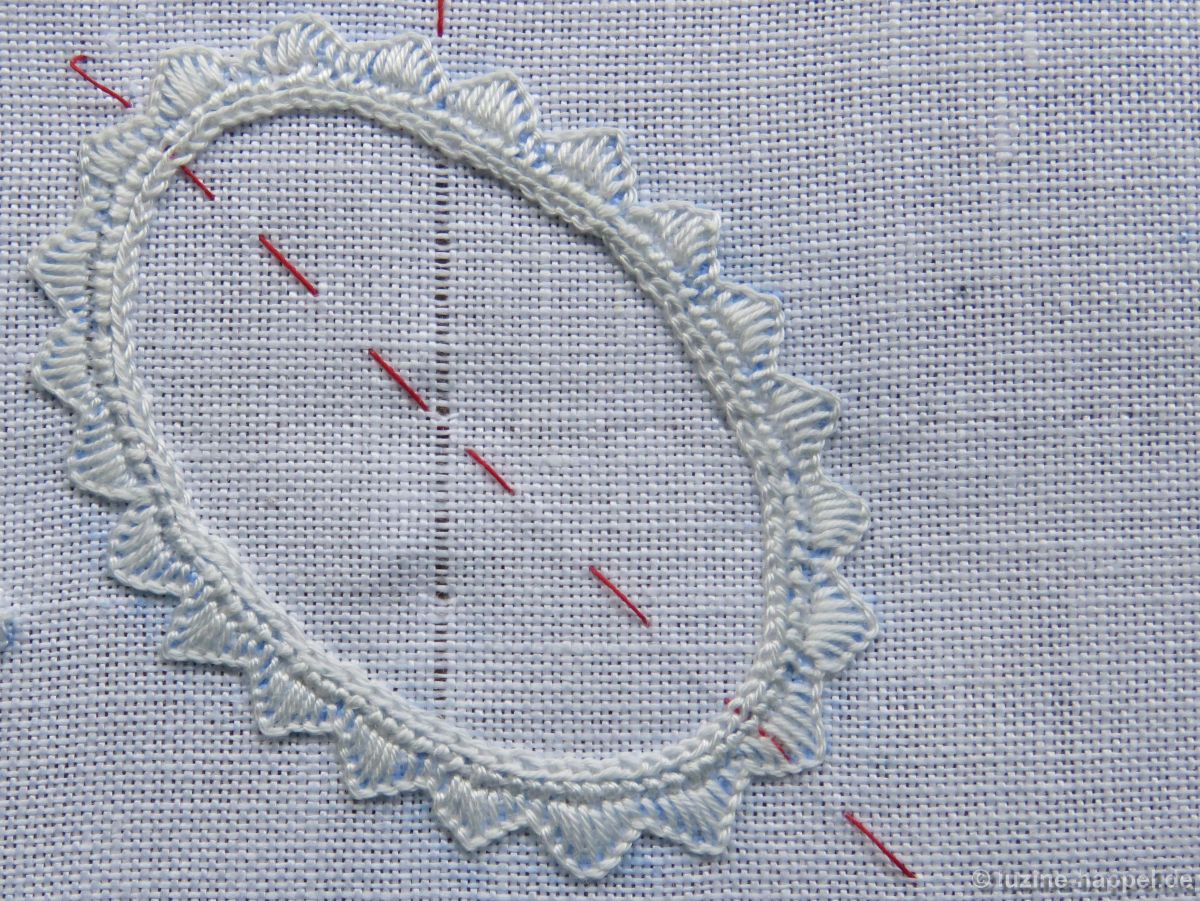
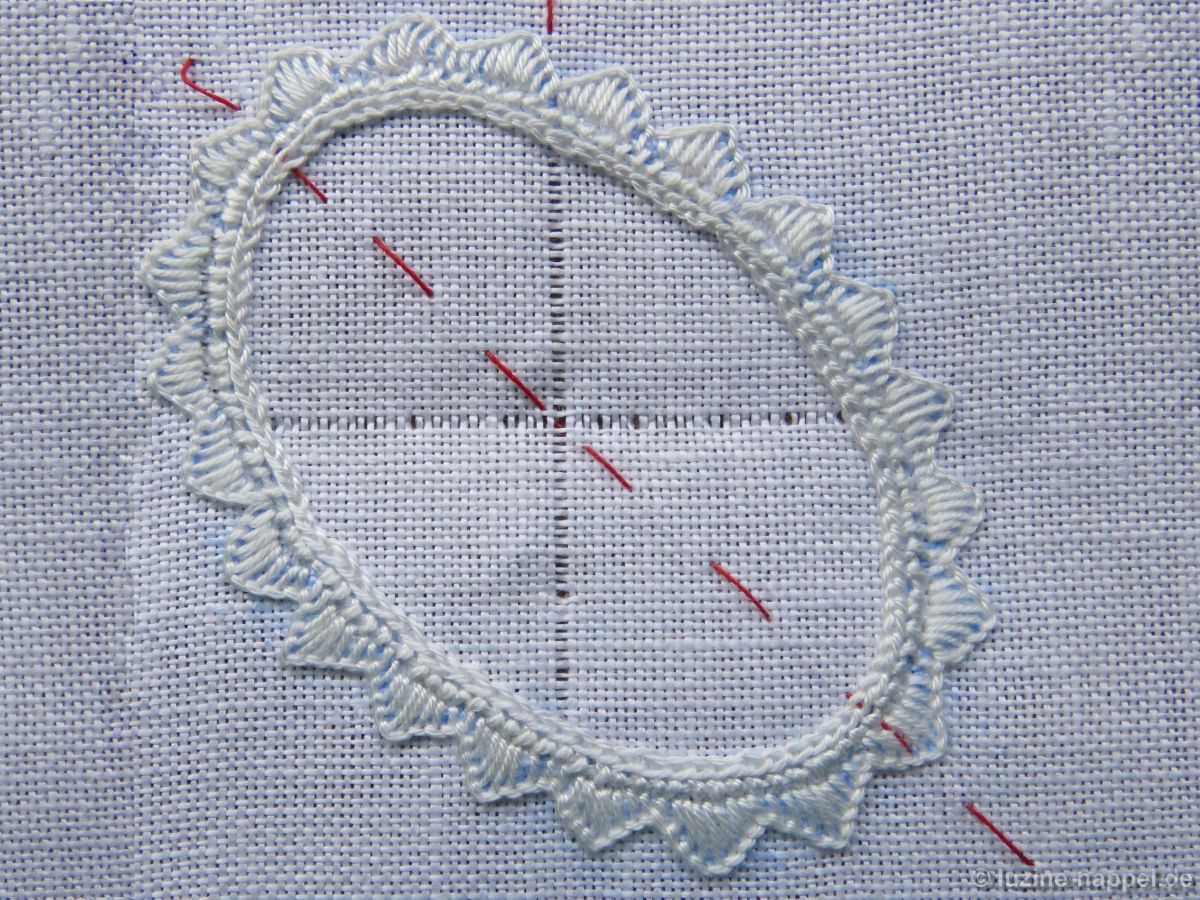
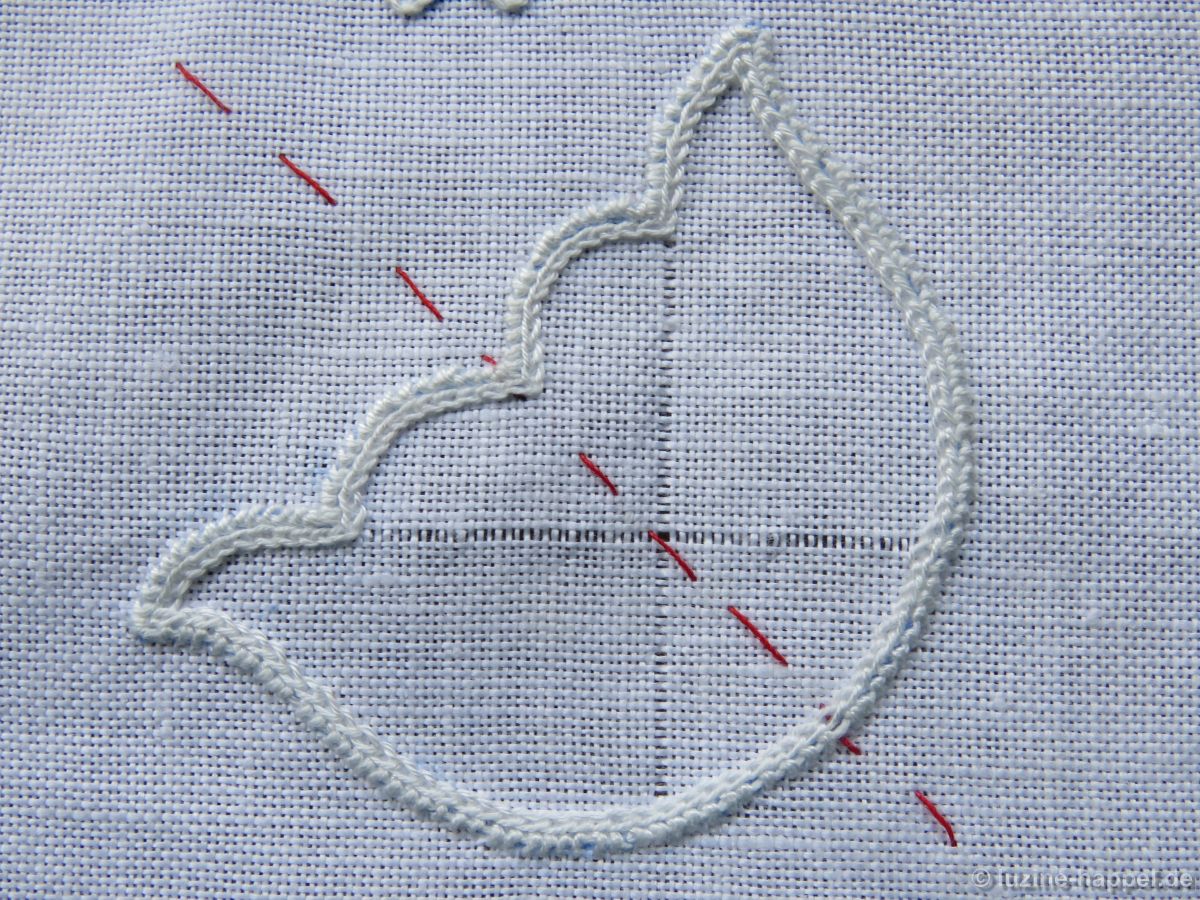
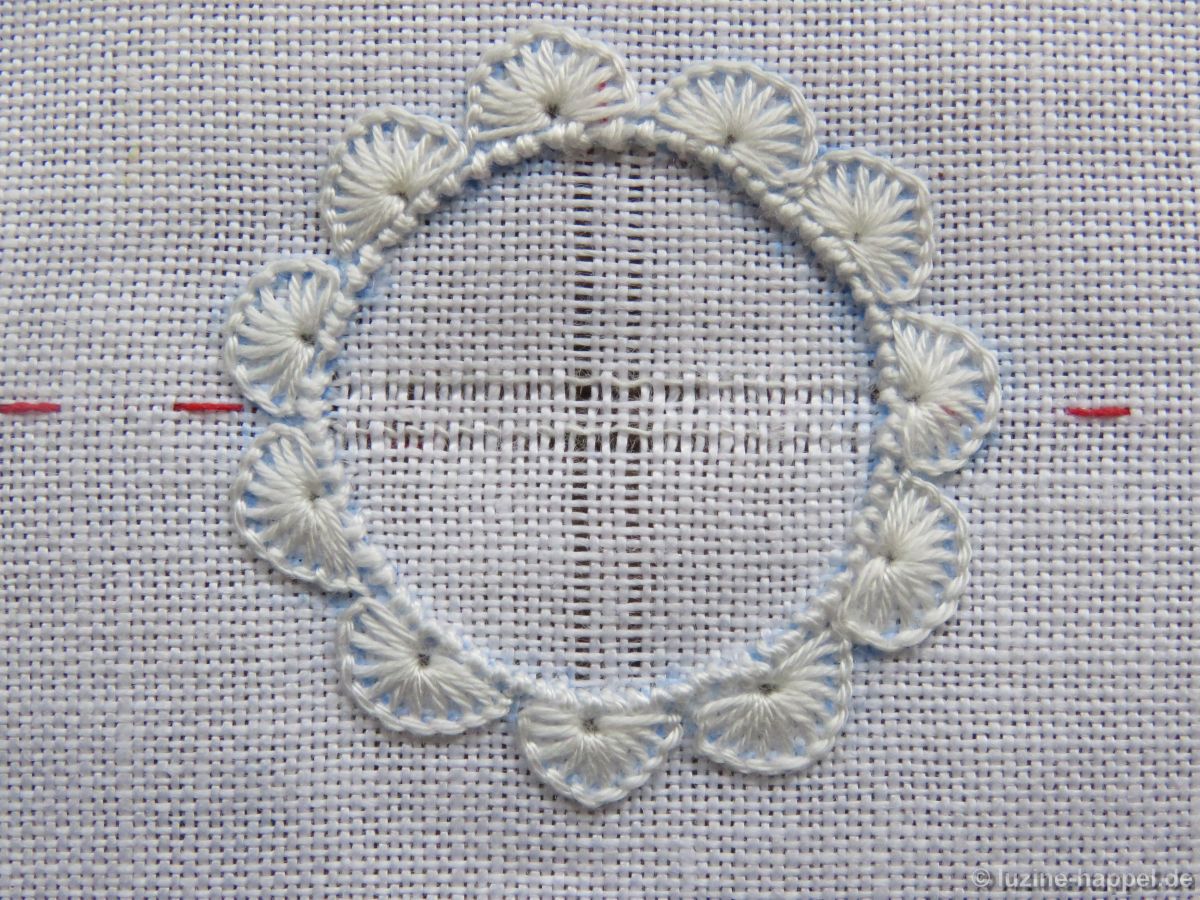
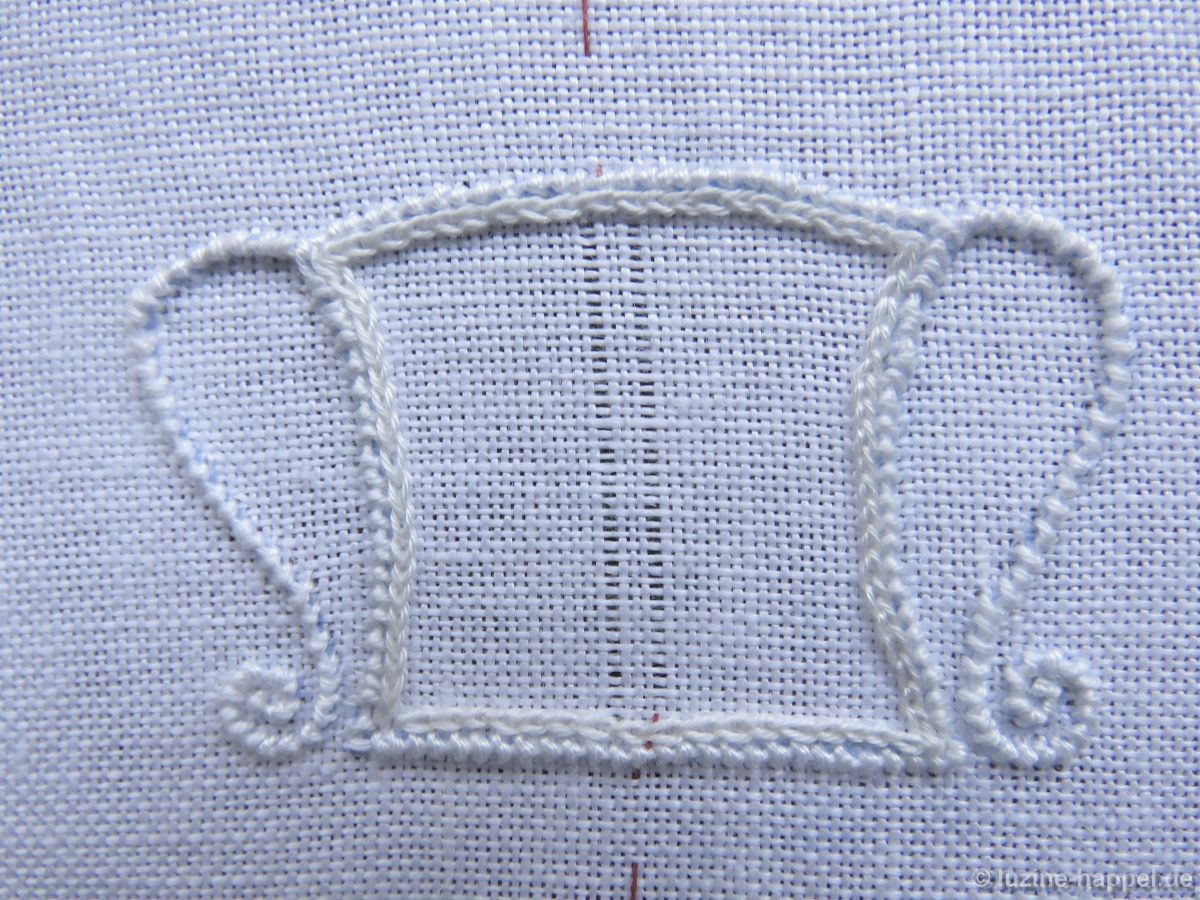
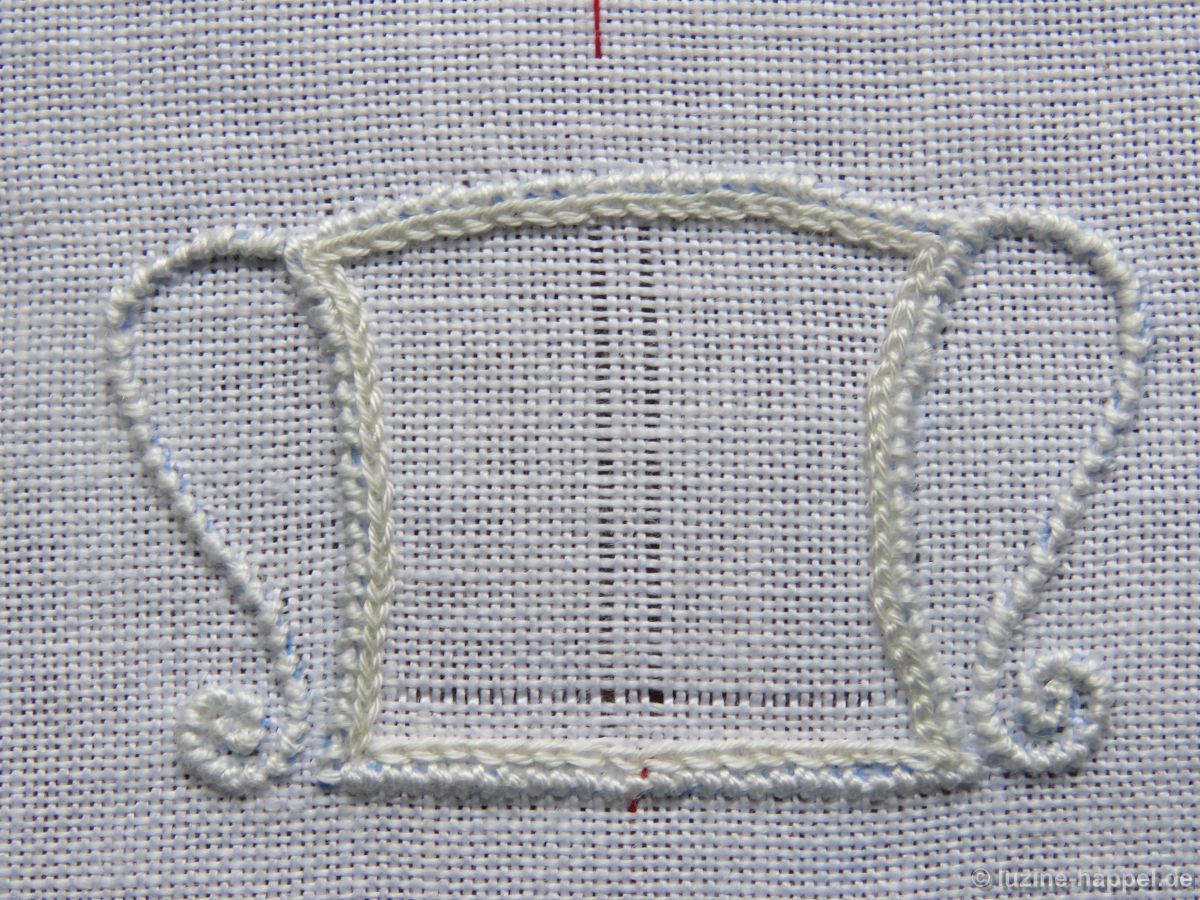
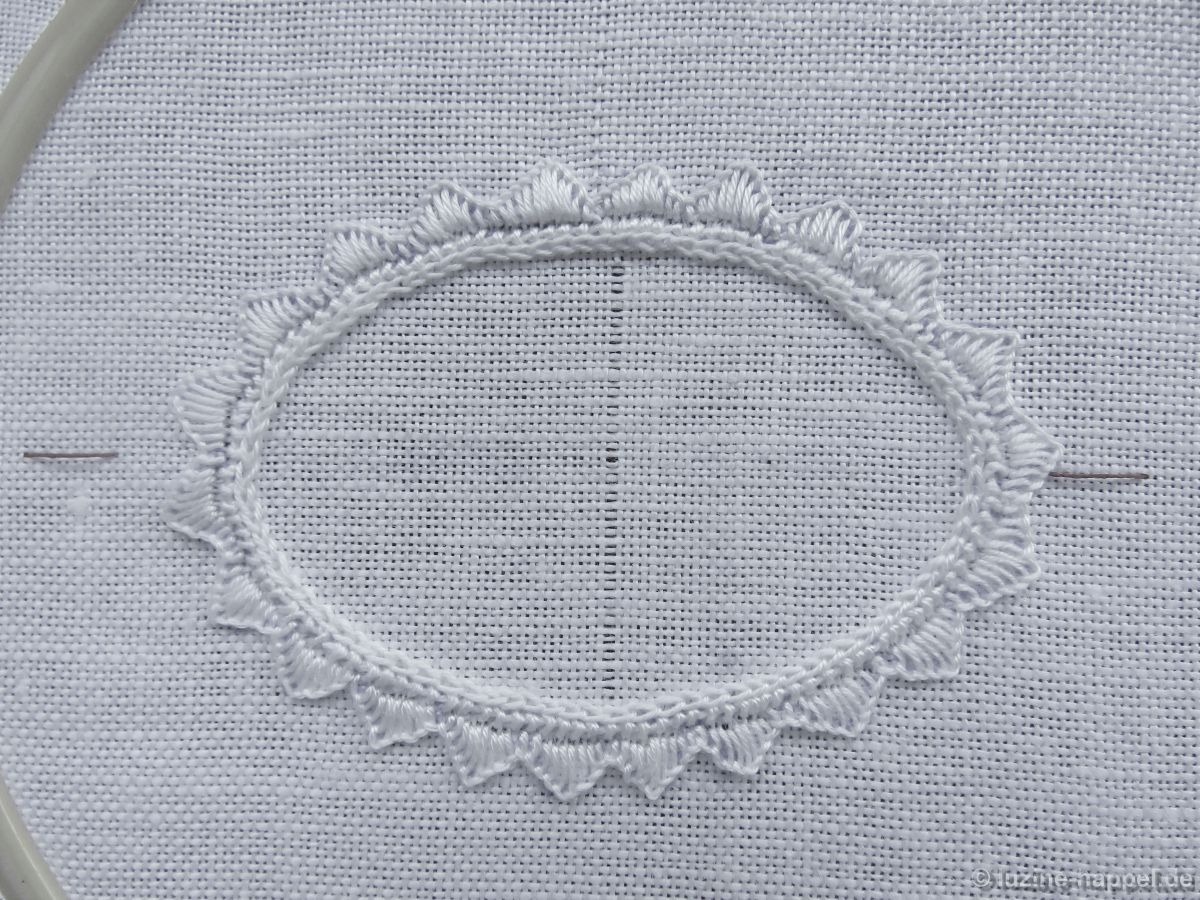
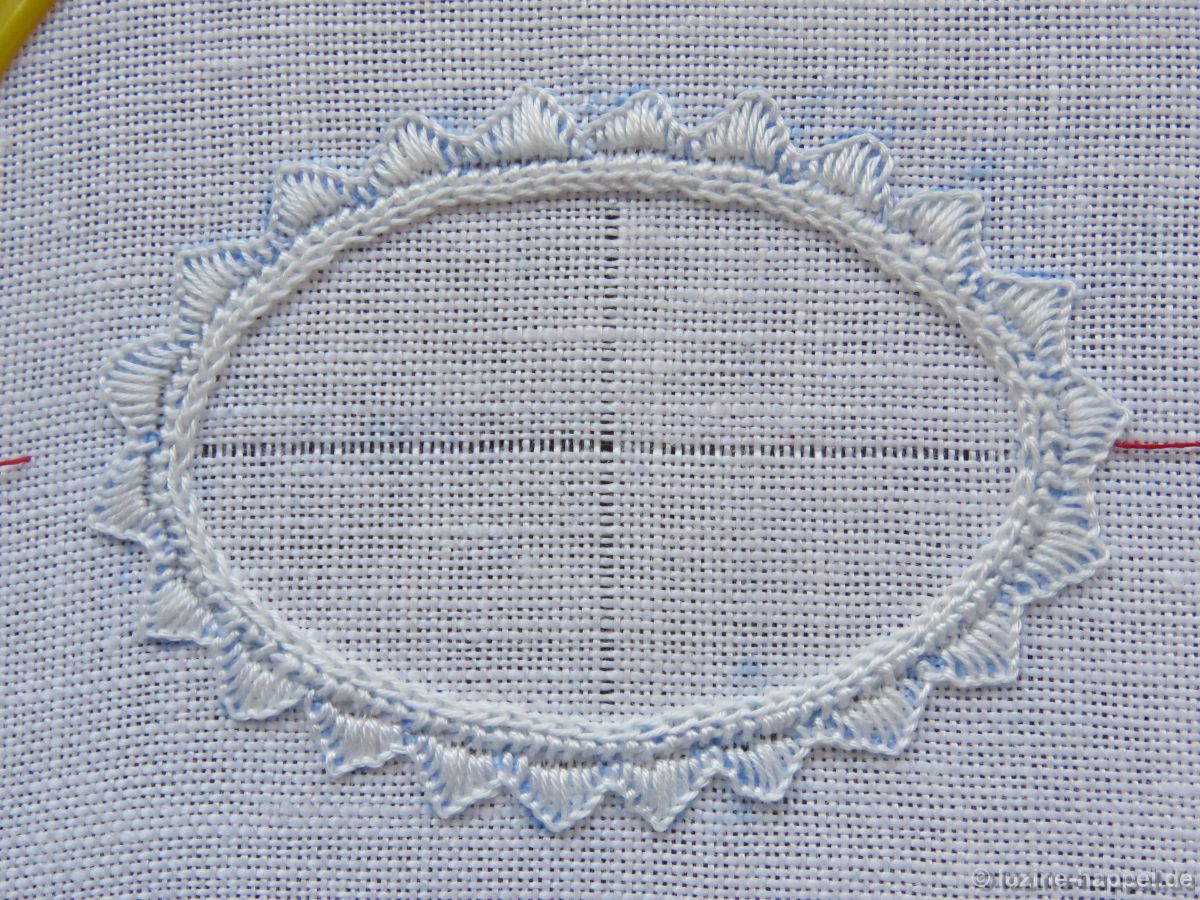
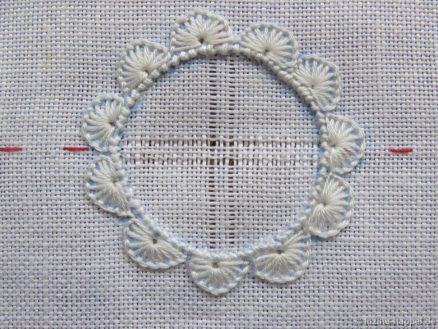
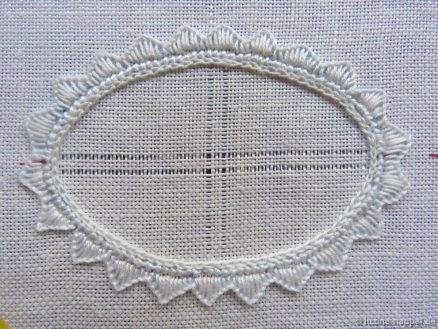
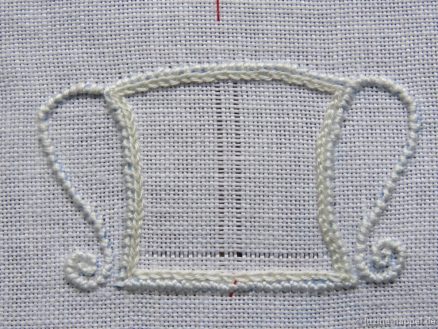
Kreise, Ovale und Quadrate sind punkt-symmetrisch; sie brauchen ein Kästchen im Zentrum, von dem das Muster nach allen Seiten ausgehen kann.
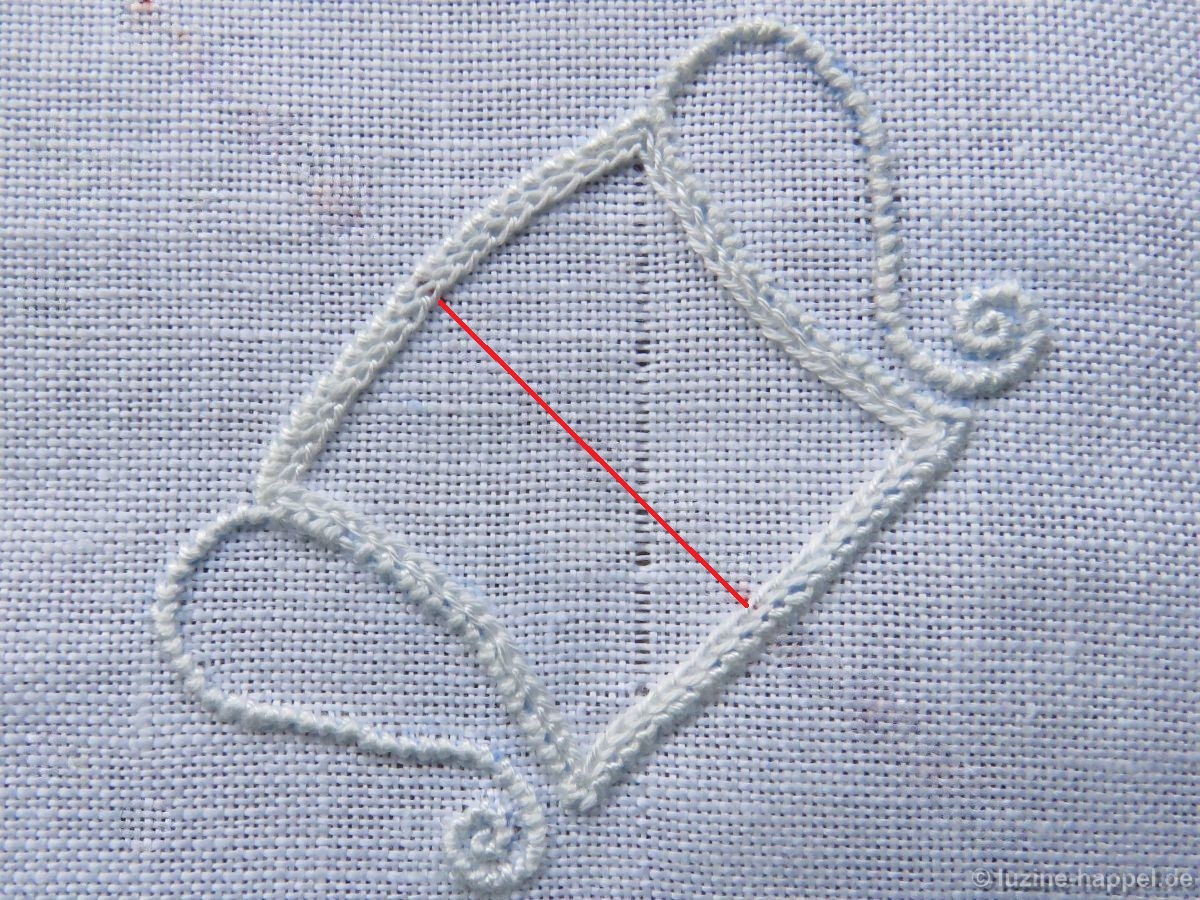
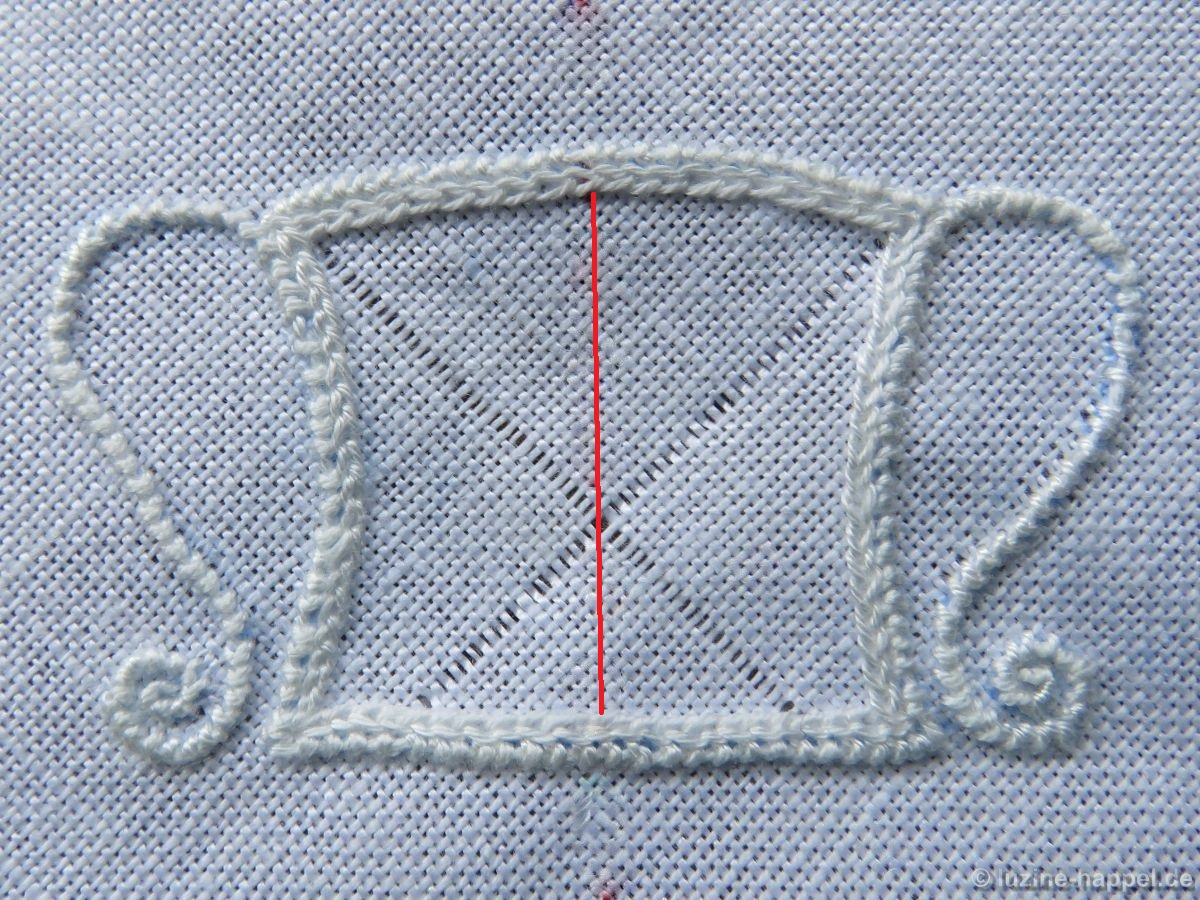
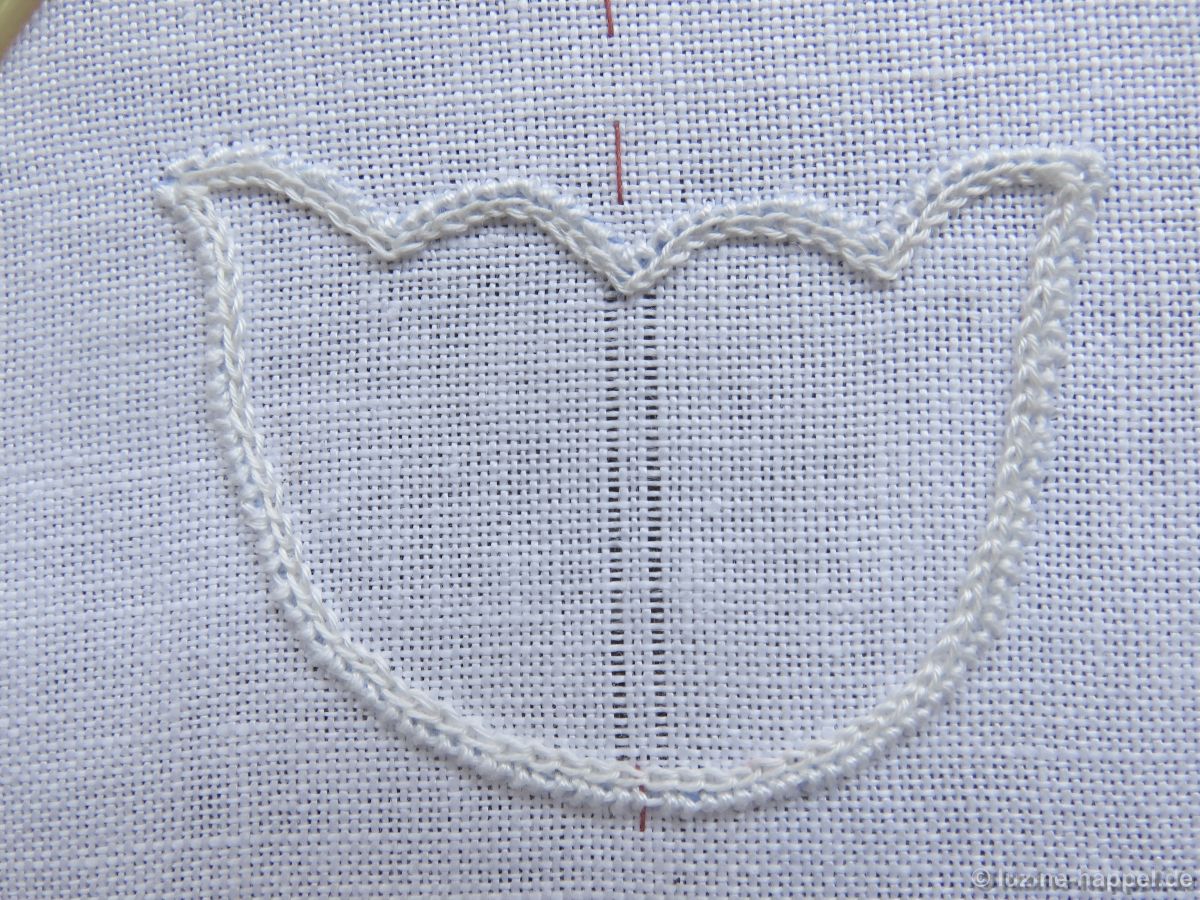
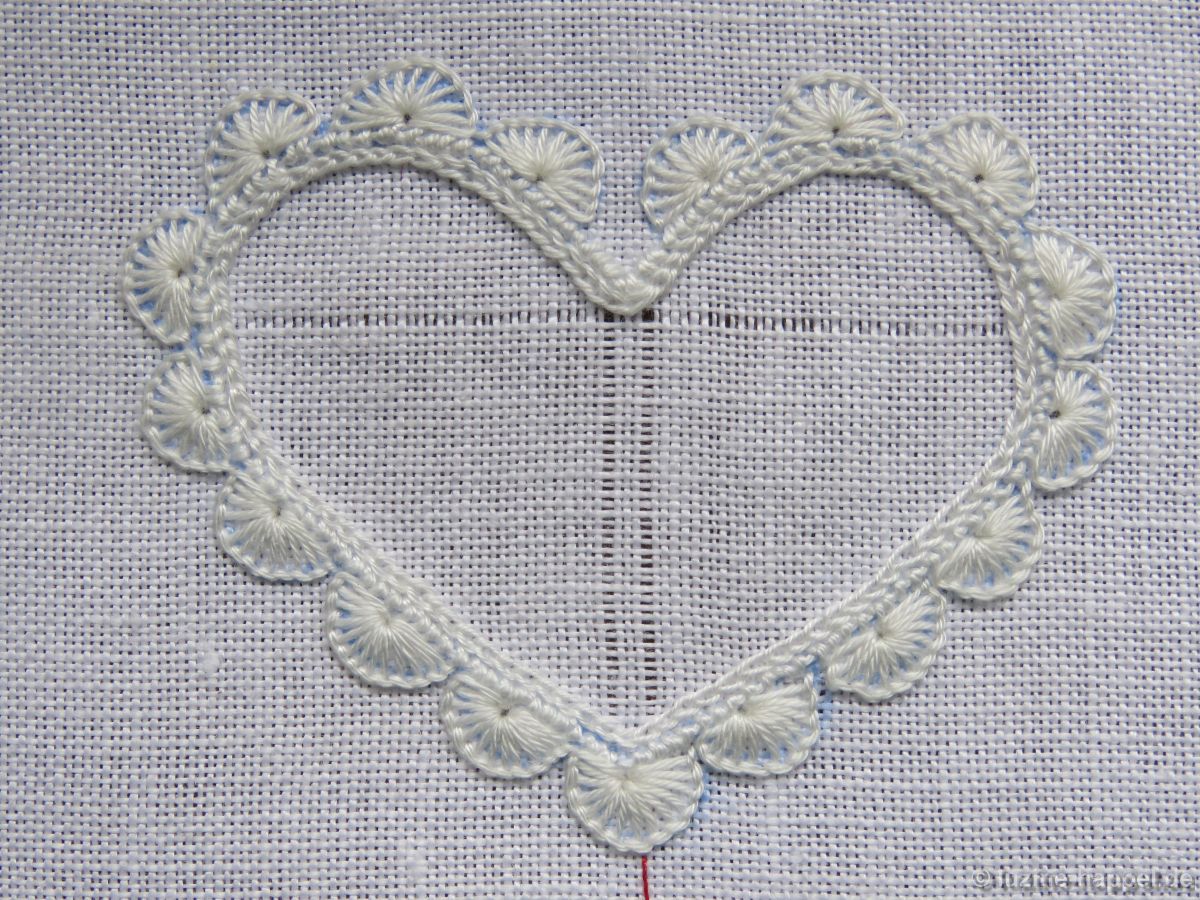
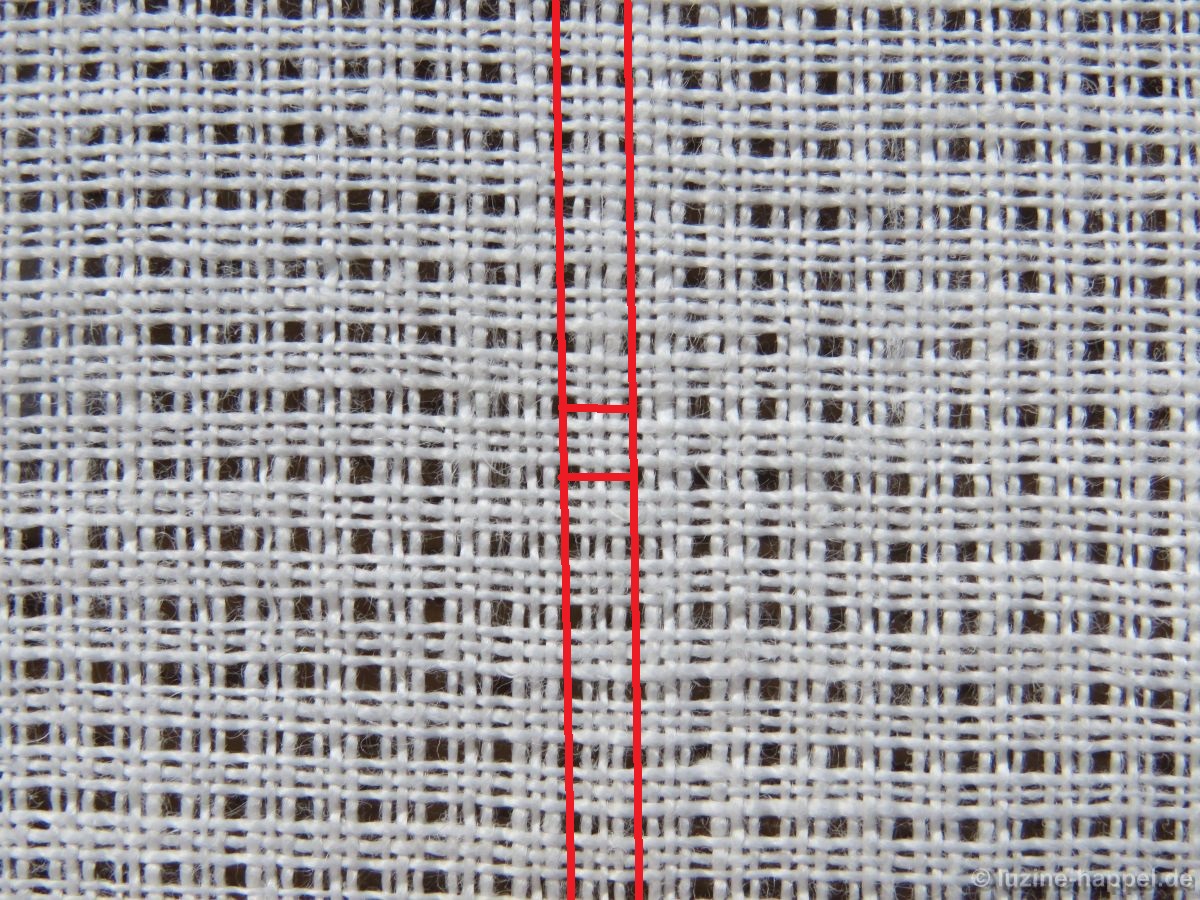
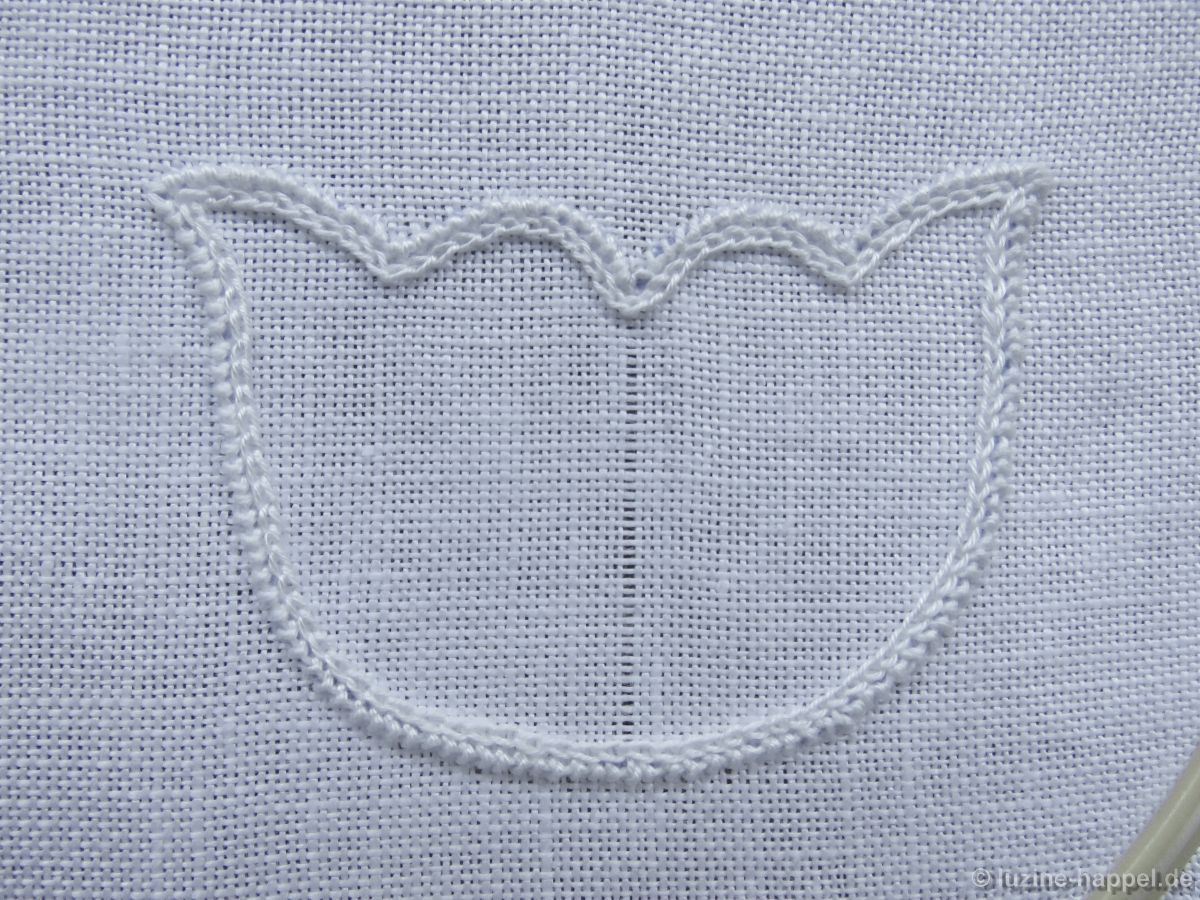
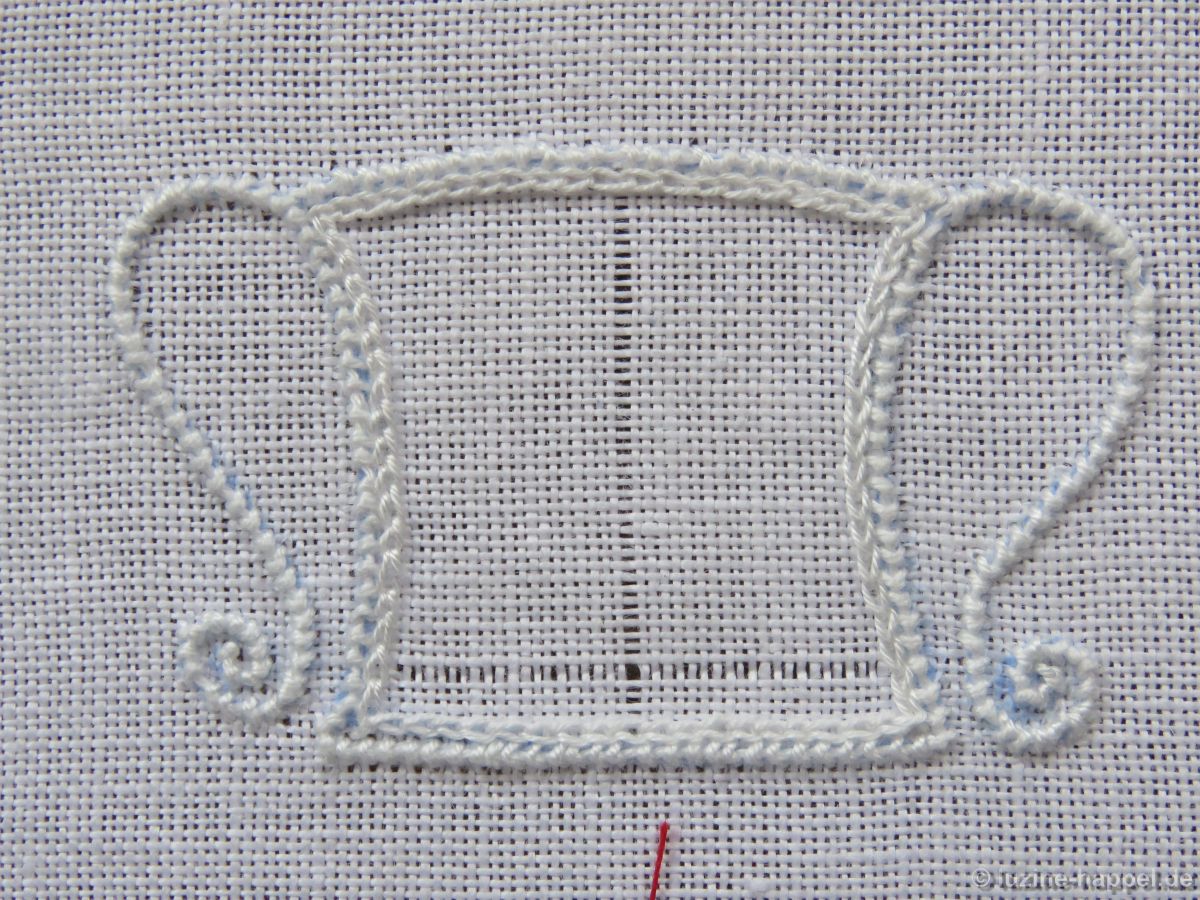
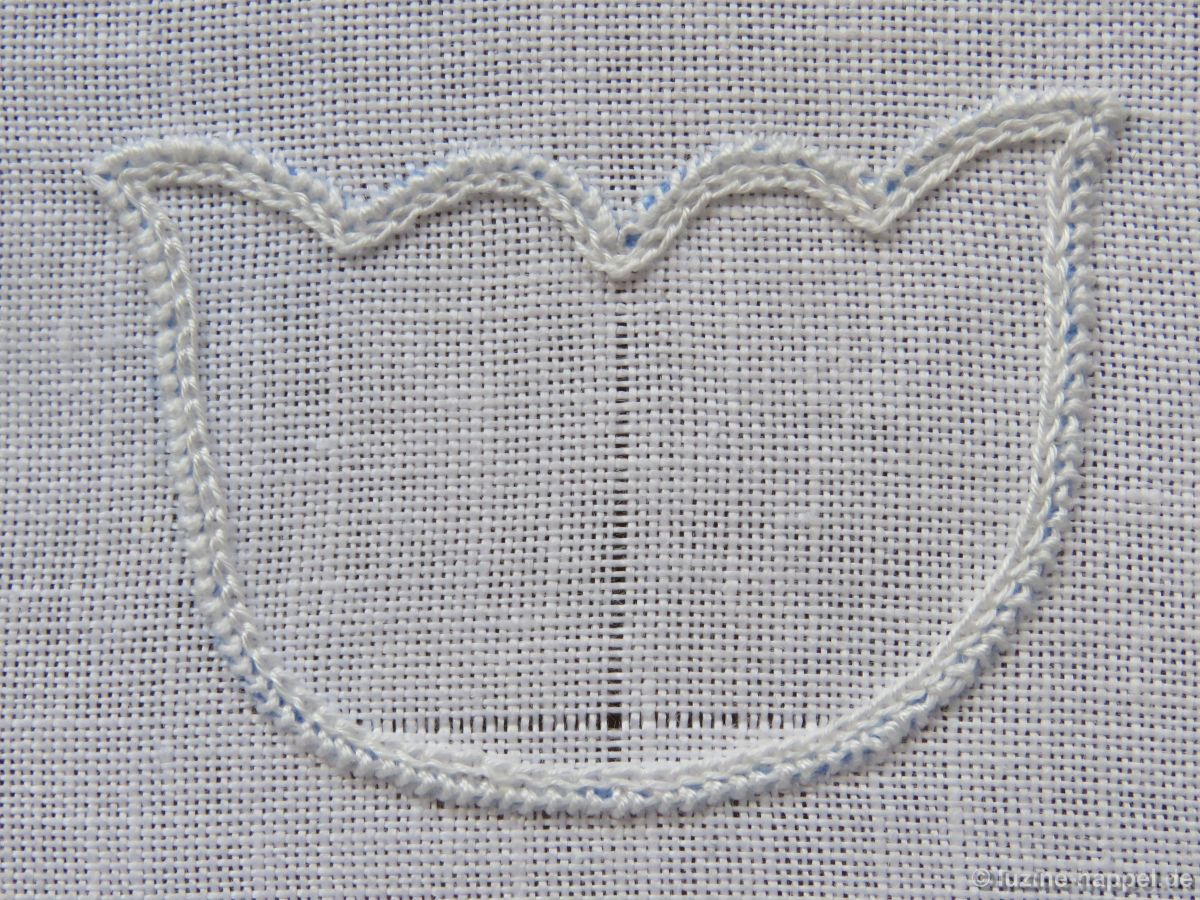
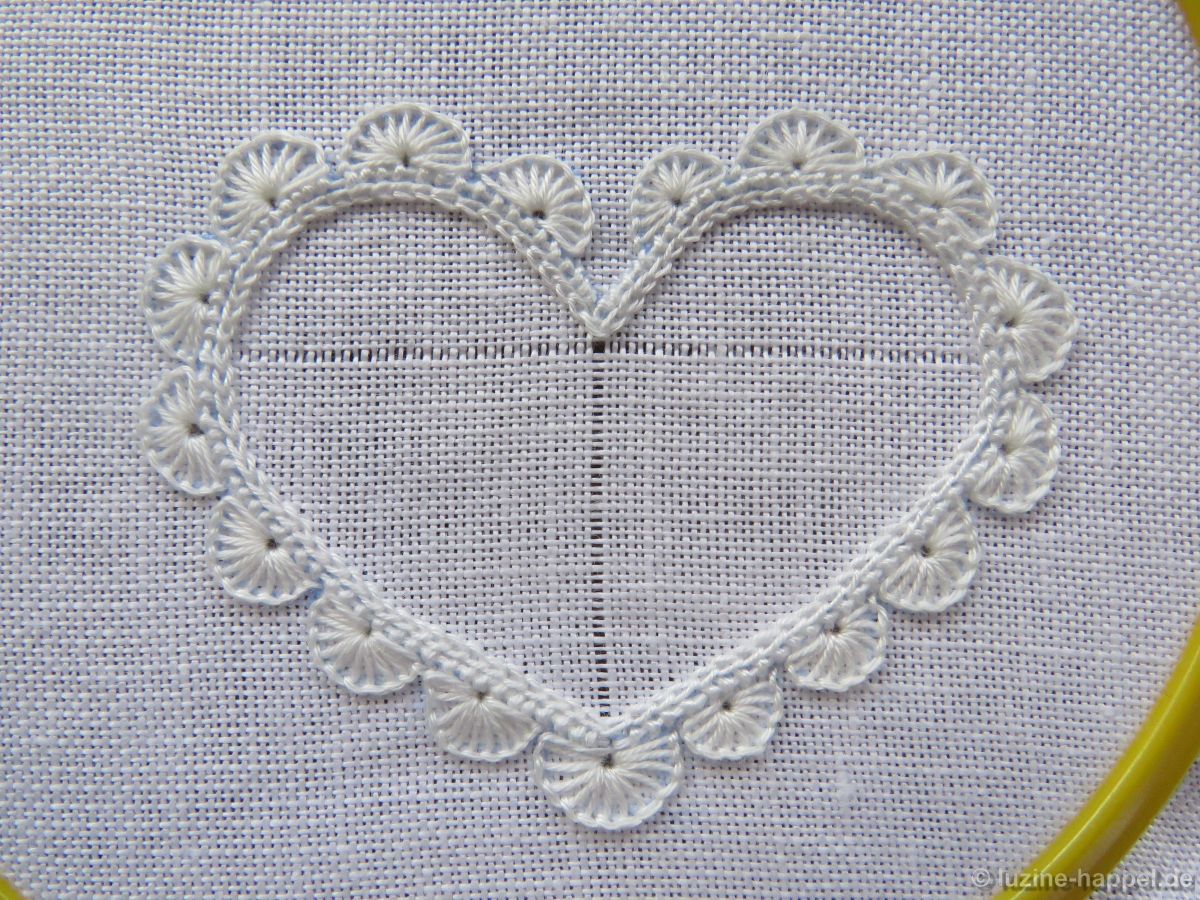
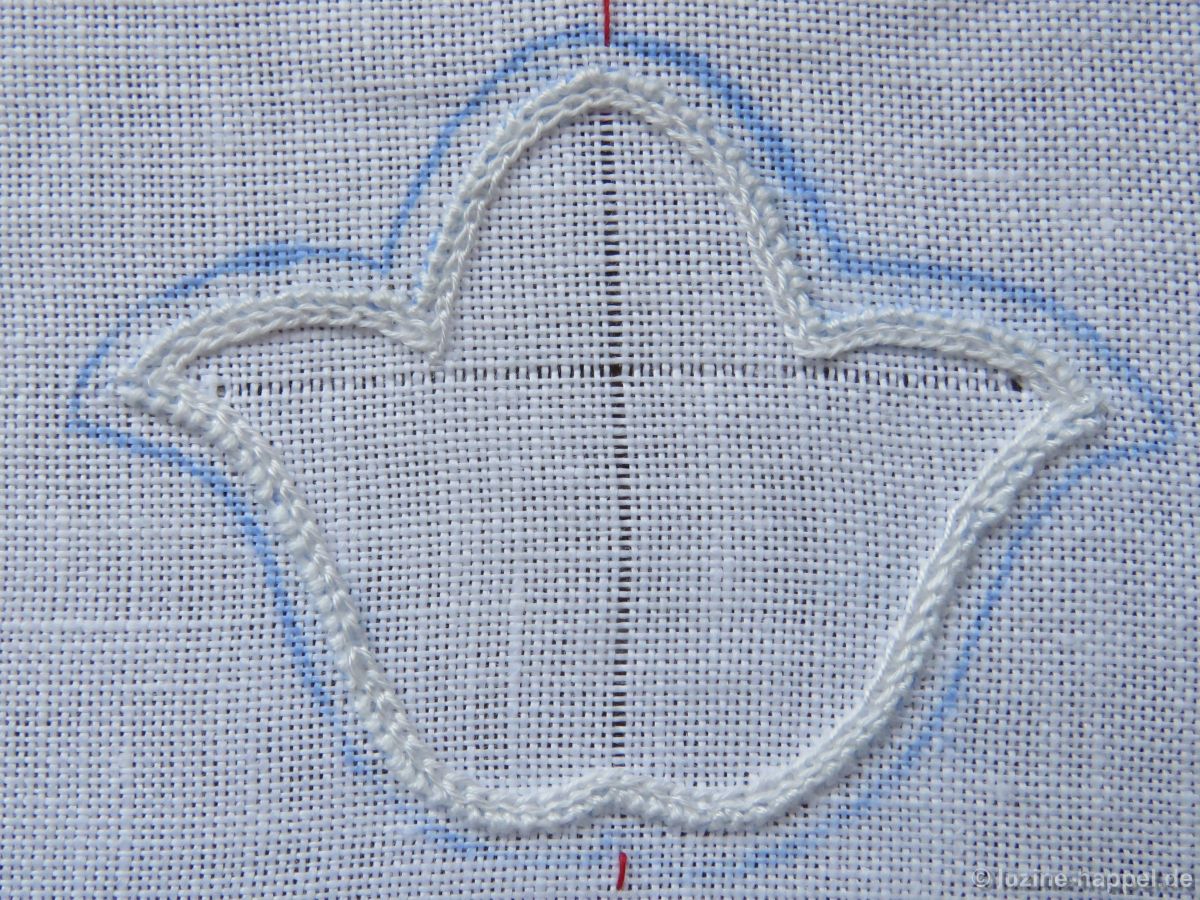
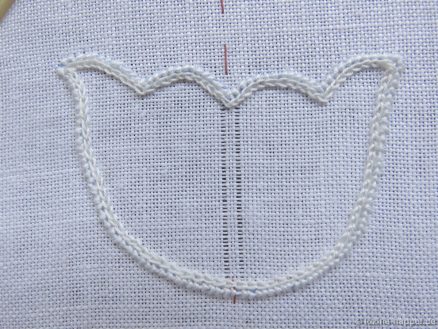
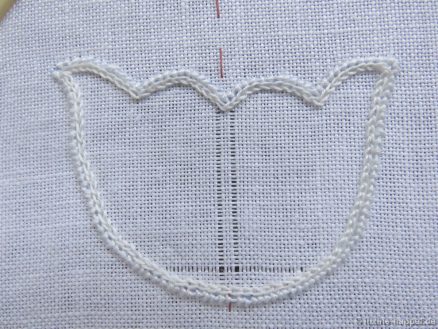
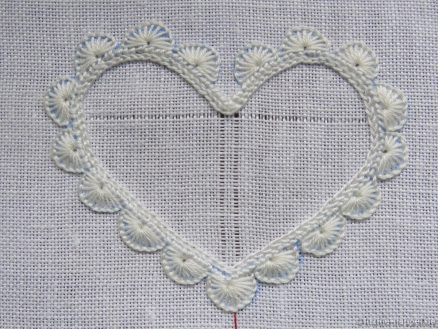
Tulpen, Herzen und einige andere Motive sind achsen-symmetrisch; sie brauchen ein 3-er Fadenbündel als mittlere Längsachse, von der aus das Muster spiegelbildlich nach beiden Seiten gebildet wird.
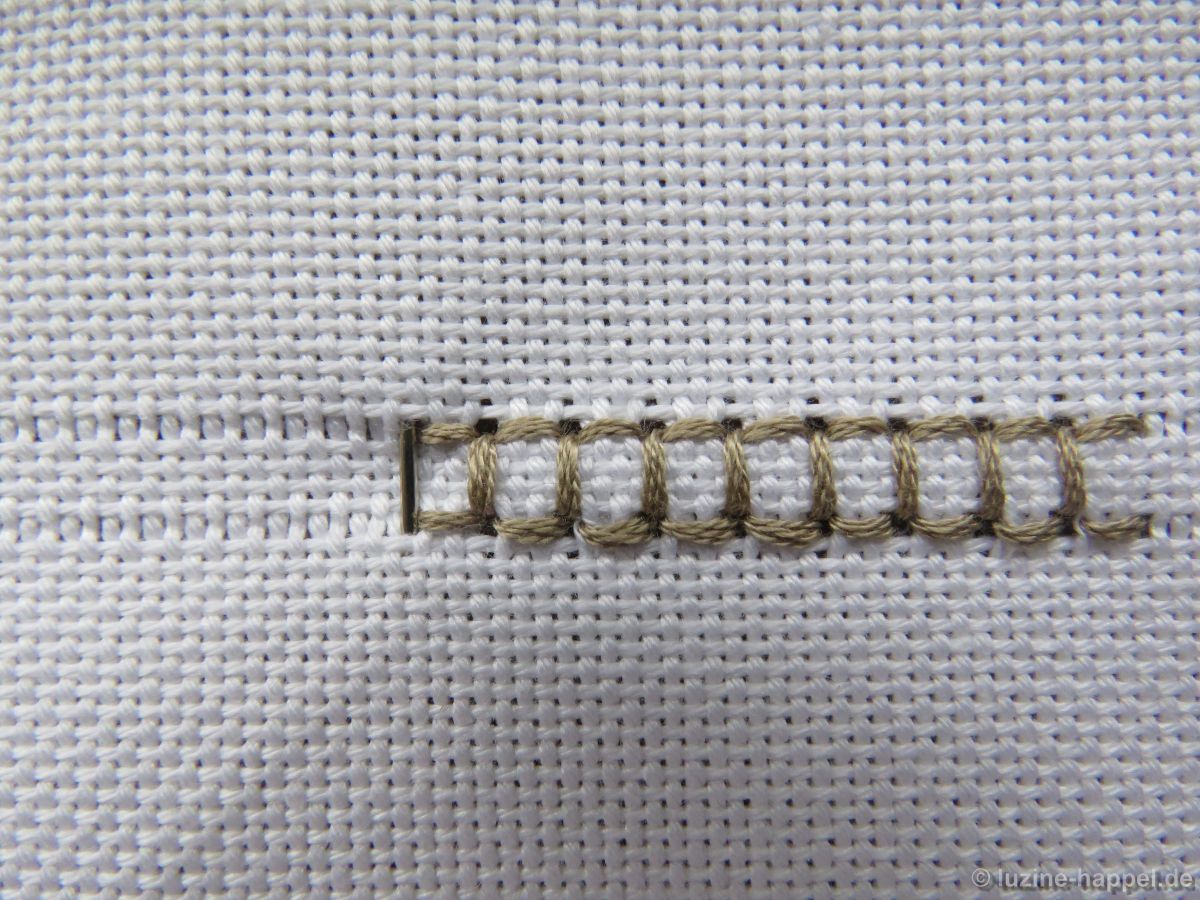
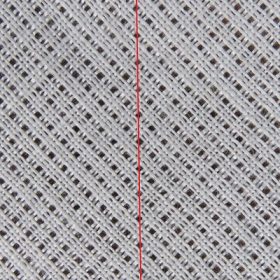
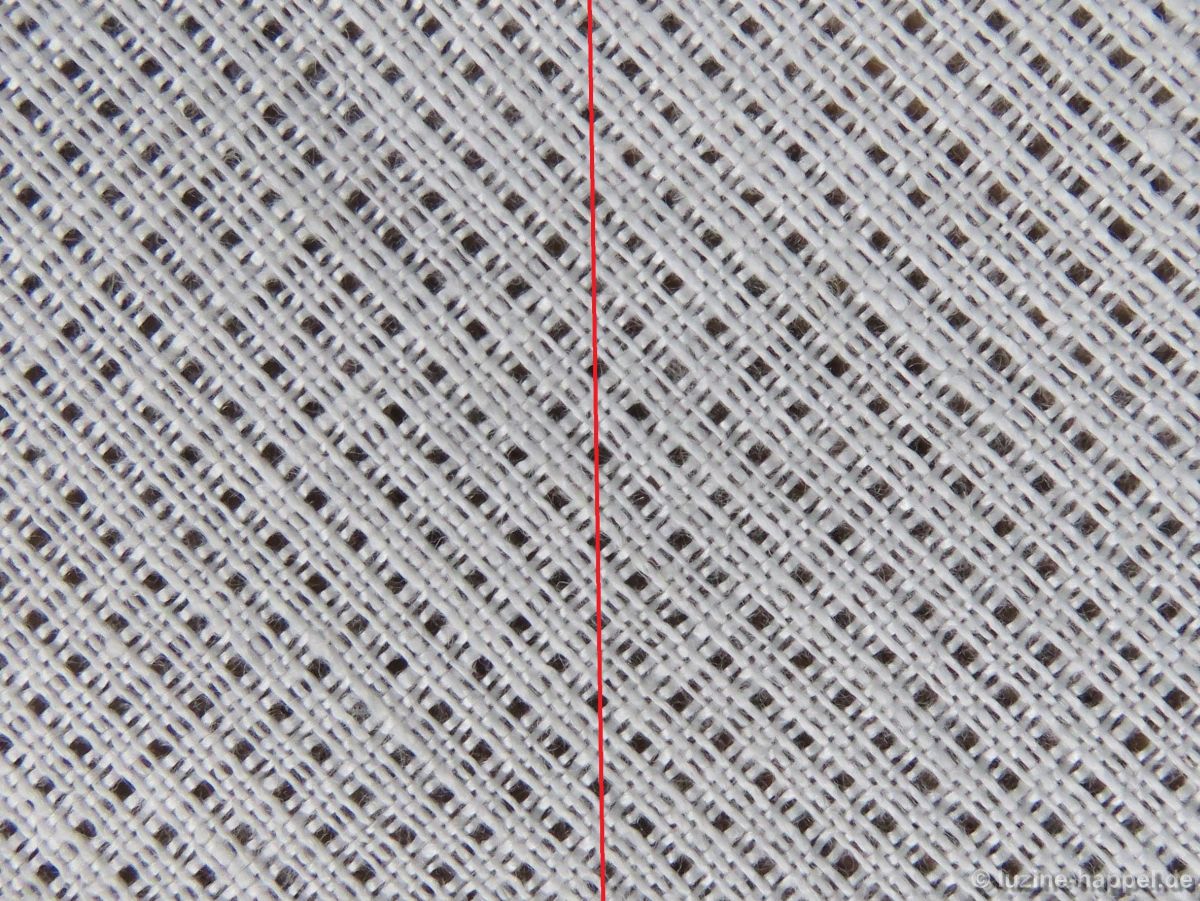
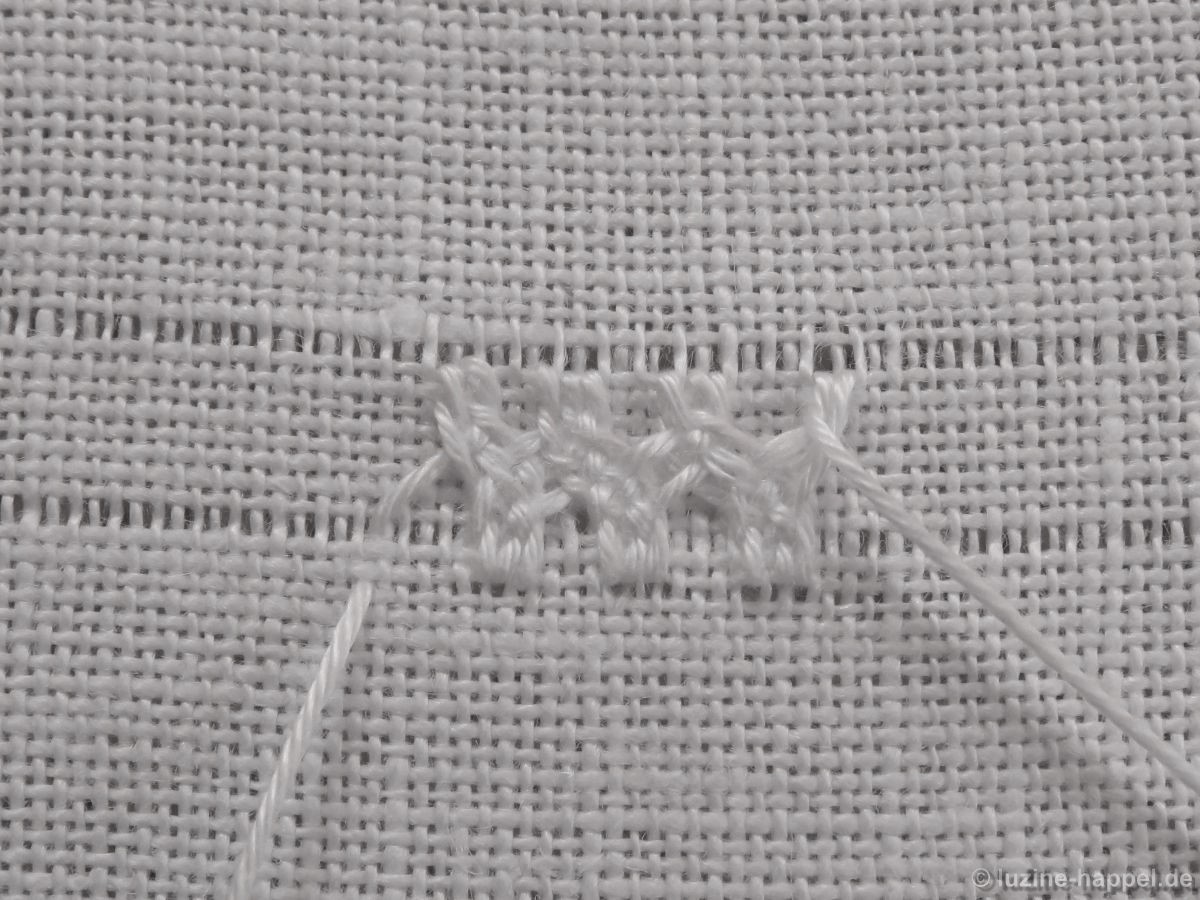
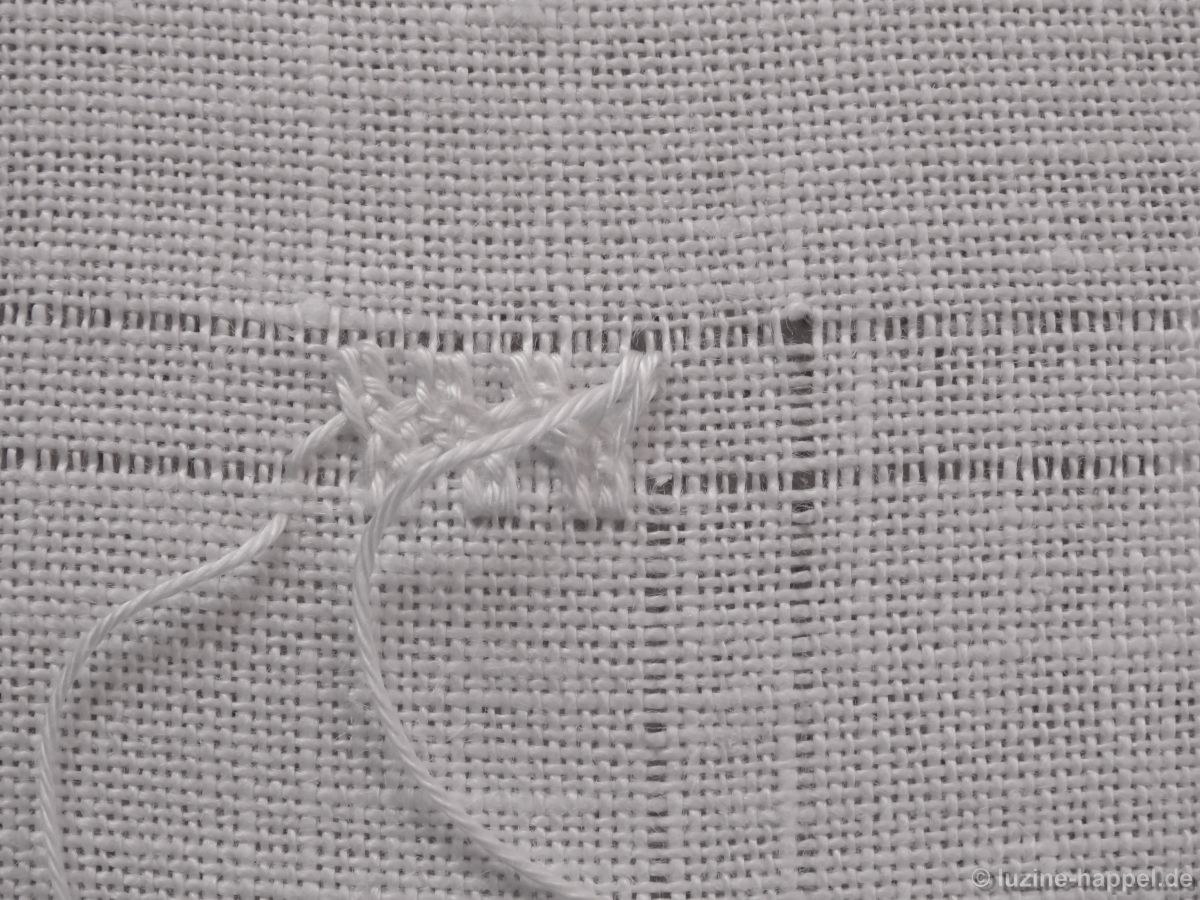
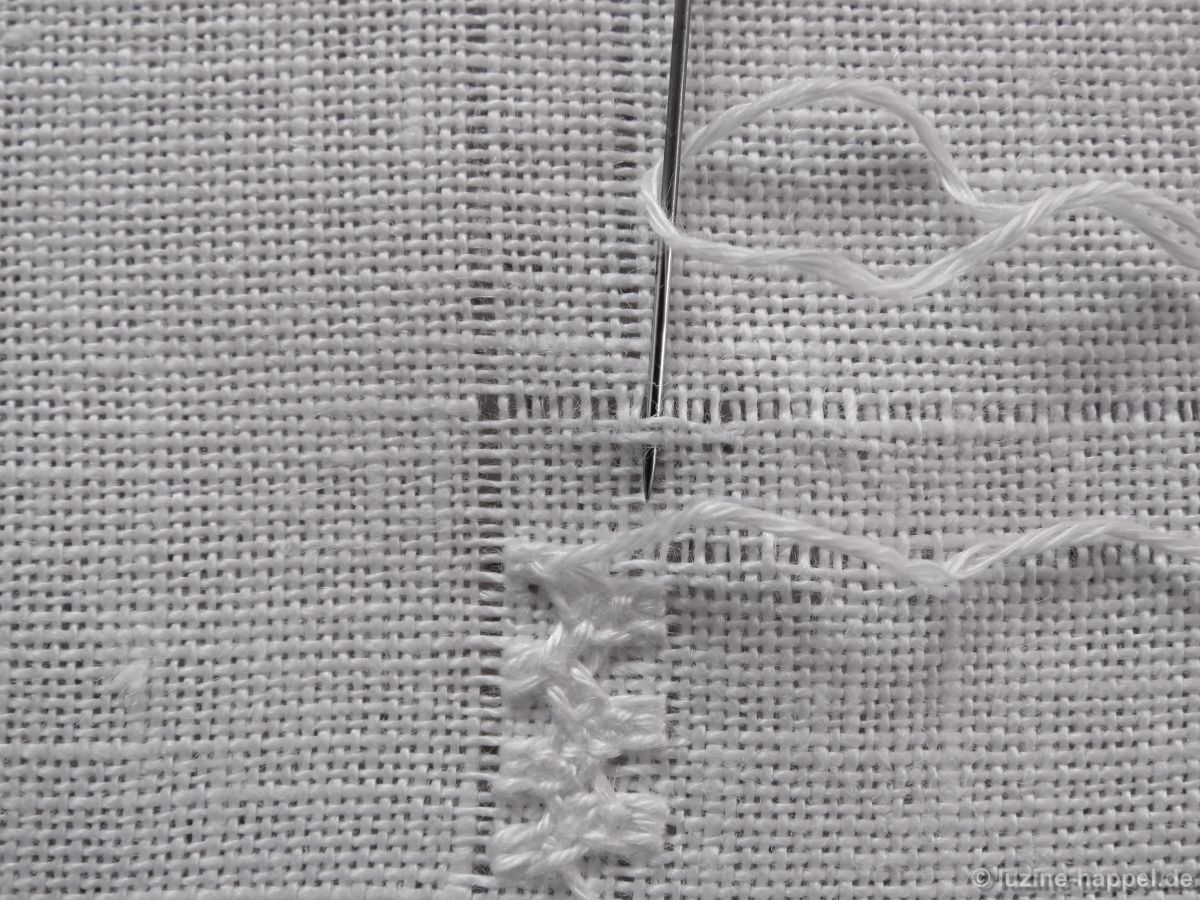
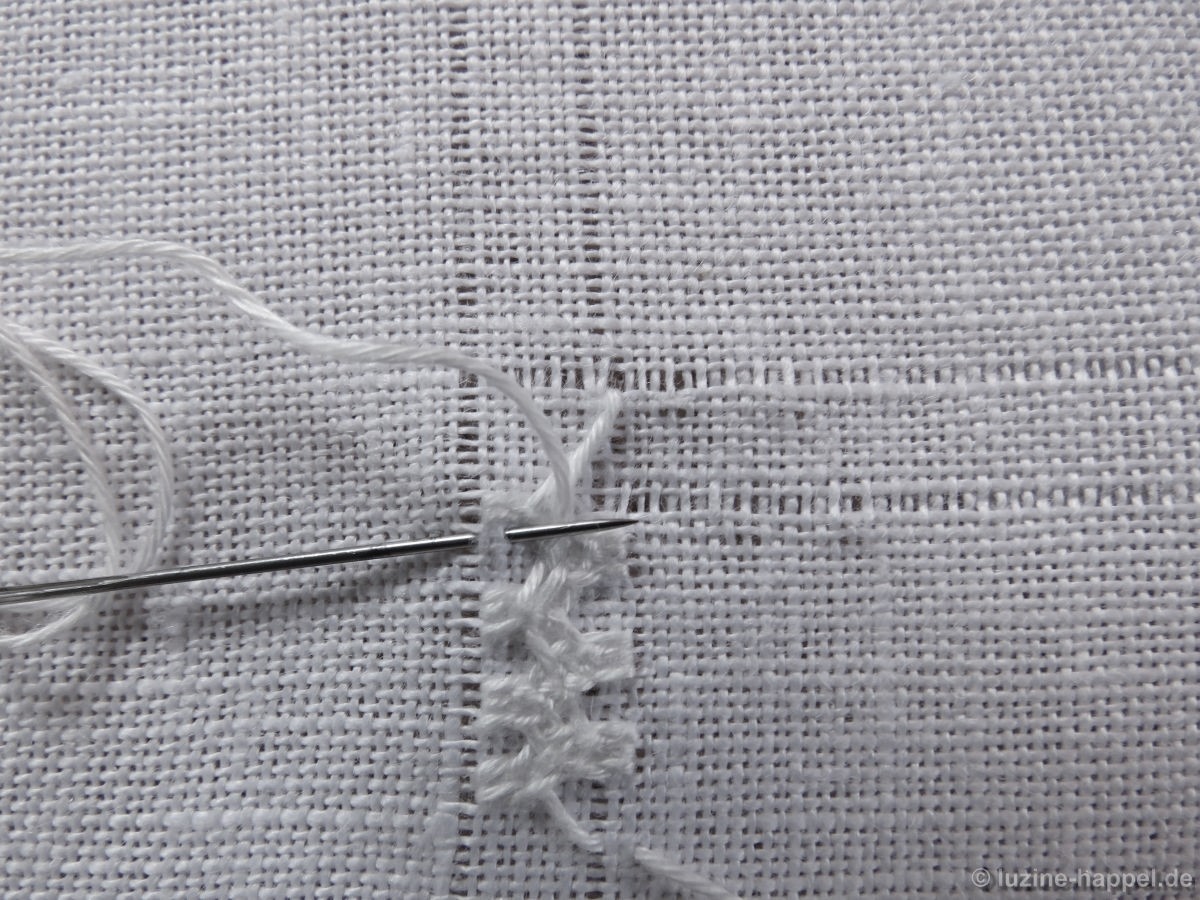
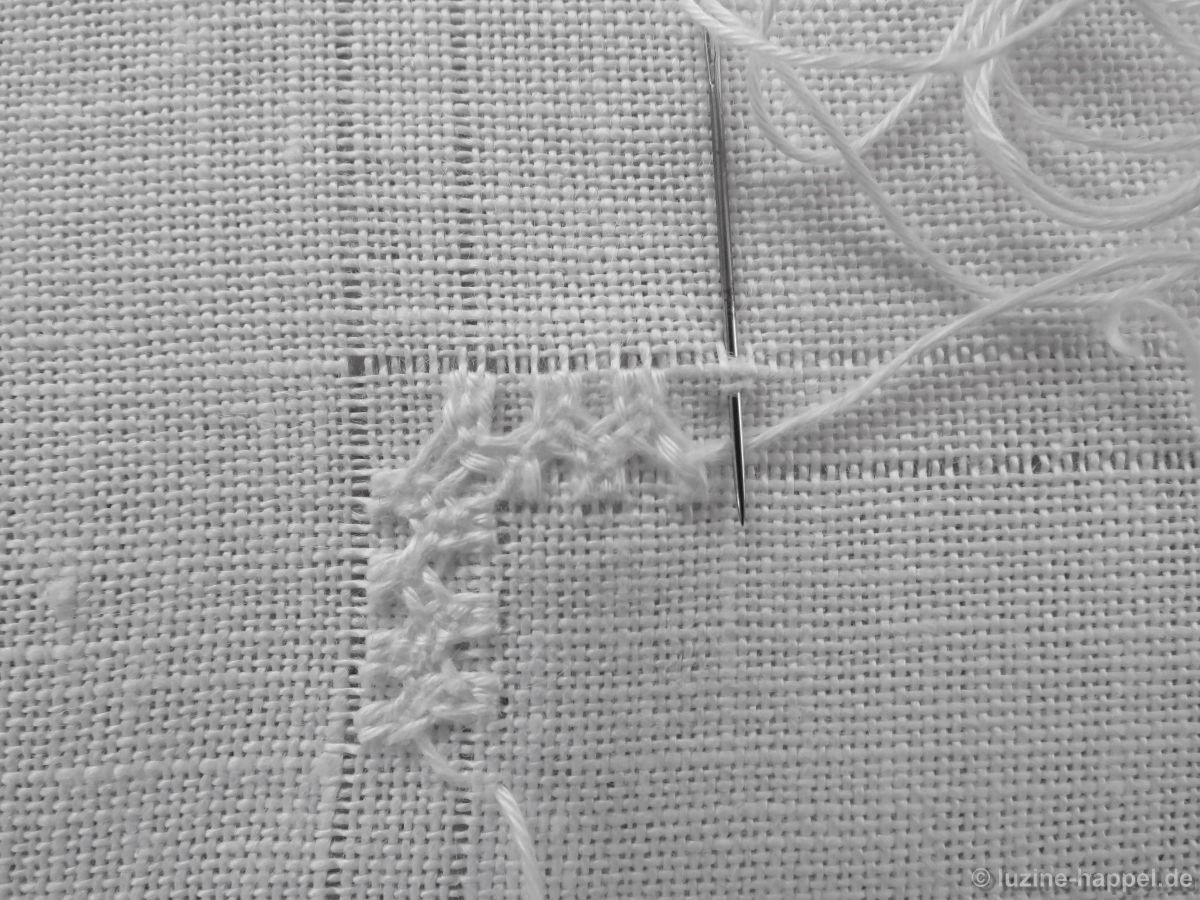
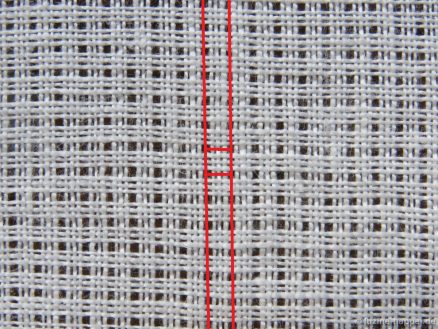
In beiden Motiv-Typen bleiben der mittlere vertikale Faden und die daran angrenzenden Fäden stehen, die nächsten beiden (einer links und einer rechts davon), werden zuerst ausgezogen.
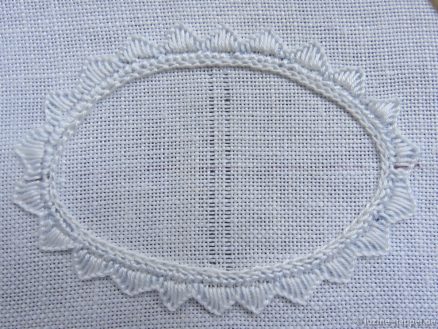
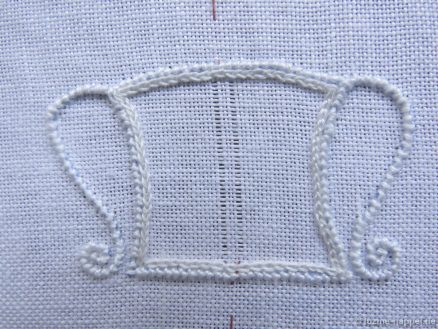
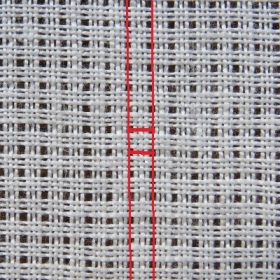
In punkt-symmetrischen Motiven bleiben dann der mittlere horizontale Faden und die daran angrenzenden Fäden stehen, die nächsten beiden (einer darüber und einer darunter), werden ausgezogen, um ein Kästchen im Zentrum zu etablieren.
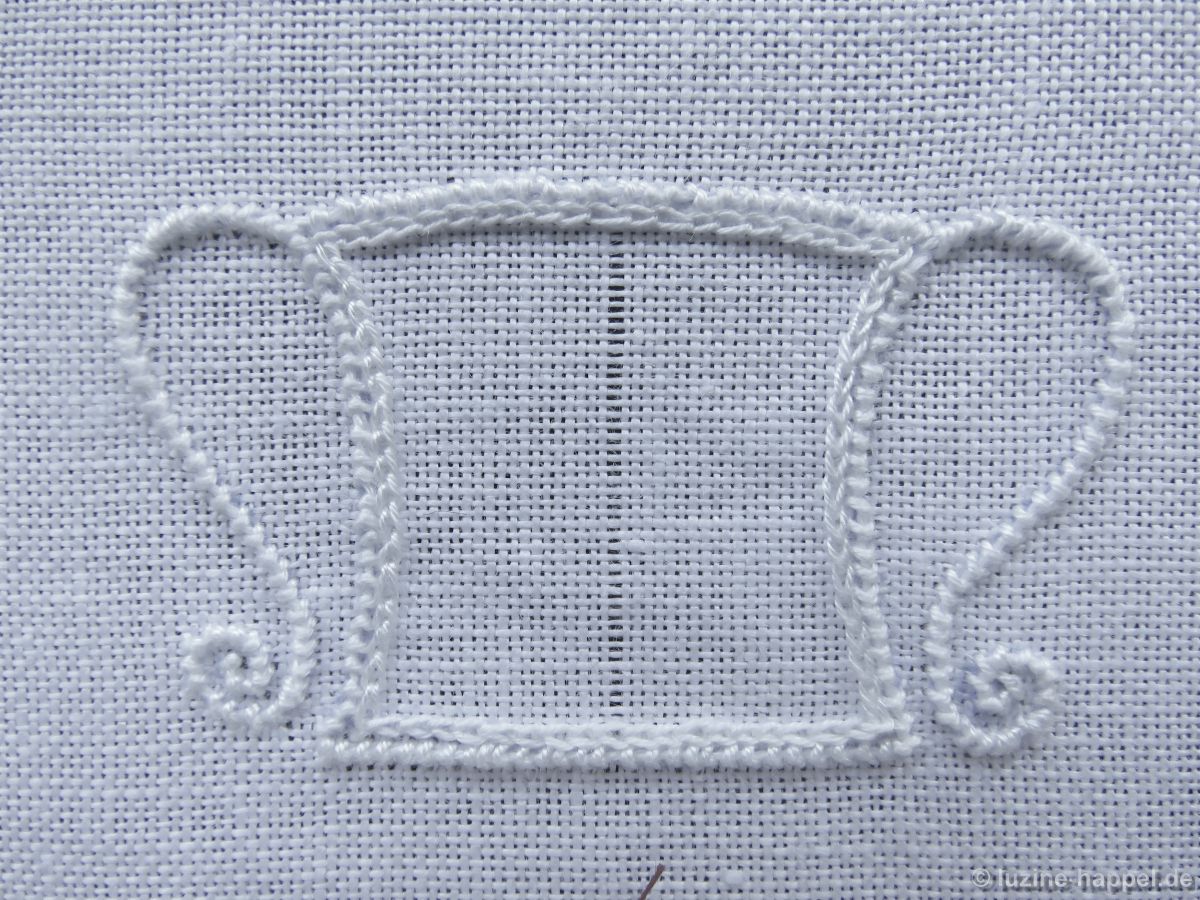
Für achsen-symmetrische Motive gibt es unterschiedliche Möglichkeiten. Die Auswahl hängt davon ab, wie ein Muster in der Fläche angeordnet werden soll. Üblicherweise beginnt man mit dem Auszug des vierten Fadens von unten.
Bei Flächen, in denen sich das Muster an die obere Kontur anpassen soll, beginnt man mit dem Auszug des vierten Fadens von oben.
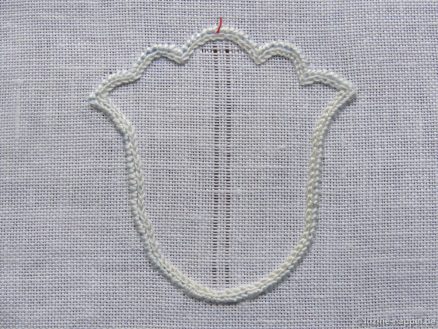
Bei Flächen, die größere Einschnitte aufweisen, wie z. B. Herzen oder einige Tulpenformen, zieht man zuerst den horizontalen Faden direkt unter dem tiefsten Punkt des Einschnittes,
oder direkt über dem höchsten Punkt des Bodeneinschnittes.

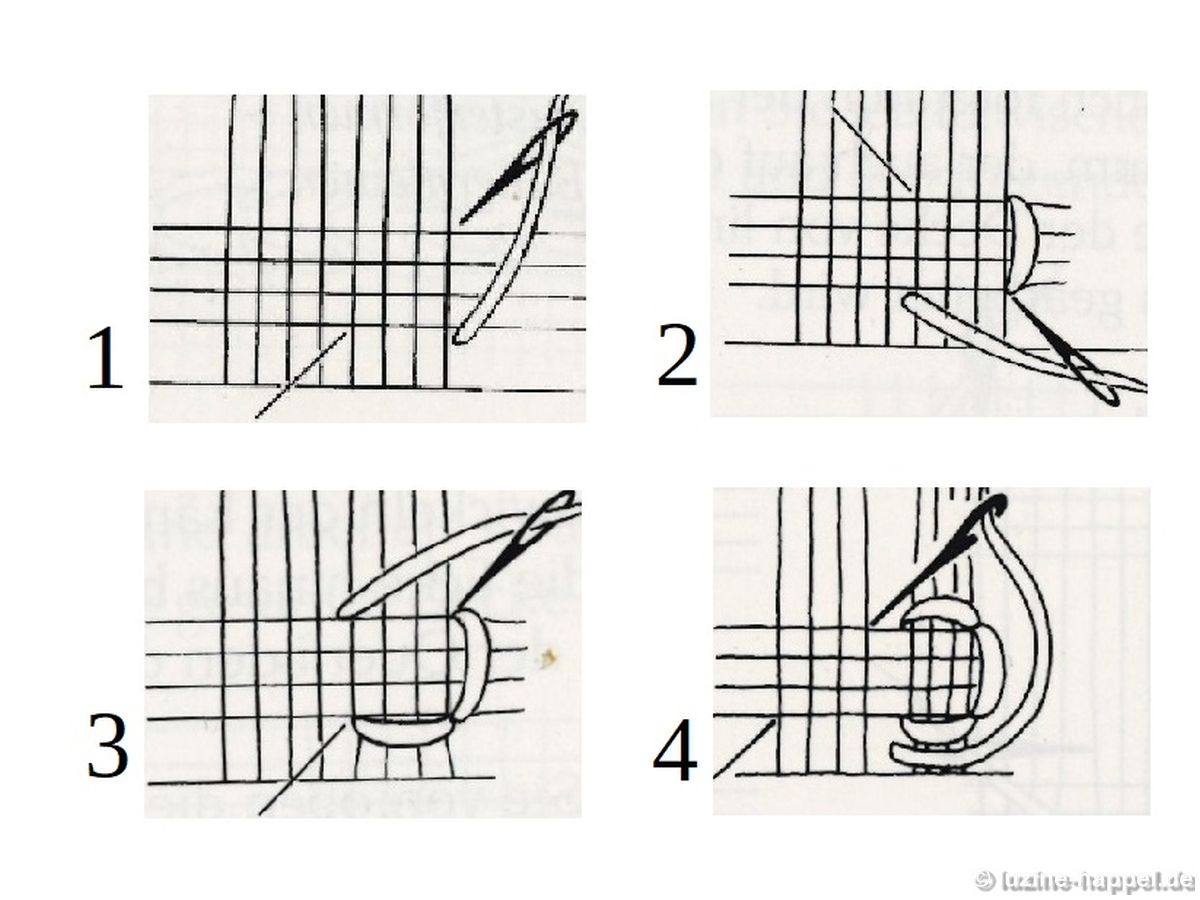
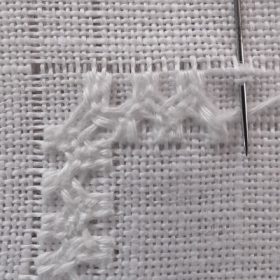
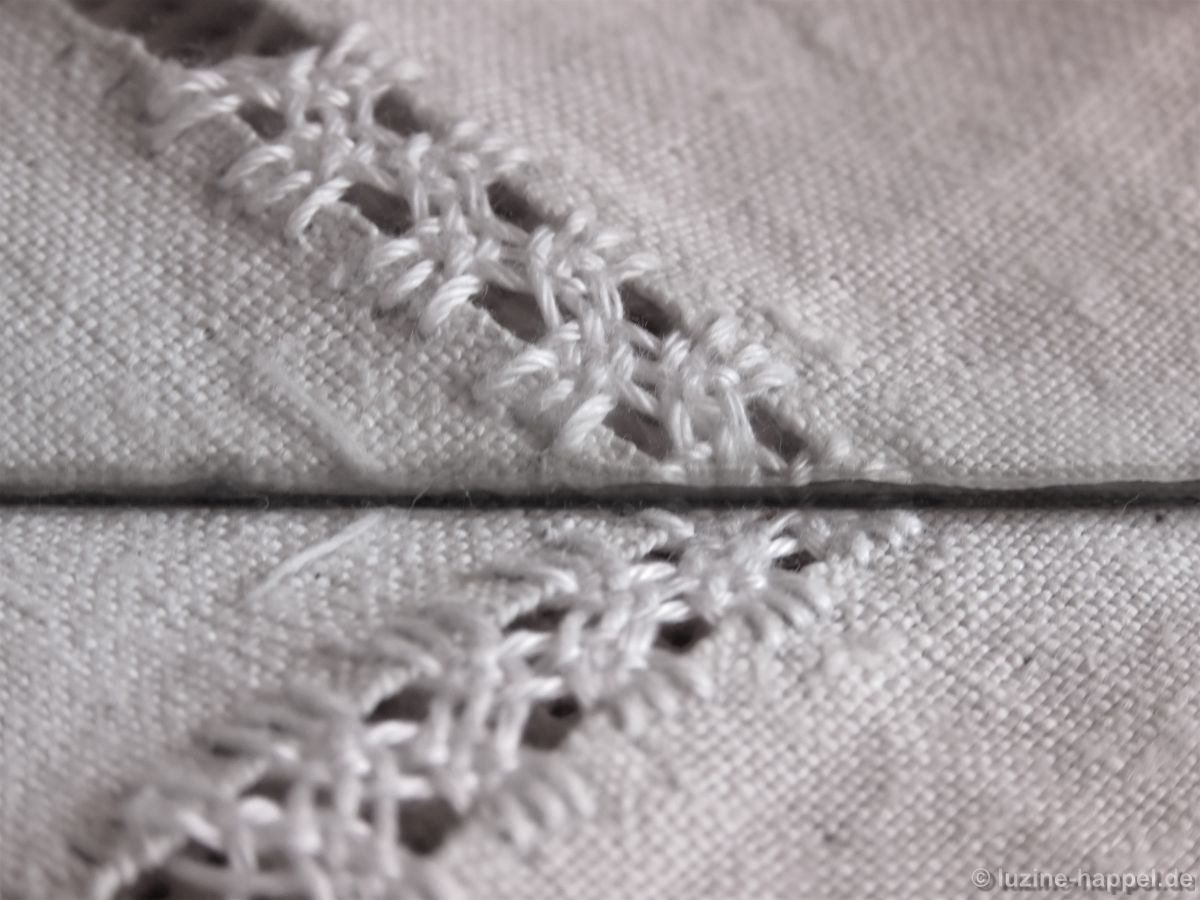
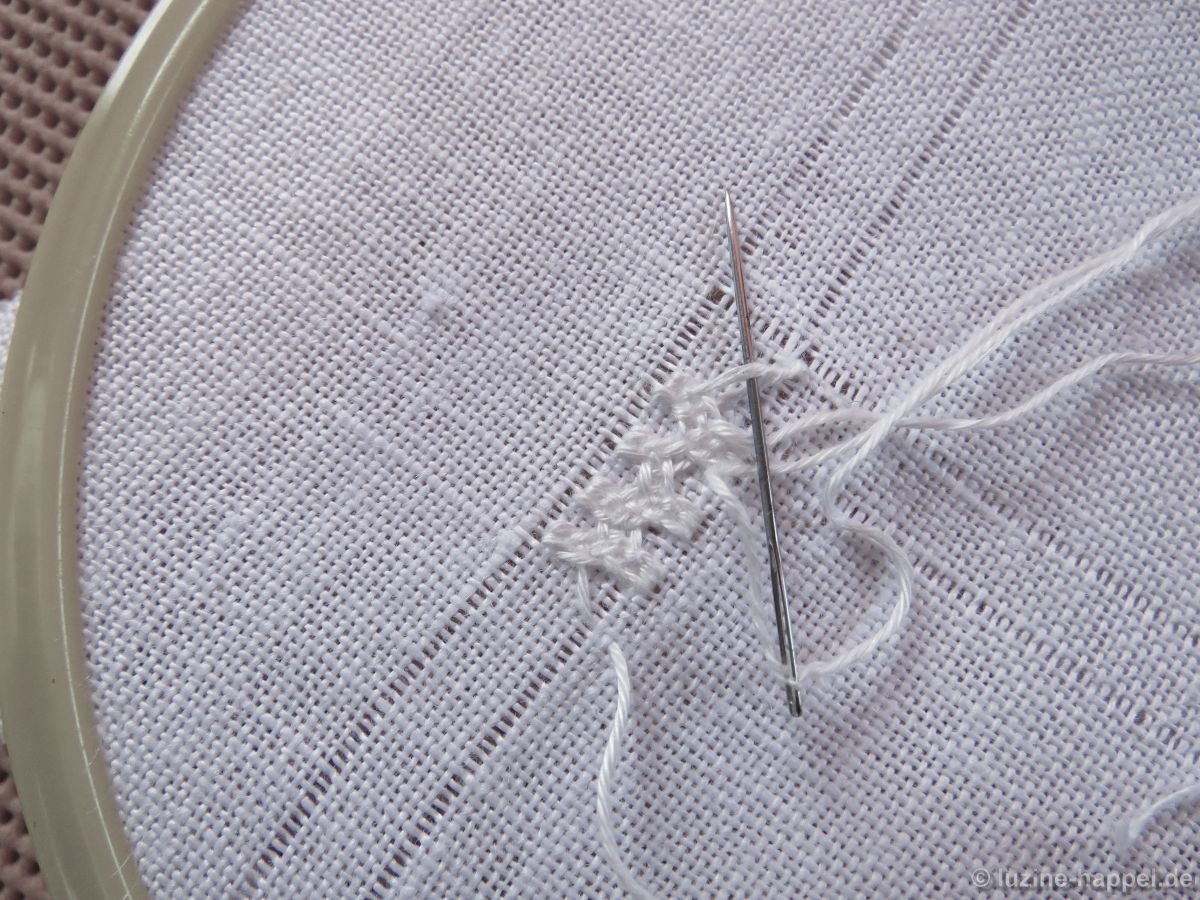
Ausgehend von den jeweiligen drei Fadenrinnen wird das Limet-Fadengitter für das komplette Motiv gebildet, indem man abwechselnd je 3 (manchmal auch 4) Fäden stehen lässt und einen Faden auszieht.
Bisher wurden folgende Muster, die einen solchen Fadenauszug benötigen, veröffentlicht:
No. 473
No. 472
No. 451
No. 449